Welcome! This tutorial will show you how to set up Semarchy xDM on Amazon Web Services (AWS) so you can run the tutorials available on the Semarchy website.
Learning outcomes
- Launching xDM from the AWS Marketplace.
- Configuring security groups.
- Logging in to xDM.
- Creating a repository.
Prerequisites
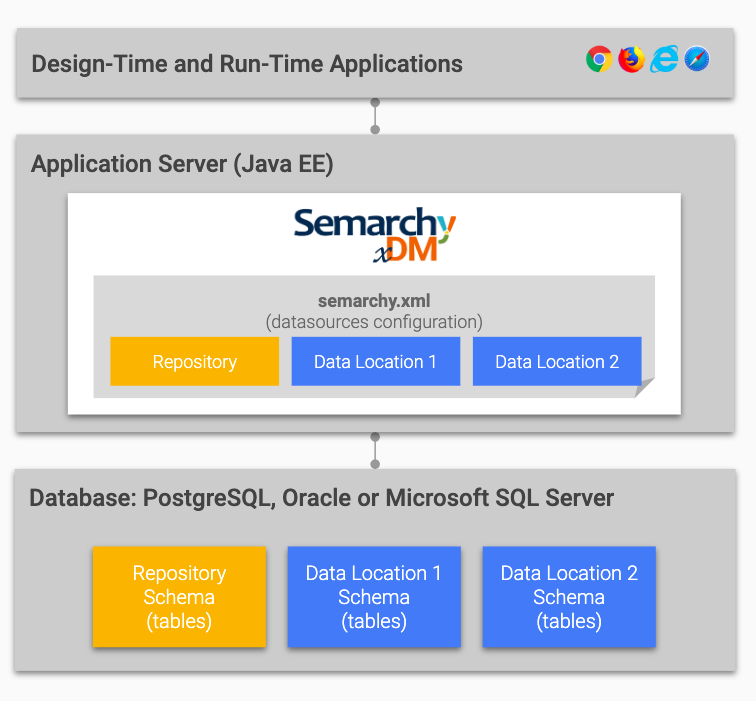
The Semarchy xDM architecture includes the following components:
- A web browser, such as Google Chrome, Firefox, Safari, or Microsoft Edge, where the Application Builder and MDM applications run.
- A Java EE application server (Tomcat, WildFly, etc.) running the Semarchy xDM application.
- A database instance (Oracle, PostgreSQL, or SQL Server) containing the repository (where xDM stores its metadata) and one or more data locations (where xDM stores your organization's data).
The xDM instance on AWS Marketplace is initiated as a single AWS EC2 instance, featuring a pre-configured PostgreSQL database with ready-to-use schemas for both the repository and data locations. Additionally, it starts up a Tomcat application server with the Semarchy xDM application already installed and configured.
Although ideal for these tutorials, the xDM instance on AWS Marketplace is not recommended for production use.
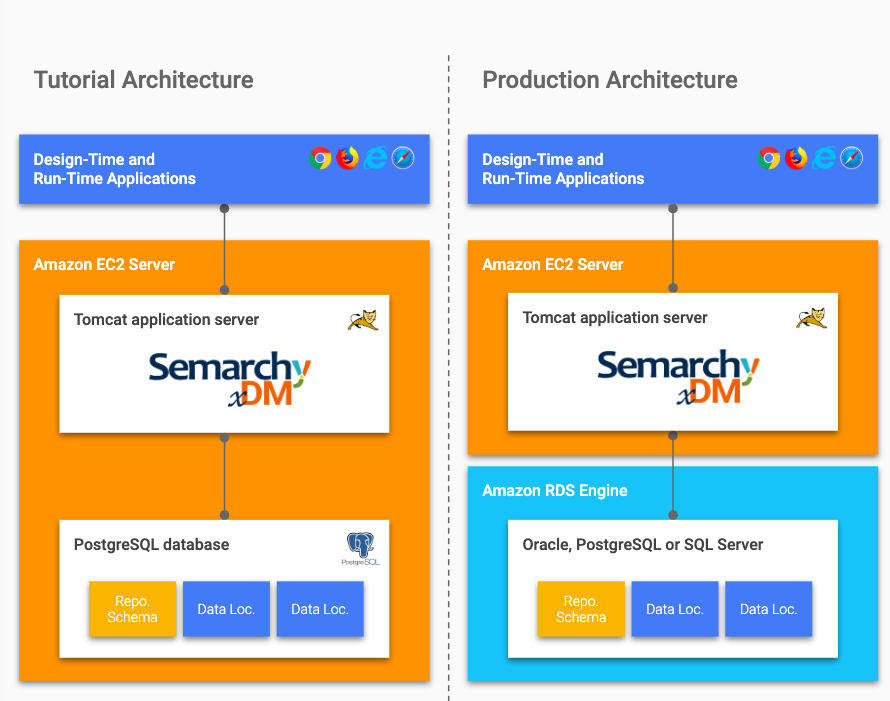
Typically, an xDM production environment on AWS should use the Amazon Relational Database Service (RDS). Leveraging RDS offers advantages like scalable capacity and automated database administration tasks such as backups and patching.
A key pair is required to create the EC2 instance running xDM. In this section, we will create this key pair.
☆ For advanced users
If you already have a key pair defined in your AWS account, you can move on to ④ Launch an xDM instance.
About key pairs
Key pairs are used to establish secure connections to the EC2 instance in order to:
- Issue operating system commands using Secure Shell (SSH).
- Issue database commands to the PostgreSQL database, using a database connection over SSH.
For Semarchy tutorials, SSH access to the EC2 machine is typically unnecessary. However, AWS requires choosing a key pair for your EC2 server, so we will create one to facilitate launching the Semarchy AMI on AWS Marketplace in the next section of this tutorial.
Additionally, the key pair enables secure connections, which is useful if you intend to use SSH with the EC2 machine in the future.
Create a key pair
- Connect to the Amazon EC2 management console.
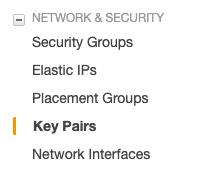
- In the navigation pane, under Network & Security, select Key Pairs.
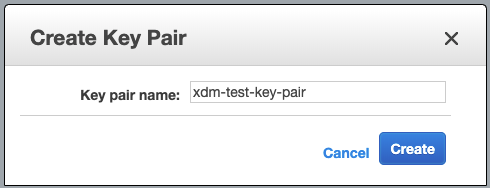
- Click the Create Key Pair button.

- Type a name to identify your key pair, and then click Create.
- The key pair is created.
The private key file is downloaded, and the key pair should now appear in the list of key pairs in the EC2 management console.

Semarchy xDM is available as a standalone Amazon Machine Image (AMI) in the AWS Marketplace.
This section explains how to launch an EC2 instance and configure your networking options appropriately.
☆ For advanced users
- Launch an EC2 instance based on the Semarchy AMI.
- Open port 80 to access xDM.
- (Optional) open port 22 to have SSH access.
If you are familiar with the AWS console, feel free to launch this instance from the standard AWS console rather than from the AWS Marketplace wizard. Then, proceed to ⑤ Connect to xDM.
Find xDM on AWS Marketplace
- Click the button below to navigate to AWS Marketplace.
- Click the Continue to Subscribe button on the right side of the screen.

- On the "Subscribe to this software" page, review the Terms and Conditions, and then click Continue to Configuration.
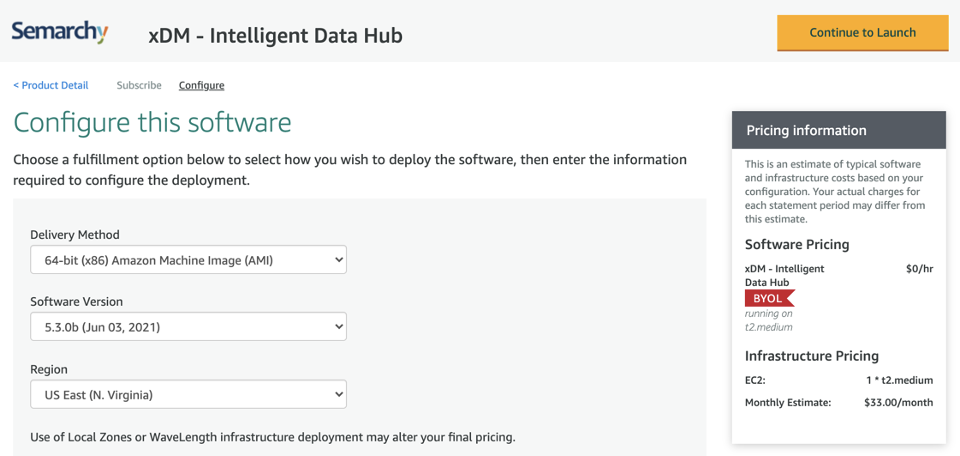
Select a version and region
On the "Configure this software" page, slect your desired options, and then click Continue to Launch.
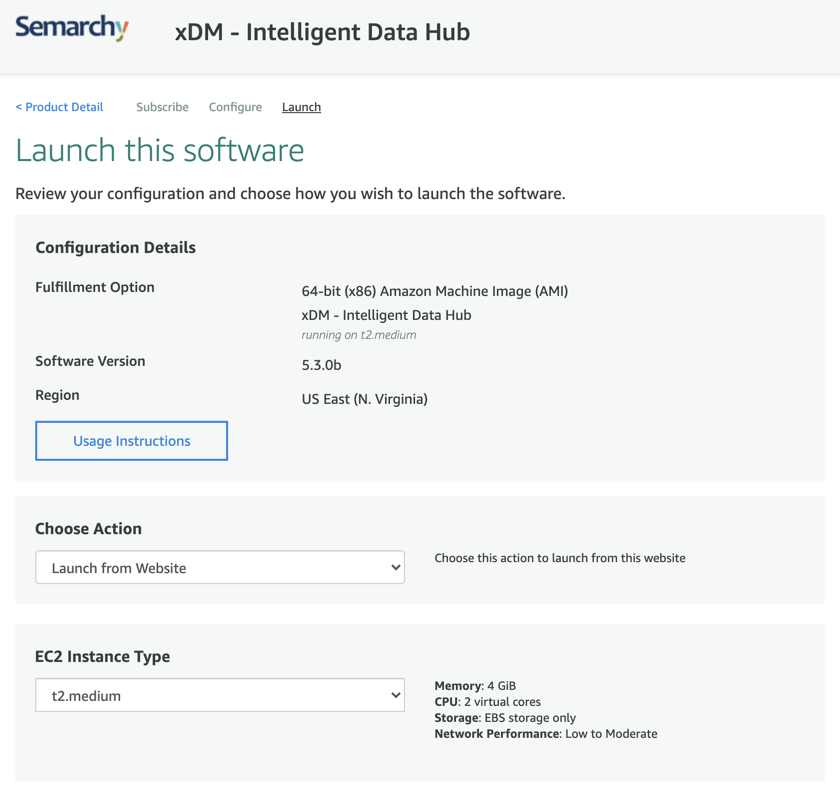
Configure and launch the instance
- On the "Launch this software" page, select Launch from Website from the drop-down menu in the Choose Action section.
- Select all appropriate networking options.
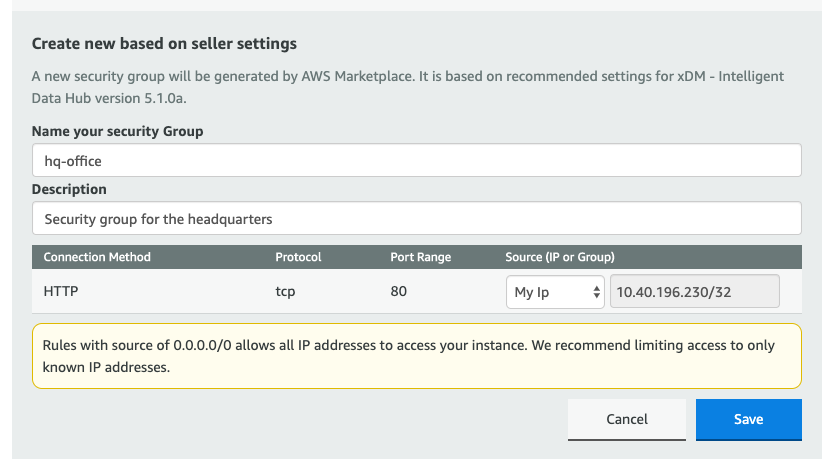
- In the Security Group settings, click the Create New Based on Seller Settings button.
- Provide a name and a description for your security group in the Name and Description fields.
- Configure the HTTP connection method. We recommend selecting My Ip in the Source (IP of Group) field, which limits HTTP connections to your location only.
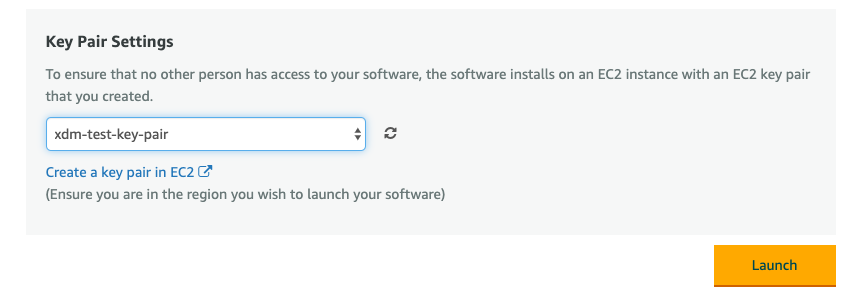
- In the Key Pair Settings, select the key pair that you previously created.
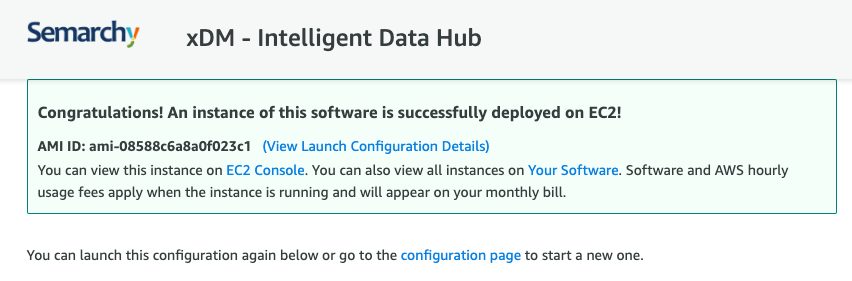
- Review your configuration and click the Launch button to start the new instance.
- Click the link EC2 Console to open the list of instances in the EC2 management console.
Check that the instance is started
- The new instance is visible, and the Instance State column indicates it is currently running.
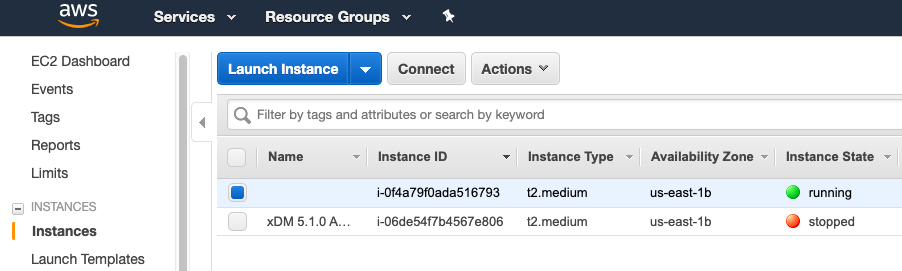
- For best practices, rename the instance with a meaningful name.

Congratulations!
You should now have a running EC2 instance created from the Semarchy AMI. This instance includes a pre-installed Tomcat, a preconfigured PostgreSQL database with the necessary schemas, and the latest version of Semarchy xDM.
In the next section, you will learn how to connect to xDM and log in.
Now that the instance is running, you can access Semarchy xDM.
- Navigate to the relevant IP address or hostname and log in as semadmin.
- Connect to the Amazon EC2 management console.
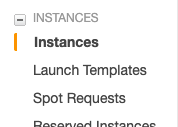
- In the navigation pane, under Instances, select Instances.
- Select your instance.

- In the Details pane at the bottom of the page, take note of the values for the Public DNS (IPv4) and Instance ID fields.

- The public DNS serves as the machine's internet address. Due to the security group that you configured when you launched this instance, this address may only be accessed from your own IP address.
- The instance ID is set as the default password for all user logins (semadmin, businessuser, datasteward, etc.) that you will use in these tutorials to connect to xDM. Note that this instance ID is only visible from the EC2 Console.
- Copy the Public DNS (IPv4) and paste it in the URL field of a new browser tab.
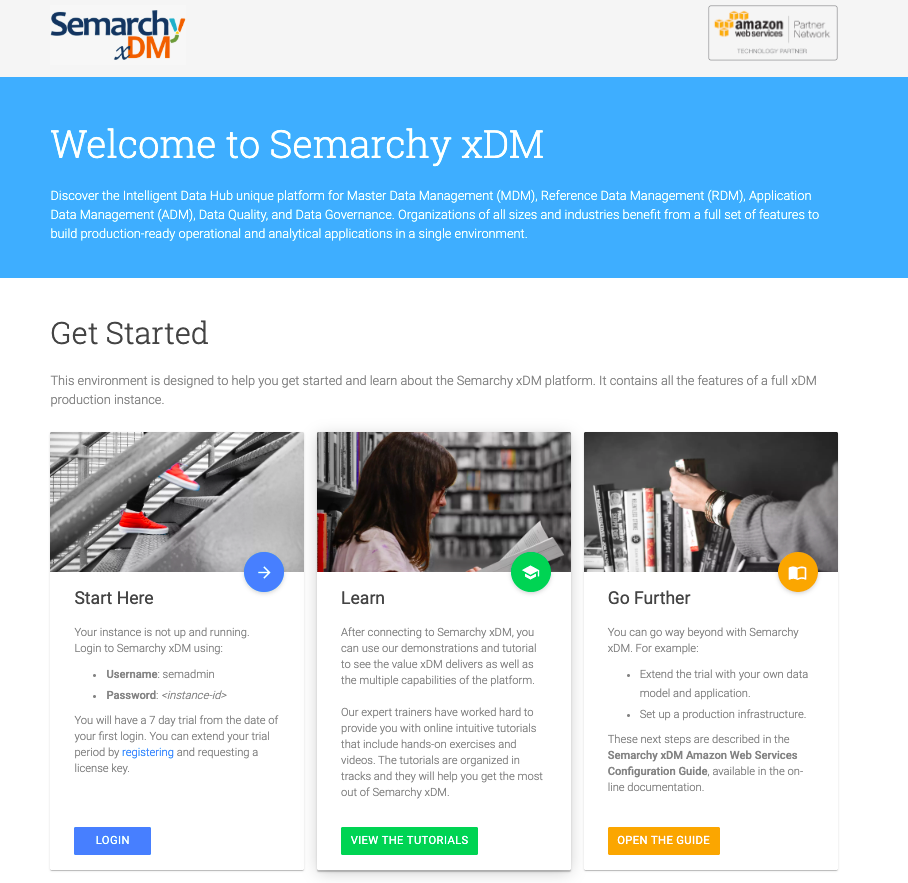
- Wait until the browser opens the xDM Welcome page. You can bookmark this page to facilitate quick access in the future.
- Scroll down the Welcome page and click the Login button at the bottom of the Start Here card.
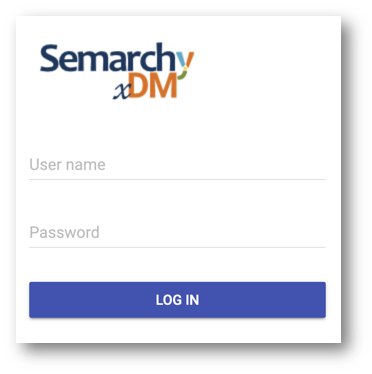
- The Semarchy xDM login page opens.
Enter these values and click Log in:
- User name:
semadmin - Password:
{your EC2 instance ID}
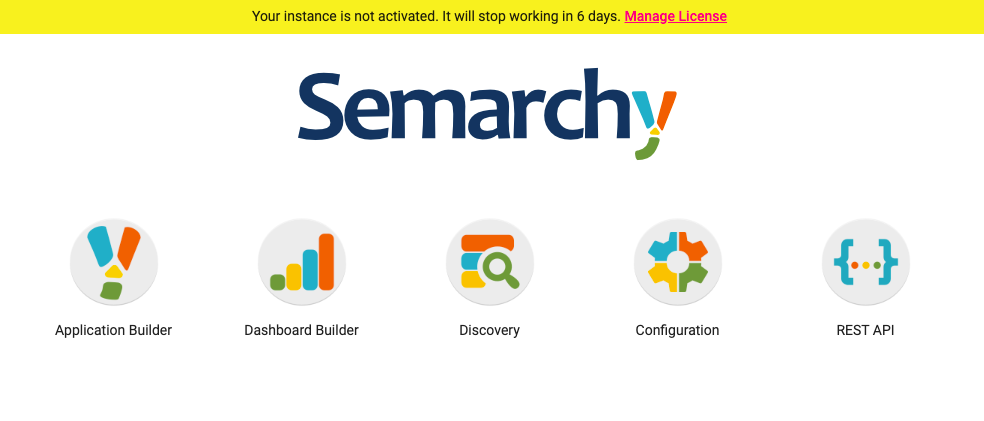
- The Semarchy xDM Welcome page opens.
Congratulations!
You have successfully installed Semarchy xDM using Semarchy's AWS Marketplace AMI. You have created a new repository and now you are ready to complete the Demo Applications, Data Authoring, and Data Consolidation tutorial tracks.
Great job! Semarchy xDM is now up and running. For further information regarding system requirements and xDM installation, see the Semarchy xDM documentation.
You are now ready to move on to the xDM tutorials, where you can discover how to design a new application, create matching rules, and explore additional functionalities.
Thank you for completing this tutorial.