Welcome! This tutorial will show you how to set up Semarchy xDM on Microsoft Azure so you can run the tutorials available on the Semarchy website.
Learning outcomes
- Launching xDM from the Azure Marketplace.
- Logging in to xDM.
- Creating a repository.
Prerequisites
The Semarchy xDM architecture includes the following components:
- A web browser, such as Google Chrome, Firefox, Safari, or Microsoft Edge, where the Application Builder and MDM applications run.
- A Java EE application server (Tomcat, WildFly, etc.) running the Semarchy xDM application.
- A database instance (Oracle, PostgreSQL, or SQL Server) containing the repository (where xDM stores its metadata) and one or more data locations (where xDM stores your organization's data).
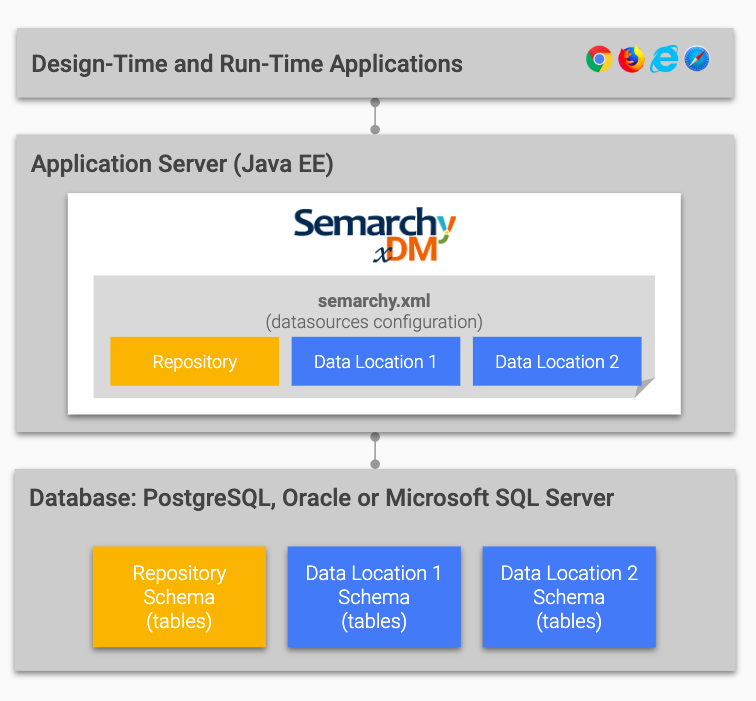
The xDM instance on Azure Marketplace is initiated as a single virtual machine, featuring a pre-configured PostgreSQL database with ready-to-use schemas for both the repository and data locations. Additionally, it starts up a Tomcat application server with the Semarchy xDM application already installed and configured.
Although ideal for these tutorials, the xDM instance on Azure Marketplace is not recommended for production use. For production setups, you should opt for the Semarchy xDM solution offer.
Semarchy xDM is available as a standalone virtual machine offer in the Azure Marketplace. Here, we will guide you through creating a virtual machine using this offer.
This section outlines the process of launching and connecting to a virtual machine.
☆ For advanced users
You must launch a virtual machine based on the Semarchy virtual machine offer.
If you are familiar with the Azure portal, feel free to launch this instance from the portal rather than from the Azure Marketplace. Then, proceed to ④ Connect to xDM.
Find xDM on Azure Marketplace
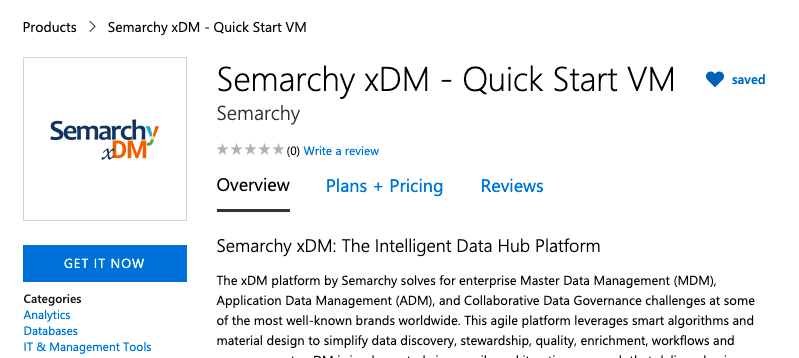
- Click the button below to navigate to Azure Marketplace.
- Click the Get it now button.
- On the "Create this app in Azure" page, select the latest version of Semarchy xDM, review the Terms and Conditions, and then click Continue.
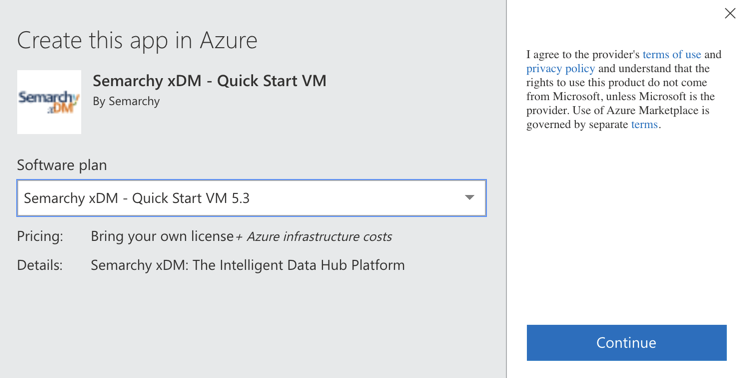
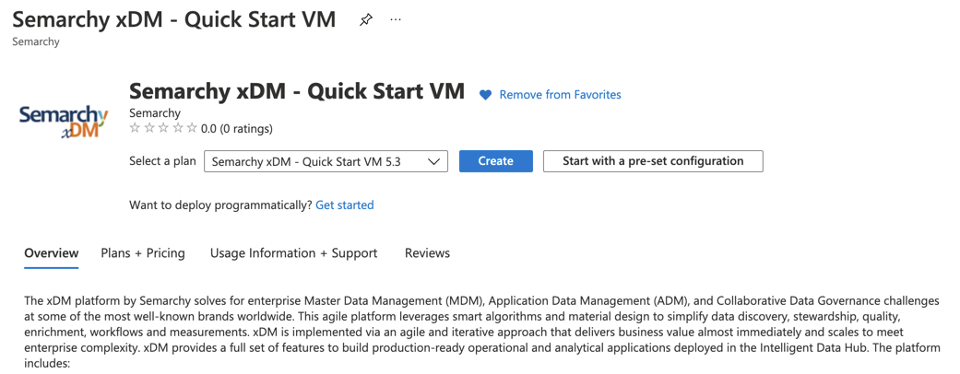
- Click the Create button to enter the configuration wizard.
Configure and launch the virtual machine
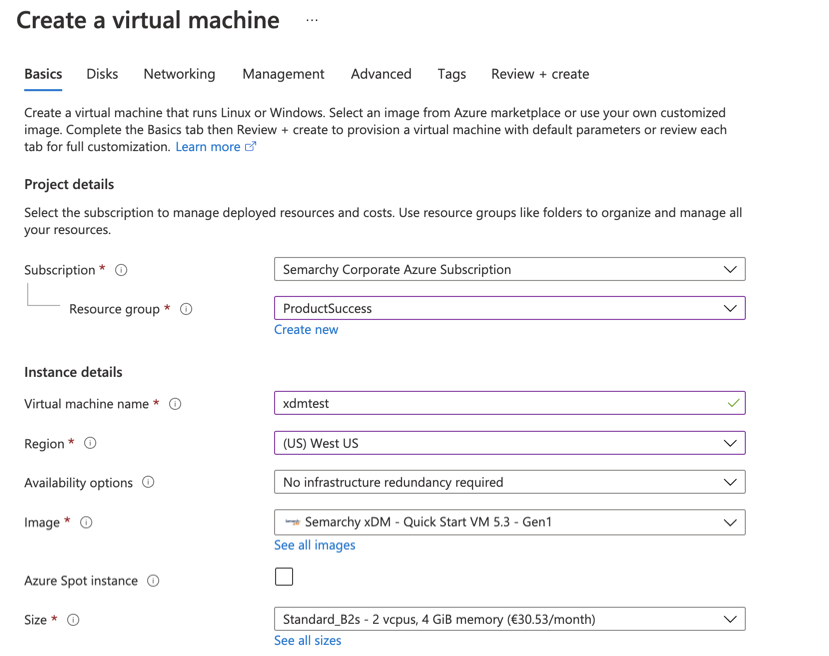
- On the "Create a virtual machine" page, in the Basics tab, select or create the Resource group into which the virtual machine and its associated resources are created.
- Enter a name in the Virtual machine name field. Note that this name serves as the default password for Semarchy xDM users.
- Select a Region and Size for the virtual machine. The default selection of Standard B2s size is suitable for tutorials.
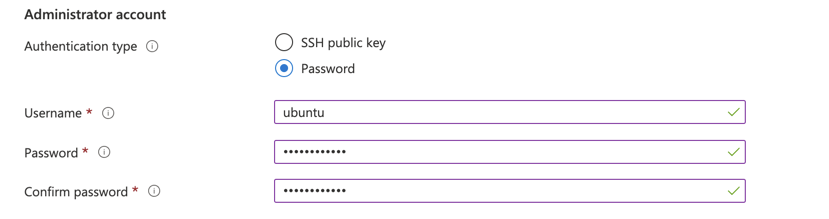
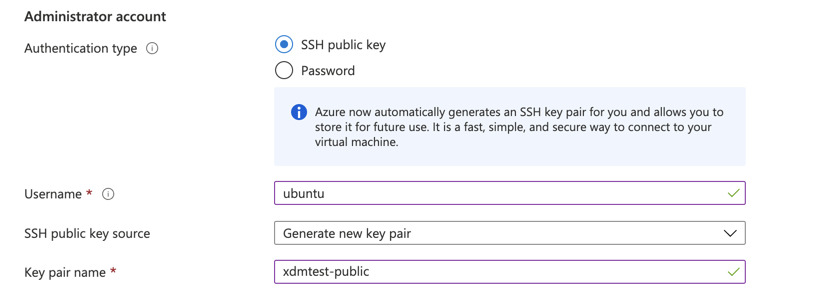
- To configure the virtual machine administrator account;
- Enter a name in the Username field.
- In the Authentication type field, select whether this user will connect using a password or an SSH key. In case you select SSH public key, you will be prompted to provide the SSH public key and will need the corresponding private key to connect.
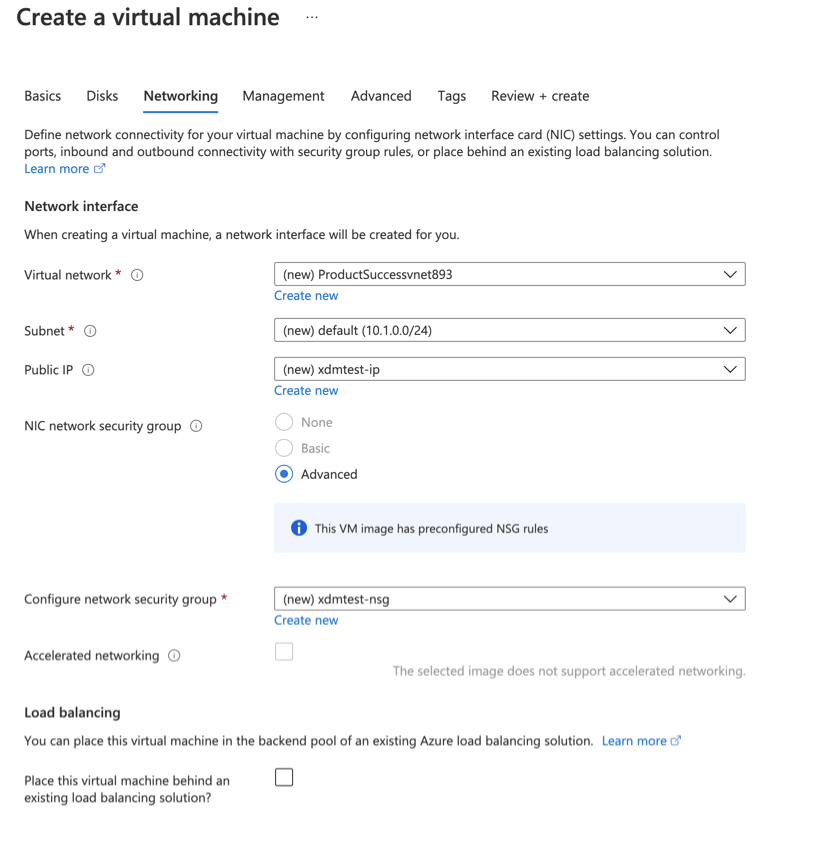
- Leave all settings by default in the Disks configuration and click on Next in the Networking step.
- In the Networking step, review the network configuration. The wizard will create the network resources, including the Network security group to connect the machine.
- Leave all settings by default in the Management and Advanced steps and move to the Tags step.
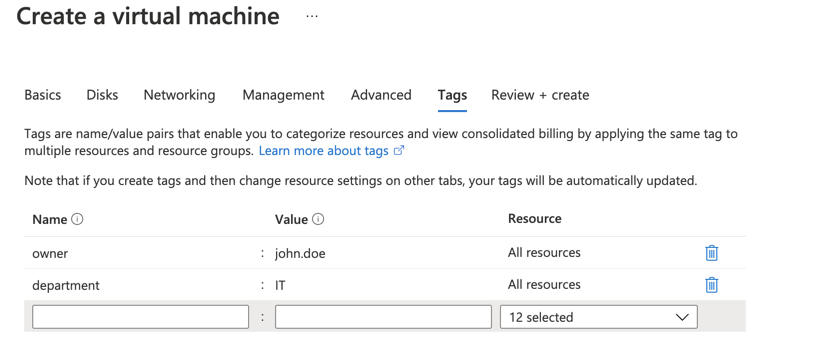
- (Optional) In the Tags step, add tags that will help you identify the resources created for the virtual machine.
- Go to the Review + create step to review your configuration.
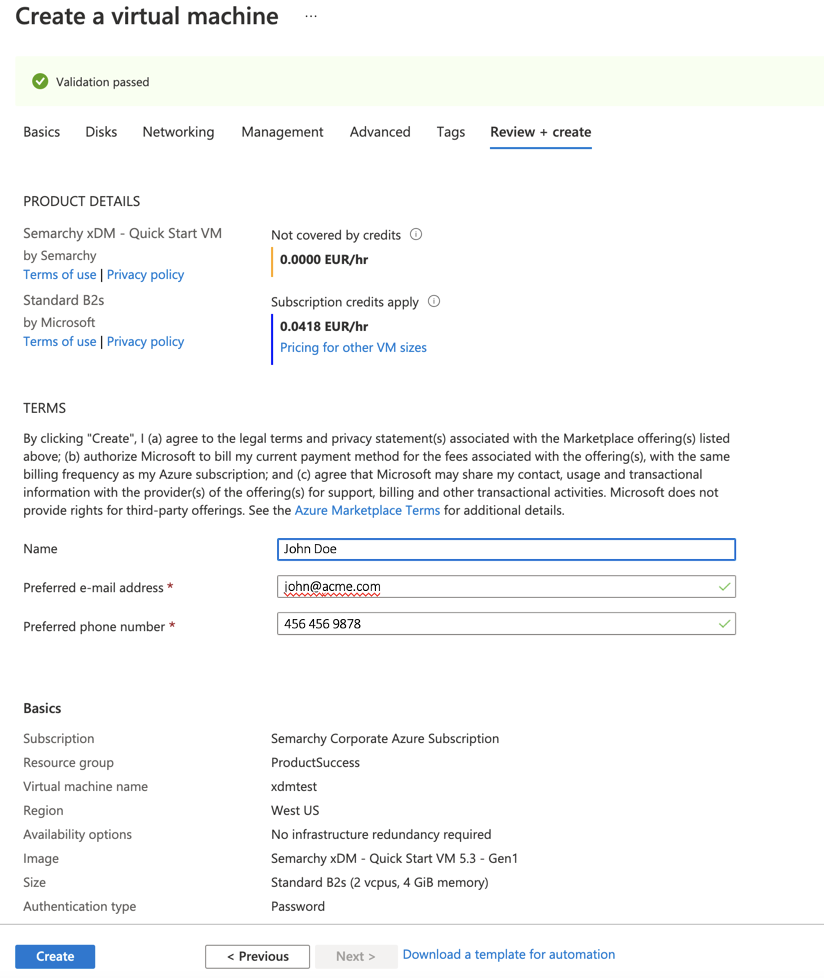
- Click the Create button to create the virtual machine. The deployment starts as a background task.
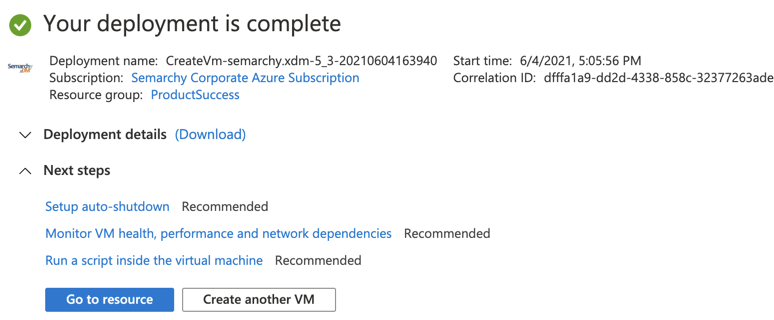
- A notification appears in the Azure portal when the deployment completes. Click Go to resource to view the deployed virtual machine.
Check that the virtual machine is started
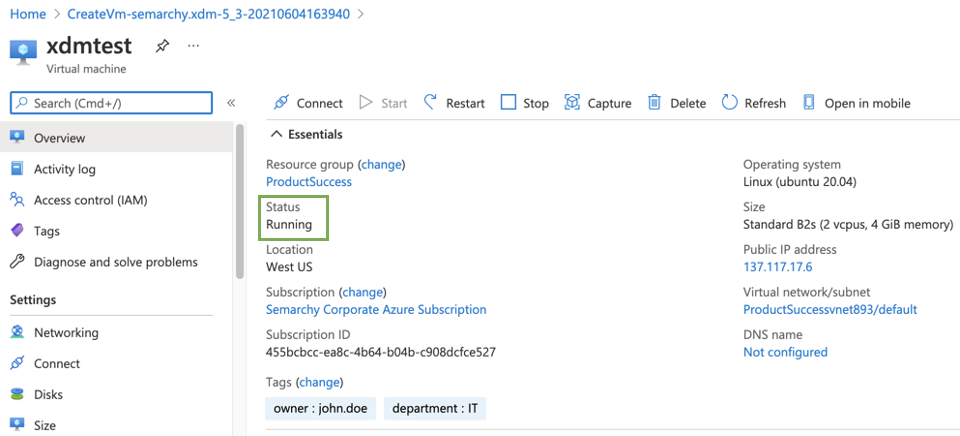
- On the "Virtual machine" page, check that the Status of the virtual machine is Running.
Congratulations!
You should now have a running virtual machine built from the Semarchy virtual machine offer. This instance includes a pre-installed Tomcat, a preconfigured PostgreSQL database with the necessary schemas, and the latest version of Semarchy xDM.
In the next section, you will learn how to connect to xDM and log in.
Now that the virtual machine is running, you can access Semarchy xDM.
- Navigate to the relevant IP address or hostname and log in as semadmin.
- On the "Virtual machine" page, take note of the values in the Public IP address and Computer name fields.
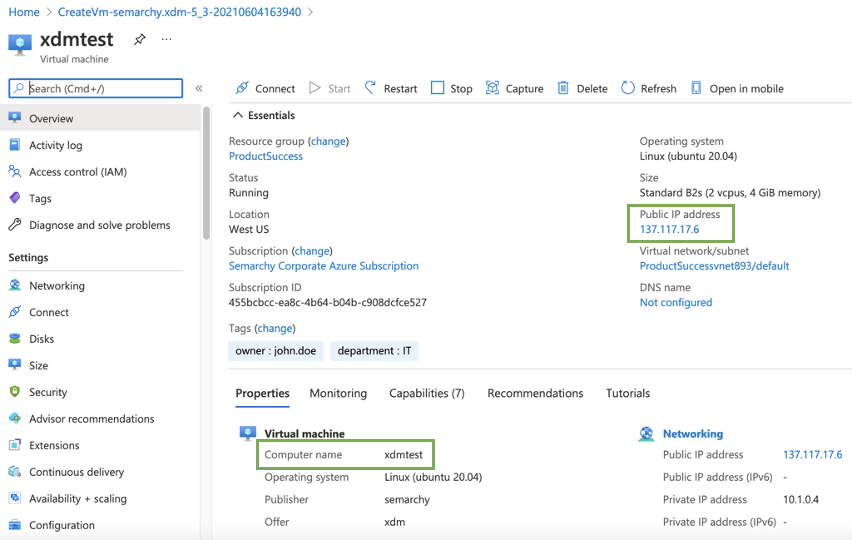
- The public IP address is the machine address on the Internet.
- The computer name is used in the default password for all user logins (semadmin, businessuser, datasteward, etc.) that you will use in these tutorials to connect to xDM. Note that this computer name is only visible within the Azure portal.
- Copy the Public IP address and paste it in the address bar of a new browser tab.
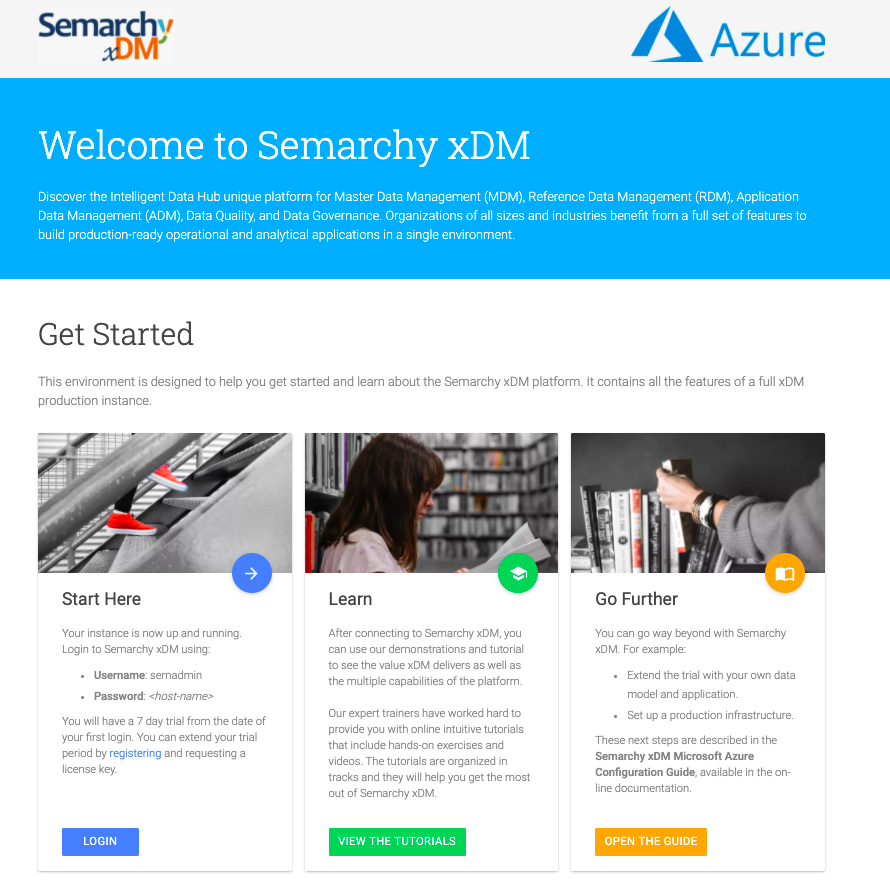
- Wait until the browser opens the xDM Welcome page, which may take a couple minutes. You can bookmark this page to facilitate quick access in the future.
- Scroll down the Welcome page and click the Login button at the bottom of the Start Here card.
- If the installation of Semarchy xDM is still in progress, the following page opens.
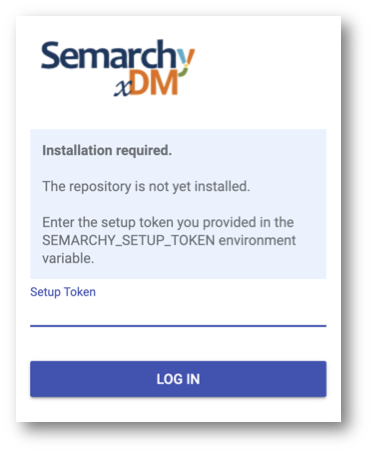
6. Refresh the page until the Semarchy xDM login page opens.
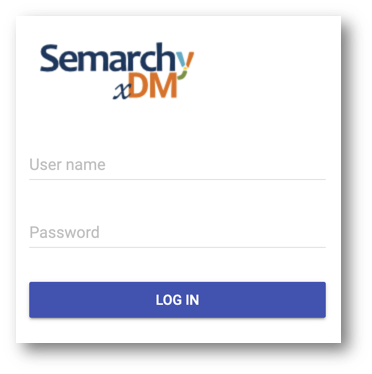
- Enter these values:
- User name:
semadmin - Password:
semadmin-{your virtual machine computer name}(semarchy-xdmtestin the example shown previously)
- The Semarchy xDM Welcome page opens.
Congratulations!
You have successfully installed Semarchy xDM using Semarchy's Azure Marketplace virtual machine offer. You have created a new repository and now you are ready to complete the Demo Applications, Data Authoring, and Data Consolidation tutorial tracks.
Great job! Semarchy xDM is now up and running. For further information regarding system requirements and xDM installation, see the Semarchy xDM documentation.
You are now ready to move on to the xDM tutorials, where you can discover how to design a new application, create matching rules, and explore additional functionalities.
Thank you for completing this tutorial.