Welcome! This tutorial will show you how to set up Semarchy xDM on Docker so you can run the tutorials available on the Semarchy website.
Learning outcomes
- Downloading and editing the sample Docker Compose and database schema creation files.
- Running Docker Compose to create a Docker container that will run xDM and a PostgreSQL database.
- Logging in to xDM.
- Creating a repository.
- Running a post-installation script.
Prerequisites
- Ensure you have Internet access.
- Use a web browser like Chrome or Firefox.
- Have a PostgreSQL-compatible client, such as DBeaver or pgAdmin.
If you have not already done so, click the button below to download resources such as the sample files that you will use to set up xDM in this tutorial.
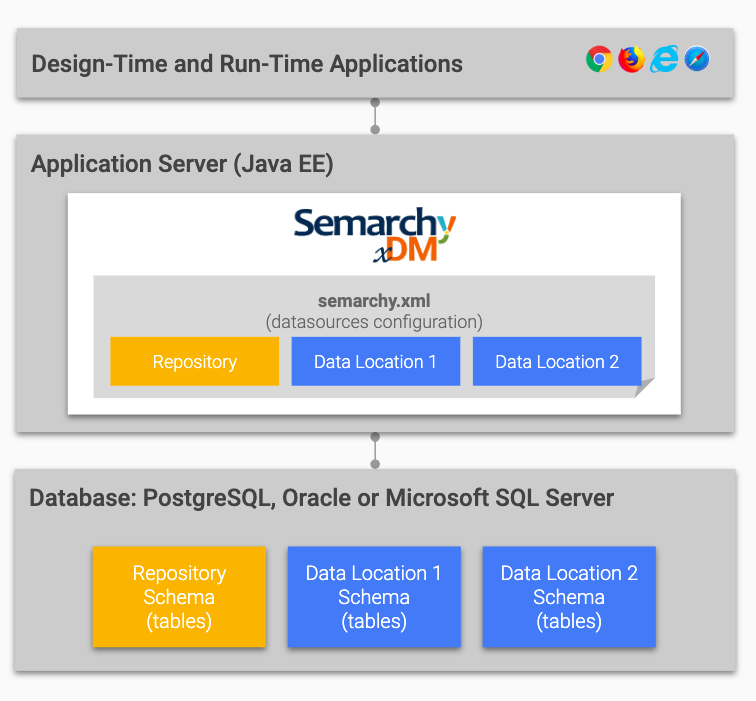
The Semarchy xDM architecture includes the following components:
- A web browser, such as Google Chrome, Firefox, Safari, or Microsoft Edge, where the Application Builder and MDM applications run.
- A Java EE application server (Tomcat, WildFly, etc.) running the Semarchy xDM application.
- A database instance (Oracle, PostgreSQL, or SQL Server) containing the repository (where xDM stores its metadata) and one or more data locations (where xDM stores your organization's data).
In this tutorial, you will use a Docker Compose file to generate a container that will run Semarchy xDM and a PostgreSQL database.
Semarchy xDM images are using an official Tomcat base image composed of:
- A Tomcat version supported by xDM (see the system requirements in Semarchy xDM documentation).
- A Debian image.
- An OpenJDK version supported by xDM (see the system requirements in Semarchy xDM documentation).
The PostgreSQL image is based on the official PostgreSQL Docker image.
Next, you will install Docker if you have not done so already.
Follow the instructions provided on the Docker website to download and install Docker depending on your operating system:
Next, you will use Docker Compose to configure and run a Docker container.
You will now configure your Docker container and run it using Docker Compose.
- Open the sample
docker-compose.ymlfile in thequick-install/dockerfolder of the tutorial resources you have downloaded at the beginning of this tutorial. This YAML file defines the services, networks, and volumes to run and use in your Docker container. - Edit this file if you wish to modify parameters such as:
services/semarchy-appserver/environment/SEMARCHY_SETUP_TOKEN(recommended): the setup token used as an authentication method during the initial startup before creating the Semarchy repository.services/semarchy-appserver/environment/XDM_REPOSITORY_USERNAMEandXDM_REPOSITORY_PASSWORD: the credentials used by xDM to access the repository database schema.
- Open the
create-schemas.sqlscript located in the same folder as the Docker Compose file. This script is invoked by Docker Compose to generate the xDM repository database schema and all necessary schemas for the xDM tutorials. - Edit this file if you want to adjust parameters such as the database credentials.
- Open a terminal and access the folder that contains the
docker-compose.ymlandcreate-schemas.sqlfiles. - Run the following command:
docker compose up --attach semarchy-appserver --no-log-prefix- Wait until the console shows the following line (the whole process may take a few minutes):
INFO [main] org.apache.catalina.startup.Catalina.start Server startup in [12274] millisecondsCongratulations!
Semarchy xDM and its local database are now running in a Docker container.
Next, you will connect to xDM and configure the repository.
In this section, you will install the xDM instance.
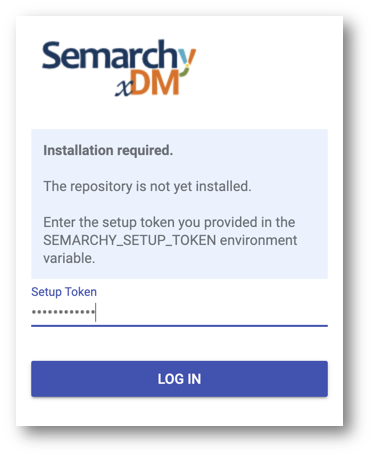
- In your browser, connect to http://localhost:8088/semarchy.
- Enter the value of the
SEMARCHY_SETUP_TOKENenvironment variable in theservices/semarchy-appserver/environmentsection of your Docker Compose file (if you have not modified it previously, the default value ismySecretValue), and click Log in.
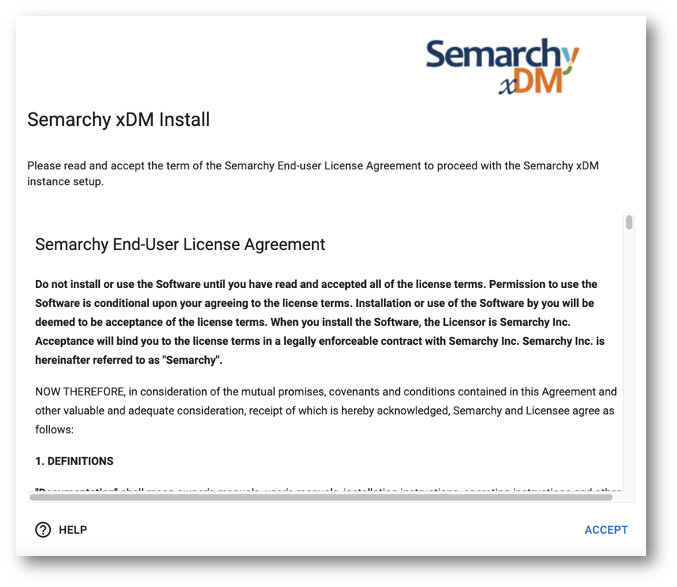
- Review the end-user license agreement (EULA) and select Accept.
- Configure the repository and the administrator account and then click Install:
- Repository Name: keep the default value
- Repository Type: Design
- Administrator Username: semadmin
- Enter and confirm the password for the Administrator (use
semadminor another value).

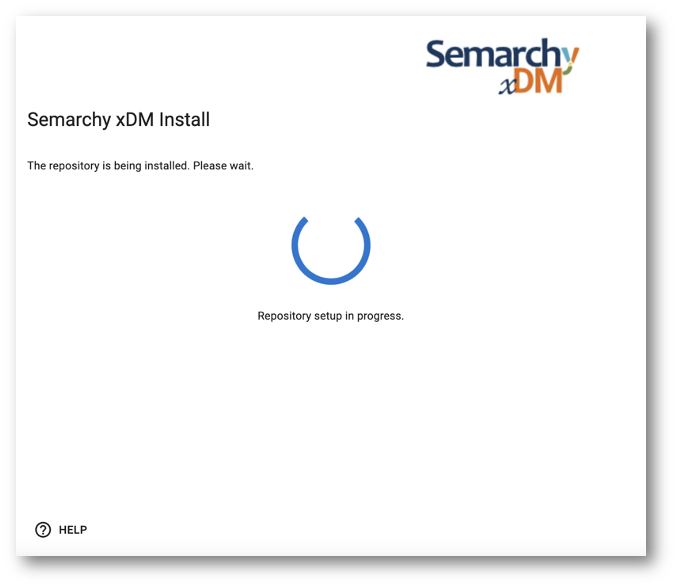
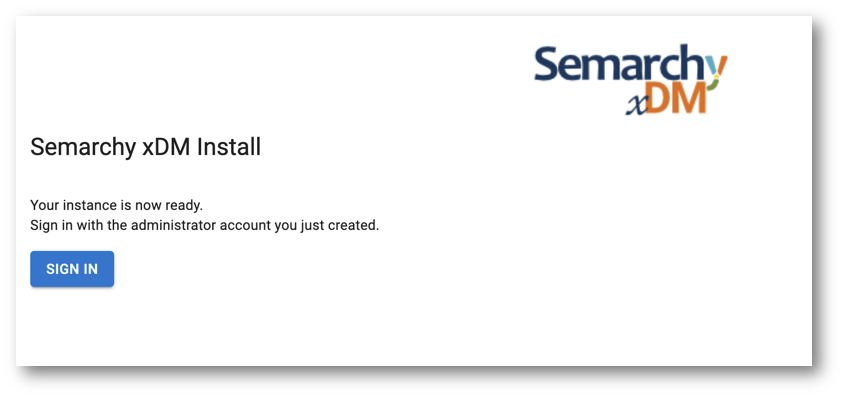
- Wait until the repository is installed.
- When the instance is ready, click Sign in.
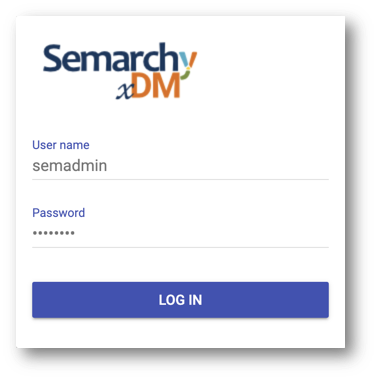
- Enter the semadmin credentials you defined during the installation, and then click Log in.
- If you see this page, then you have successfully installed the repository.
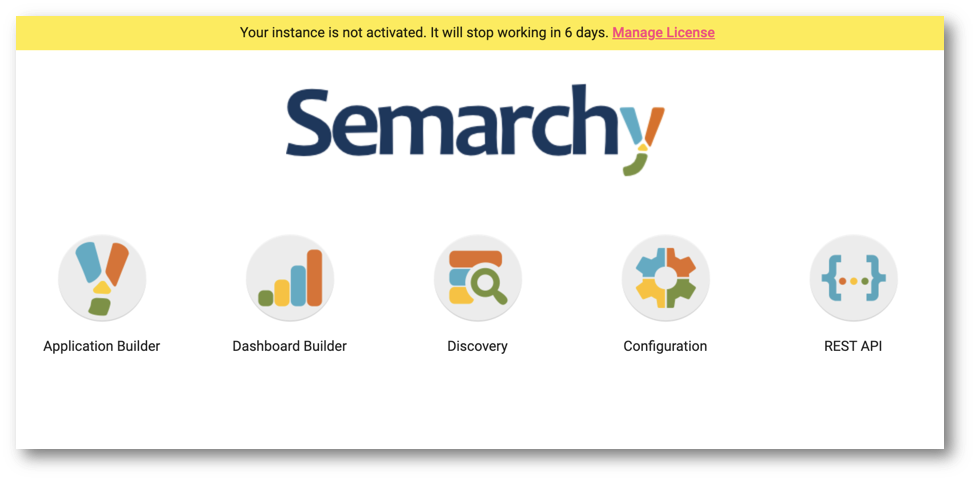
Congratulations!
Great job! Semarchy xDM is now up and running. For further information regarding system requirements and xDM installation, see the Semarchy xDM documentation.
Next, you will finalize the installation by granting access rights for some of the tables of the Semarchy repository you have just created.
Now that the repository has been initialized, you must provide access to some of the newly created tables: the repository read-only user must be granted SELECT privileges on the profiling tables to render the xDM Discovery profiles.
Set up an SQL client
To connect to the database running on your Docker container, you need to set up an SQL client.
If you have not installed any SQL client yet, consider installing DBeaver, a free universal client. DBeaver Community Edition offers ample functionality to follow the Integration track.
Grant read-only access to repository tables
- Connect to the xDM database with your SQL client using the following credentials:
- User: value of the
semarchy-database/environment/POSTGRES_USERparameter in thecreate-schemas.sqlscript you used in the previous section (default value ispostgres). - Password: value of the
semarchy-database/environment/POSTGRES_PASSWORDparameter in thecreate-schemas.sqlscript you used in the previous section (default value ispostgres).
- Run the following script to grant to the repository read-only user select privileges on the profiling tables:
common/postgresql/post-installation-grant-access.sql
/*******************************************************************************
** Oracle database post-installation scripts
** Semarchy xDM Tutorials
** Copy and paste the SQL DDL scripts and use them in the tutorial.
** Copyright (c) 2021 Semarchy
*******************************************************************************/

/************************************************
Grant select privileges on the profiling tables
************************************************/
GRANT USAGE ON SCHEMA semarchy_repository TO semarchy_repository_ro;
GRANT SELECT ON TABLE
    semarchy_repository.PRF_PROFILING,
    semarchy_repository.PRF_TABLE,
    semarchy_repository.PRF_COLUMN,
    semarchy_repository.PRF_DIST_VALS,
    semarchy_repository.PRF_DIST_PATTERNS
TO semarchy_repository_ro;
Congratulations!
xDM Discovery is now ready to be used on your xDM instance.
For more information on xDM Discovery, see the Semarchy xDM documentation.
Great job! You have successfully installed xDM on Docker.
To summarize:
- You have learned how to run Docker Compose and customize parameters.
- You have accepted the license agreement and installed your xDM instance.
- You have established a connection to the xDM database and executed the post-installation scripts.
Now that you have set up xDM, you can request a license key.
Next steps
xDM is designed to handle various data types, including customer data, location data, reference data, organizational data, supplier data, and other domains.
To learn how to harness the capabilities of xDM, you could now pursue two distinct paths:
- Learning how to use xDM applications as a business user by following the Demo Applications track.
- Understanding how to design applications as a developer through the Data Authoring and Data Consolidation tracks.
Go back to the main menu to find these resources.
Thank you for completing this tutorial.