Welcome to Semarchy.
In this tutorial, you will learn how to set up the Semarchy xDI Designer. After this setup, you will be able to run the data integration tutorials available on the Semarchy website.
What you'll learn
- Semarchy xDI's overall architecture
- How to download and install Semarchy xDI Designer
What you'll need
- Access to the Internet
- Permissions to install software on your computer
- A file unarchiver (e.g. 7-Zip)
High-level architecture
The Semarchy xDI architecture includes the following components:
- The Designer is a thick client based on the Eclipse platform, used by integration designers to design their integration flows.
- The Runtime is a lightweight Java process that runs the integration flows. It connects to the systems and applications containing the data to integrate.
- Semarchy xDI Production Analytics is a Java EE application that provides a web-based interface used in production to deploy, manage and monitor the integration flows.
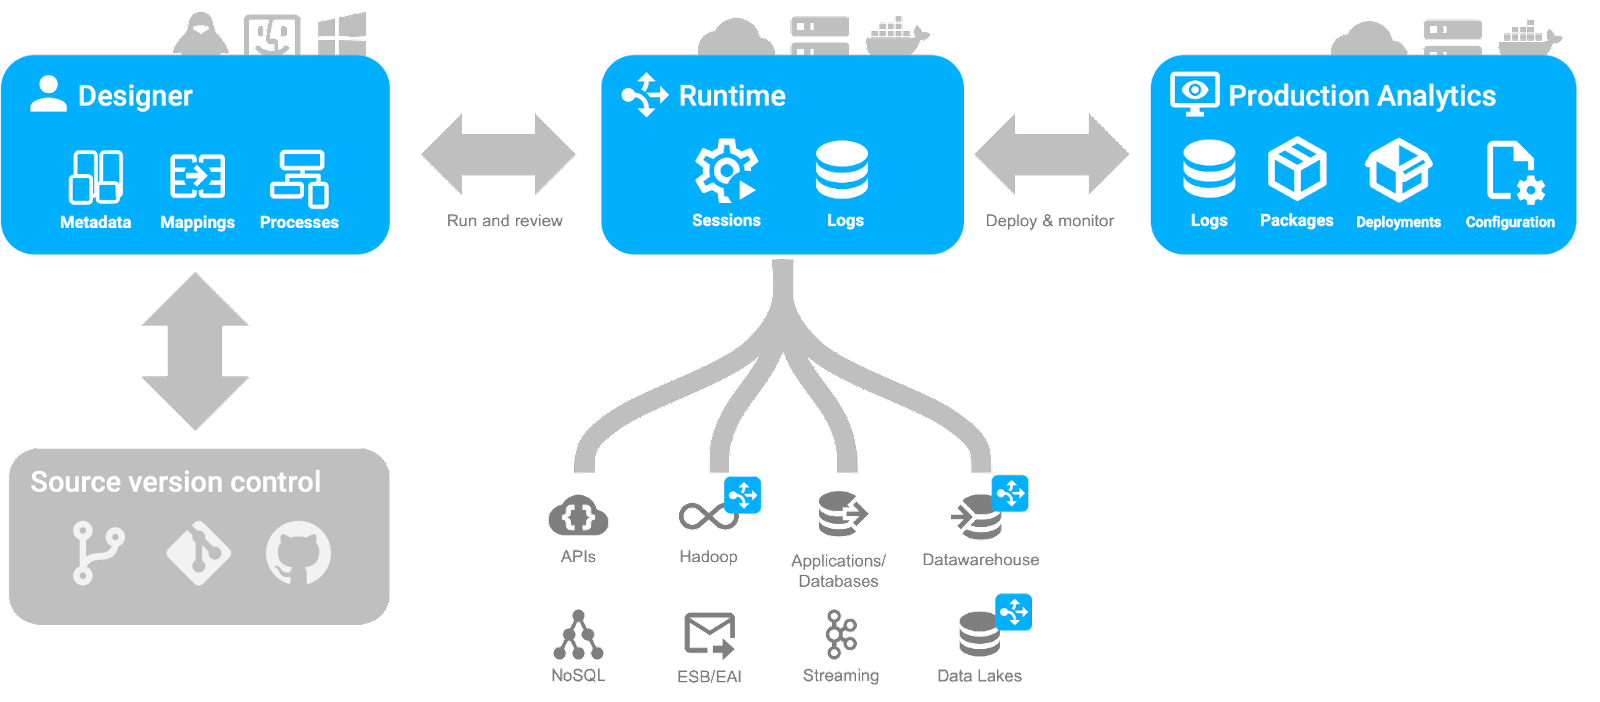
This tutorial is dedicated to installing Semarchy xDI Designer. The Designer embeds a local Runtime for running the data flows you will design in the other Semarchy xDI tutorial units.
System requirements
Before you proceed with the installation of Semarchy xDI Designer, review the system requirements in the online documentation.
In the next section, you will download and install the Designer.
In this step, you will download Semarchy xDI Designer and install it on your local machine.
Download the Designer
Download the latest version of the Semarchy xDI Designer from the Semarchy website. The Designer is shipped as an archive file available for Windows, Linux, and macOS.
Install the Designer
The installation process depends on your operating system.
Install the Designer on Windows
To install and run Designer on Microsoft Windows, uncompress the archive file to a temporary folder and copy its contents to your Program Files folder or to another folder.
Install the Designer on Linux
To install and run the Designer on Linux:
- Uncompress the archive file to a temporary folder and copy its content to your user folder.
- Go to your user folder and set the execution permission on the
semarchy-xdi-designer-linuxfile.
chmod +x semarchy-xdi-designer-linuxInstall the Designer on macOS
To install and run the Designer on macOS, uncompress the archive file to a temporary folder and copy the application in that temporary folder to your Applications folder. Once you have downloaded the correct archive for your computer's architecture, please run the following commands:
xattr -dr com.apple.quarantine semarchy-xdi-designer-macos*.tar.gz
tar xf semarchy-xdi-designer-macos*.tar.gz
Congratulations
Great job! You have installed xDI Designer on your computer. In the next step, you will run the Designer.
This step explains how to start and set up the Designer.
- Run the Designer:
- On Windows: Run the Designer executable:
semarchy-xdi-designer-windows.exe
- On Linux: Run the Designer executable:
semarchy-xdi-designer-linux - On MacOS: Run the
Semarchy xDI Designerapplication from theApplicationsfolder.
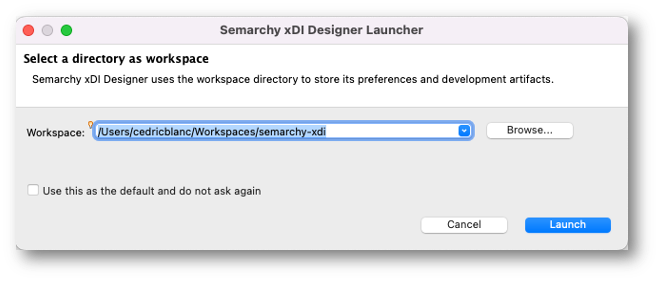
- In the Semarchy xDI Designer Launcher dialog, select a folder that will contain your Workspace, then click Launch.
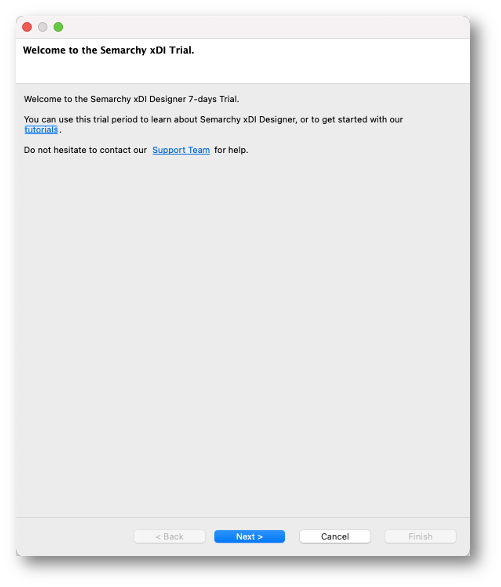
- The setup wizard opens. Click Next.
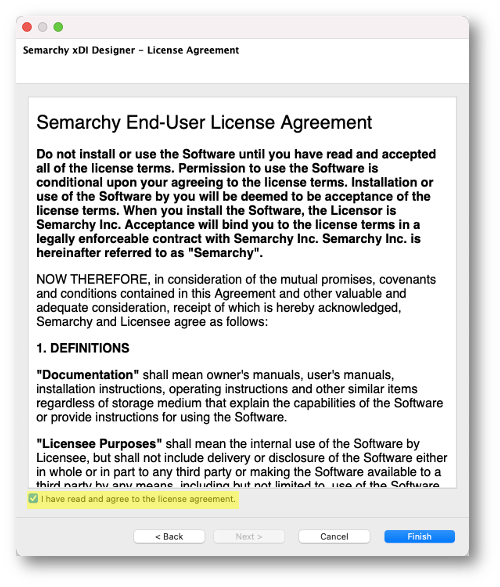
- Read the Semarchy End-User License Agreement, select I have read and agree to the license agreement, and then click Finish.
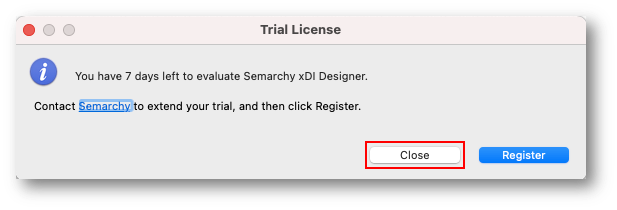
- The Trial License dialog opens. Click Close.
- The Welcome perspective opens. Click Hide to close the Welcome perspective and access the Workbench.
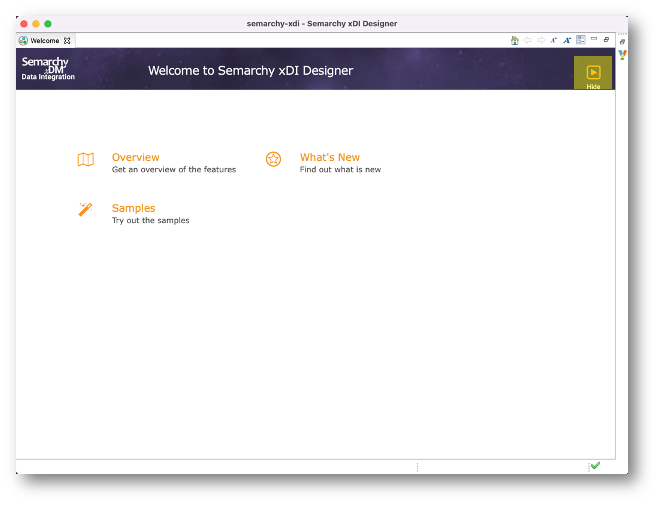
- The Designer workbench opens:

xDI is now up and running. You can find in the documentation more information about advanced Designer configuration.
In this section, you will learn how to register your Semarchy xDI license in the Designer.
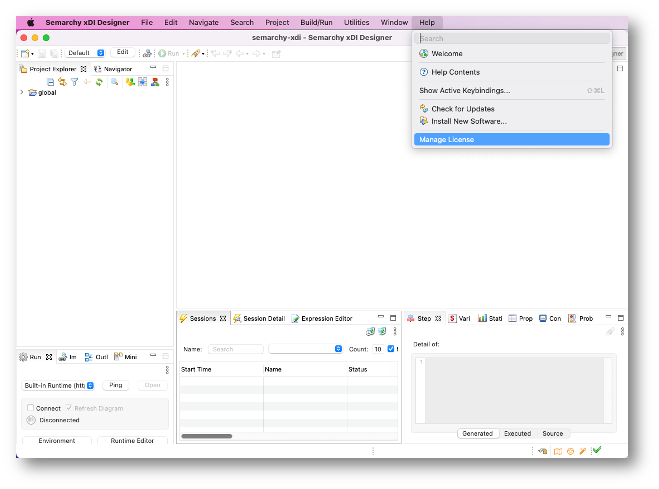
- In the Help menu, select Manage License.
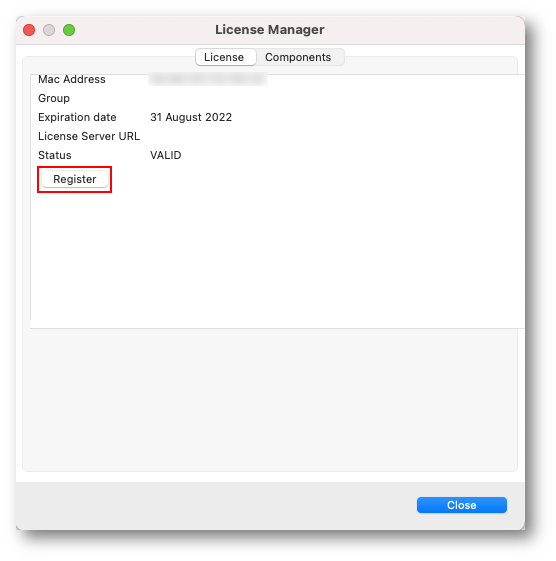
- The License Manager opens. Click Register.
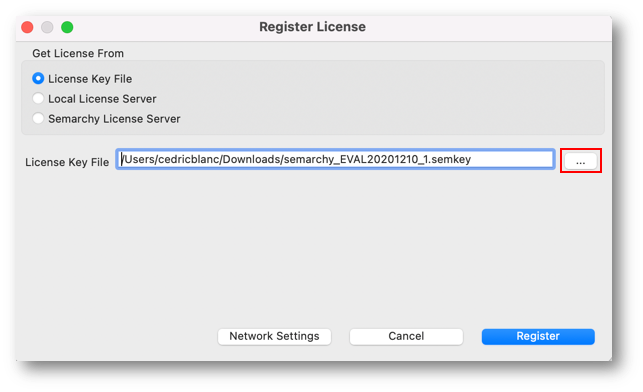
- The Register License dialog opens. Select and configure your license:
If you are using a License Key File (Offline mode):
- Select License Key File.
- Click the
 button to select the license key file provided by your administrator or Semarchy.
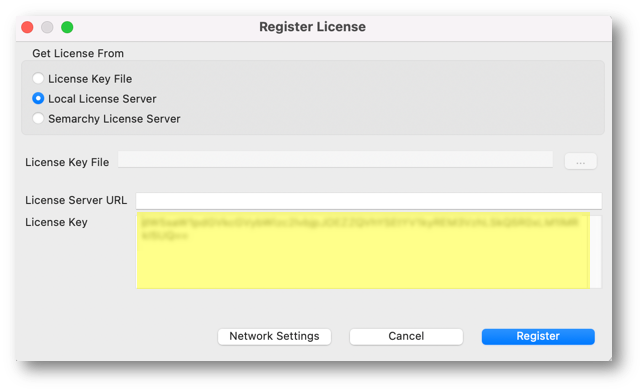
If your license is provided by a local server (Local Server mode):
- Select Local License Server.
- Enter the License Server URL. This URL should look like https://<license-server-host>:<listening-port>/. For example: http://xdi-license.acme.com:443.
- Paste the License Key string provided by your administrator.
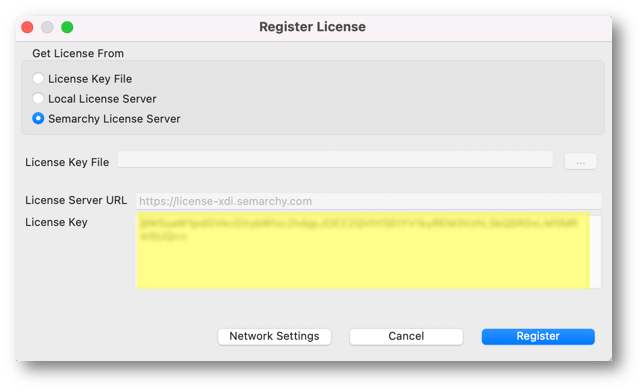
If your license was obtained from the Semarchy License Server (Online mode):
- Select Semarchy License Server.
- Paste the License Key string provided by your administrator or Semarchy.
- Click Register. Your license status is updated on the License Manager.
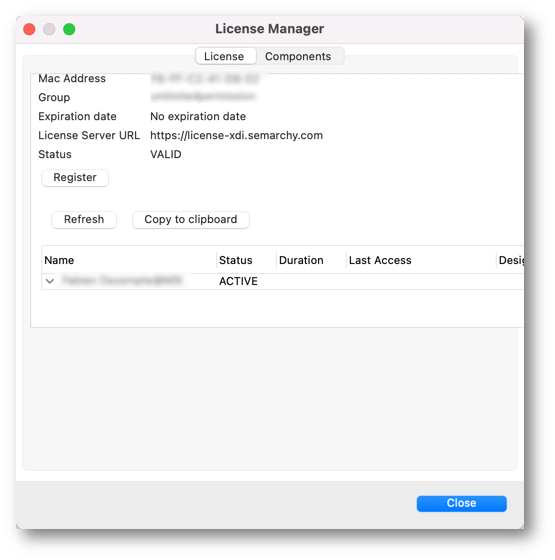
Congratulations! You have successfully registered your Semarchy xDI Designer instance.
Congratulations! You learned how to install and register Semarchy xDI Designer.
What we've covered
- You learned the overall architecture of Semarchy xDI.
- You downloaded and installed Semarchy xDI Designer.
- You learned how to obtain and register your licence for Semarchy xDI Designer.
What's next?
The next step is to follow the Semarchy xDI - Data Integration tutorials, starting with the Create Your First Data Flow with Semarchy xDI unit.
Go back to the main menu to find these tutorials.