This tutorial guides you through the process of building your first data consolidation application.
You will load data from multiple operational systems into the hub for matching and merging. In this first unit, you will create a basic model with a simple match rule. Later, you will build on this foundation.
Learning outcomes
- Creating the logical model.
- Designing the user experience.
- Deploying the application.
- Using the application.
Learning track
This tutorial is the first unit of the Data Consolidation track.
In this tutorial, we assume that you already set up a working Semarchy xDM environment and that you have design-time privileges to connect to the Application Builder.
If you have not set up Semarchy xDM yet, refer to the Quick Install resources available in the Tutorials menu.
Additional setup information can also be found in the Semarchy xDM documentation.
Click on the button below to download the required resources, including the images and datasets used within this tutorial.
Semarchy xDM uses an entity-relationship diagram to help you create the logical model of your application.
Learning outcomes
- Creating the model.
- Creating entities and adding their attributes.
- Creating lists of values (LOVs).
Create a model
To get started, you need to create a new logical model. This model will contain all of the metadata for your entities, attributes, rules, forms, collections, and applications.
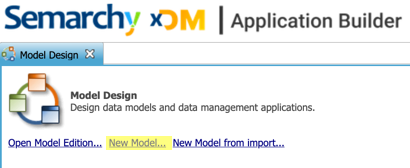
- On the Application Builder main page, click on New Model.
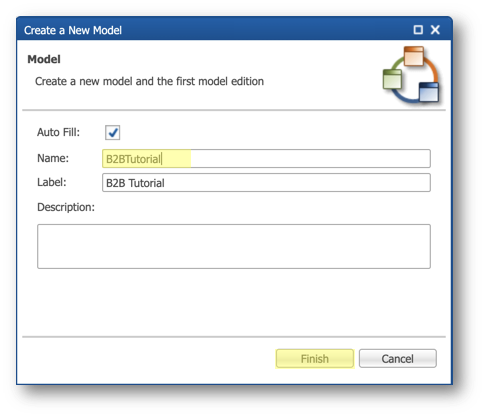
- Enter
B2BTutorialin the Name field and click Finish.
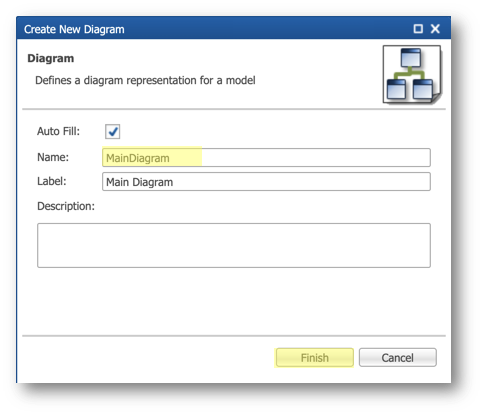
- Right-click on Diagrams and select Add Diagram.
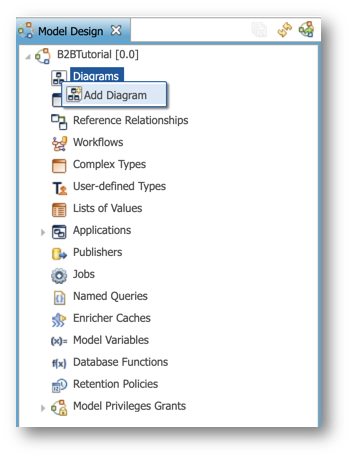
- Enter
MainDiagramin the Name field and click Finish.
Add the Company entity
You are now ready to create the Company entity. At the end of the creation process, it should be configured as follows:
Attribute | Data type | Mandatory | Notes |
ID | Sequence | Yes | Auto-numbered ID |
CompanyName | String(128) | Yes | None |
Website | String(128) | No | None |
Region | List of values | No | Refers to RegionLOV |
Address1 | String(128) | No | None |
PostalCode | String(128) | No | None |
City | String(128) | No | None |
State | String(128) | No | None |
Country | List of values | No | Refers to CountryLOV |
To add a new entity to your model, the fastest way is to add it to your diagram.
- From the Diagram editor, click Add Entity, and then click on the diagram itself.
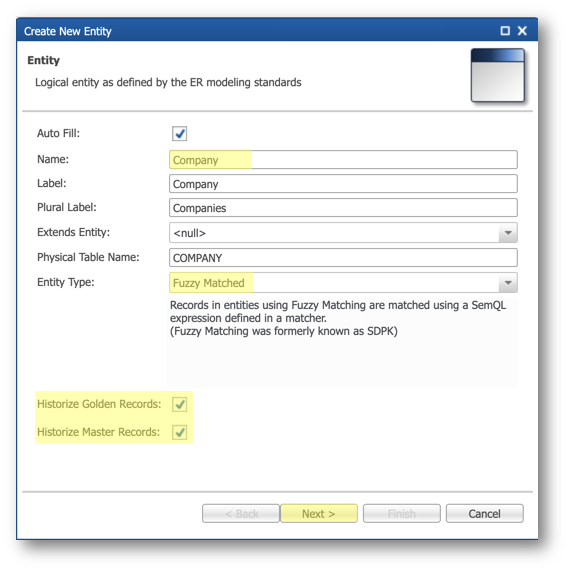
- Enter the following values on the first page of the wizard, and then click Next.
- Name:
Company - Entity type: Fuzzy-matched (which is best suited for data consolidation use cases)
- Select Historize Golden Records and Historize Master Records
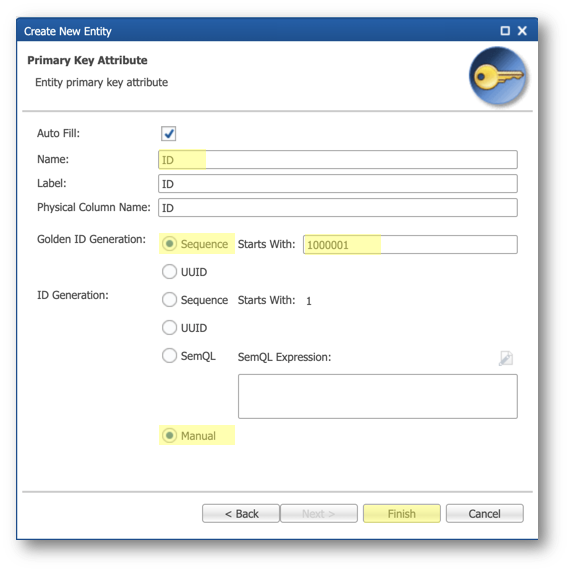
- On the next page, enter the following values to configure the primary key of your entity:
- Name:
ID - Golden ID Generation: Sequence
- Starts with:
1000001(golden-record IDs will be auto-incremented starting from this value) - ID generation: Manual (incoming companies will use their own ID generated by the source systems)
- Click Finish.
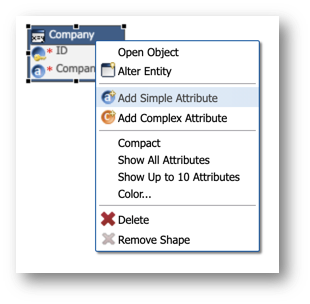
Add a simple attribute
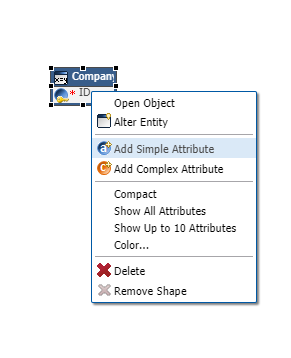
- In the Diagram editor, right-click on the Company entity, and then select Add Simple Attribute.
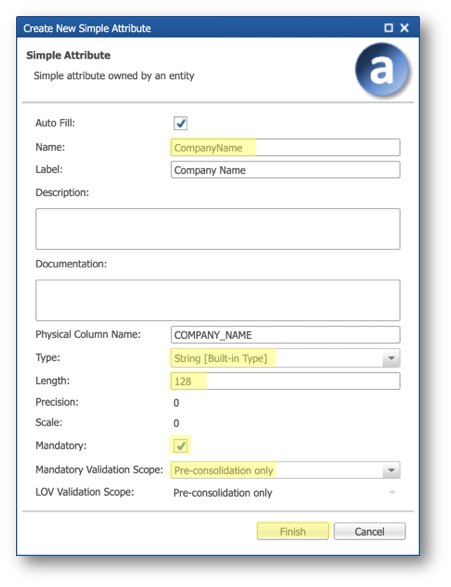
- Enter the following values:
- Name:
CompanyName - Type: String (Built-in Type)
- Length:
128 - Select Mandatory
- Mandatory Validation Scope: Pre-consolidation only
- Click Finish.
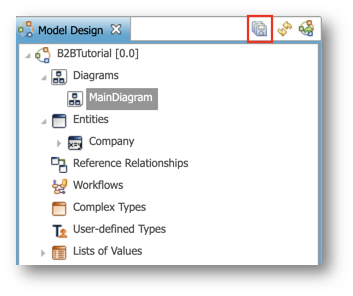
- Click the Save all current content button on the top of the Model Design view to save your work.
Add lists of values
You are now going to add two new lists of values (LOV) that you will use for the Region and Country attributes.
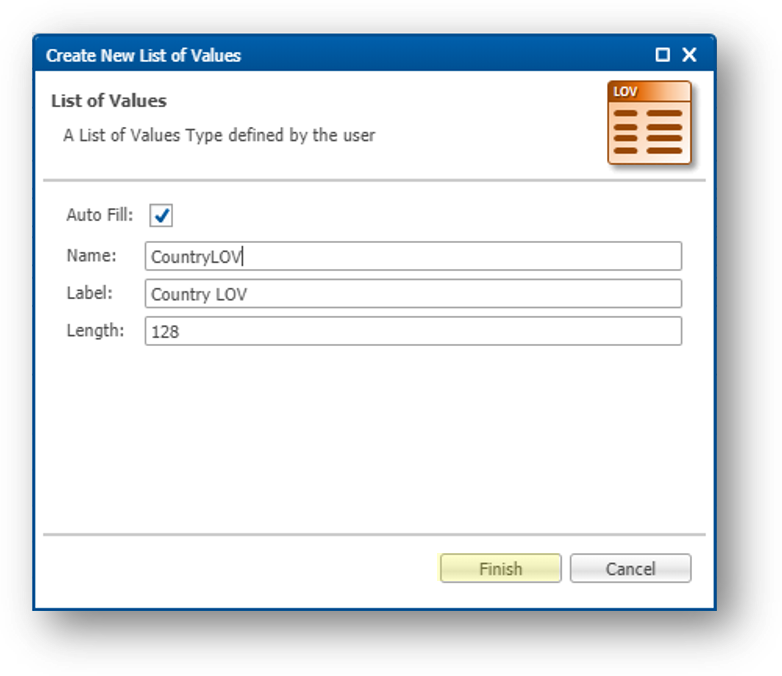
Create the Region LOV
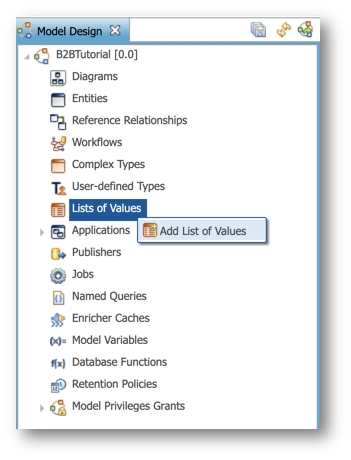
- Right-click on List of Values in the Model Design view and select Add List of Values.
- Enter
RegionLOVin the Name field, then click Finish.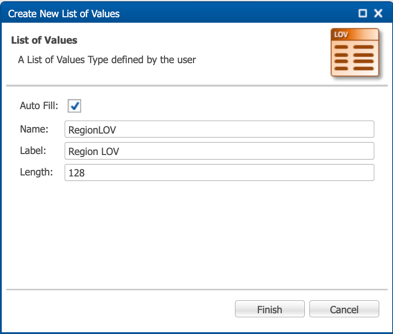
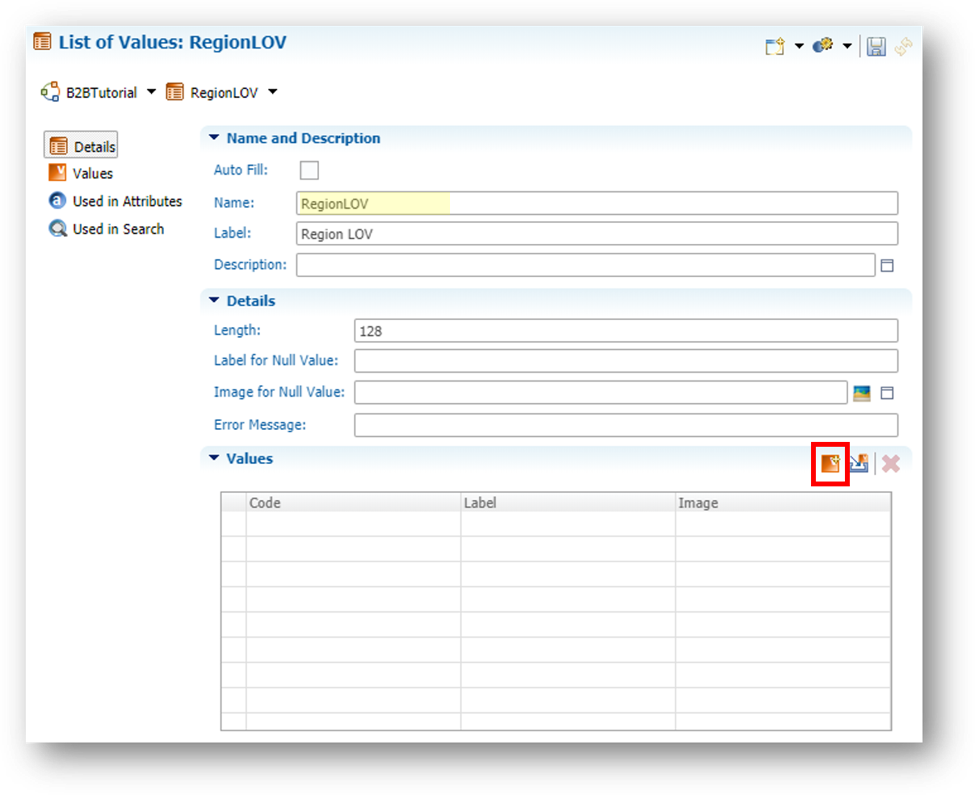
- Click the Add Value button to add the first value of your LOV.
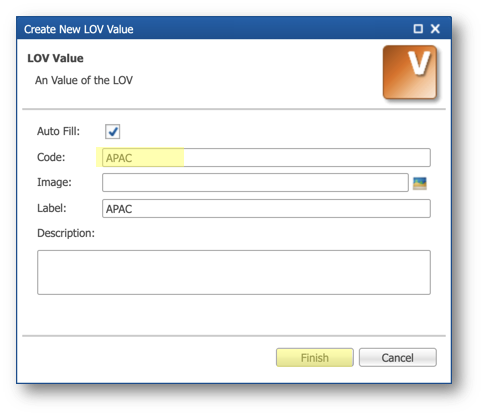
- Enter
APACin the Code field and keep the auto-generated label unmodified.
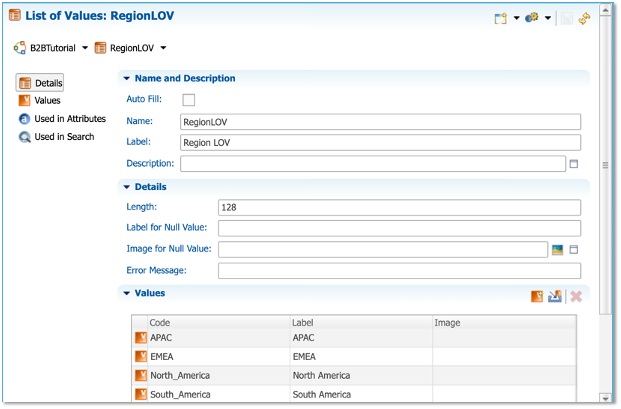
- Do the same for the other values, as shown below.
Code | Label |
EMEA | EMEA |
North_America | North America |
South_America | South America |
- Click Save.
Add the Region attribute to the Company entity
We will now add to the Company entity the attribute that will use the Region LOV.
- Go back to the Main Diagram.
- Select the Main Diagram editor tab or double-click on Diagrams > Main Diagram in the Model Design view.
- Right-click on the Company entity and select Add Simple Attribute.
- Enter the following values:
- Name:
Region - Type: RegionLOV [List of values]
- Keep Mandatory unselected.
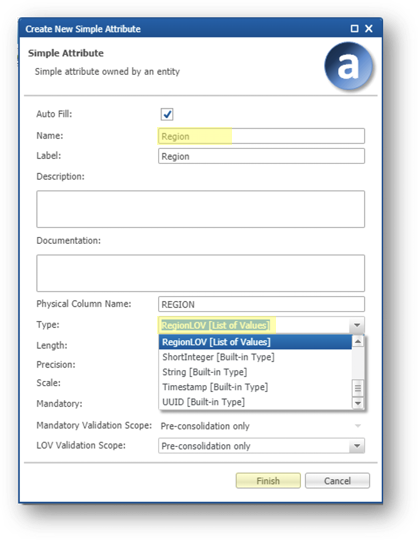
- Click Finish.
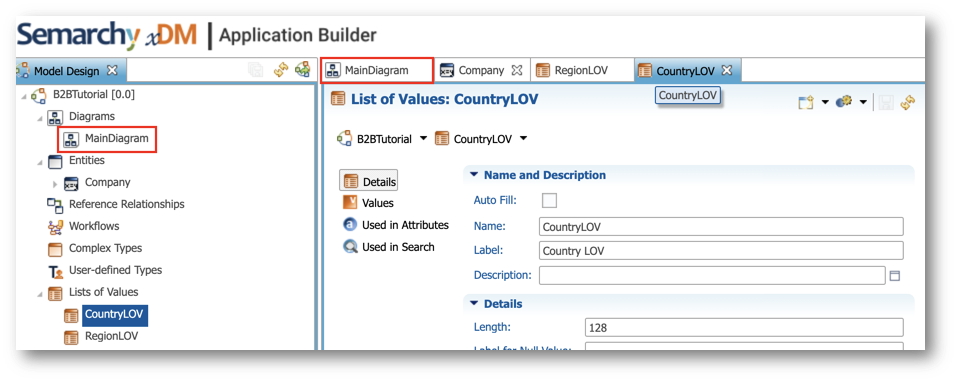
Create the Country LOV
We will now create the CountryLOV list of values using an Excel file.
- Proceed as before to create this second LOV.
- Back to the List of Values editor, click the Import values button.
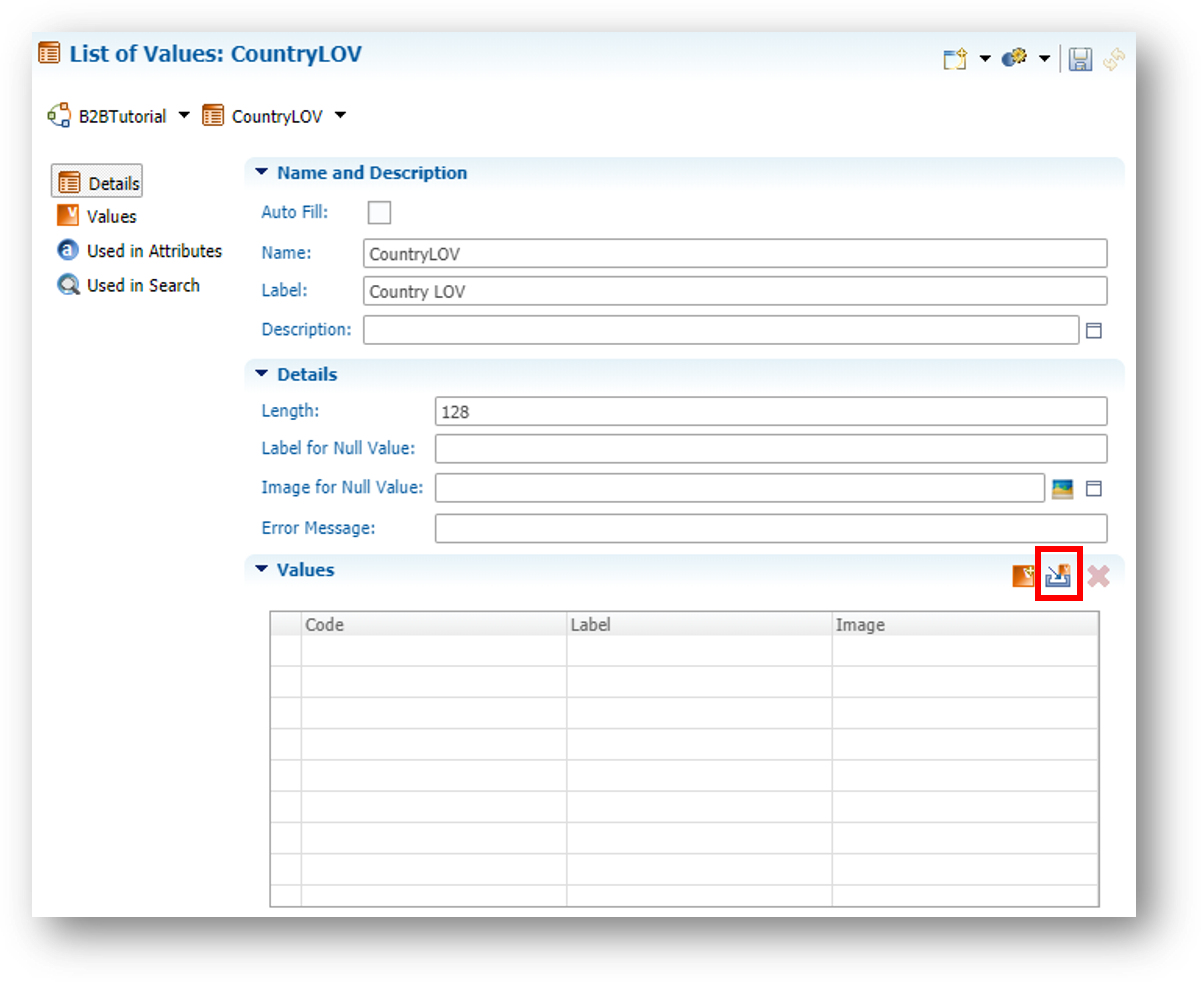
- Click the Browse button and select (or drag and drop) the
data-consolidation\datasets\countries-lov.xlsxfile from the tutorial resources you downloaded earlier.
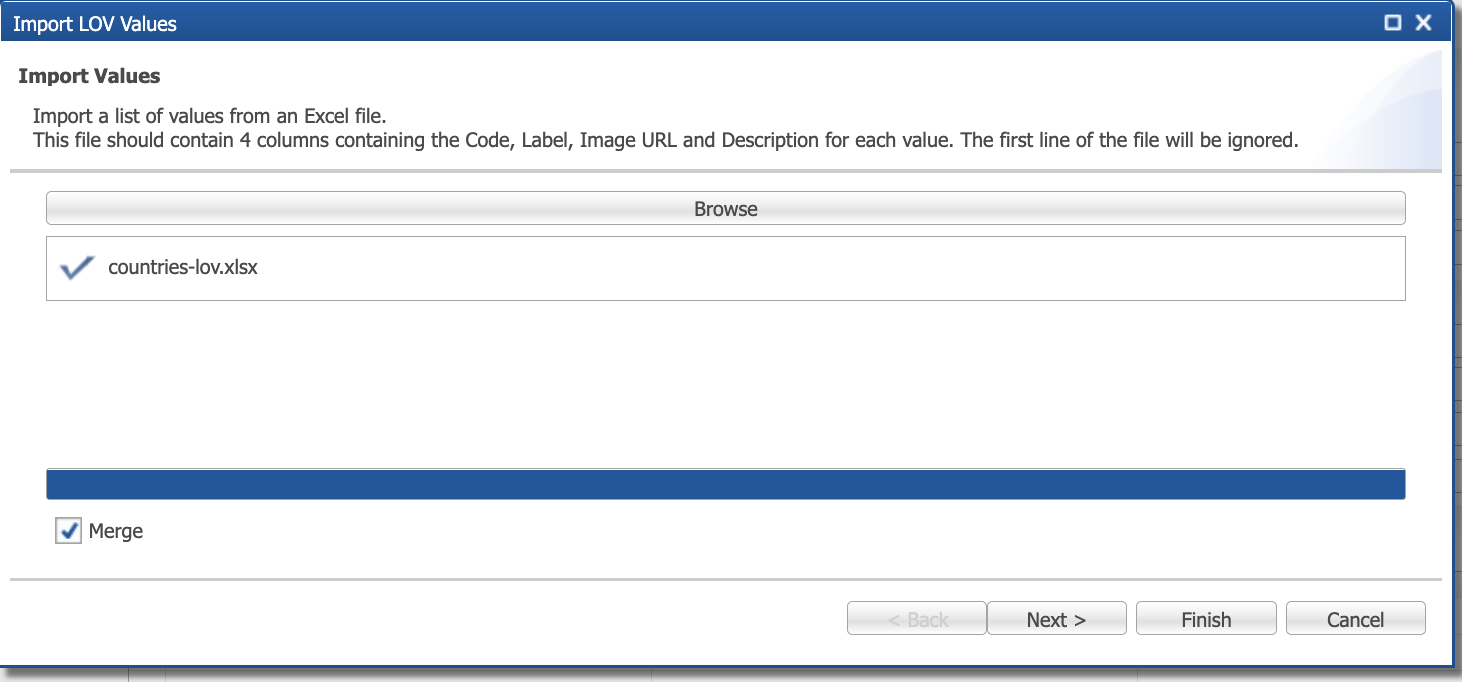
- Click Finish.
- Review the imported values.
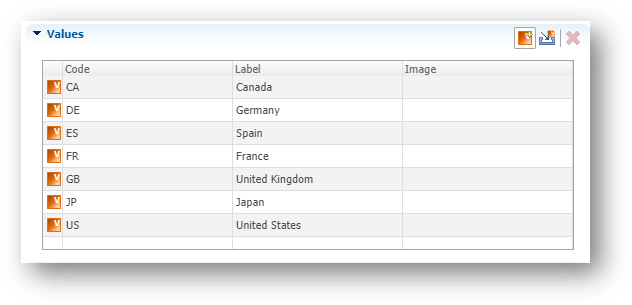
- Save your work.
Add the Country attribute to the Company entity
Add the Country simple attribute to your entity the same way you did for Region, using the following values:
- Name:
Country - Type: CountryLOV [List of values]
- Deselect Mandatory
Add the other attributes
It is now time to add the other attributes to your entity.
- Following the same instructions you used for CompanyName, add the following attributes to the Company entity:
Attribute | Datatype | Mandatory |
Website | String(128) | No |
Address1 | String(128) | No |
PostalCode | String(128) | No |
City | String(128) | No |
State | String(128) | No |
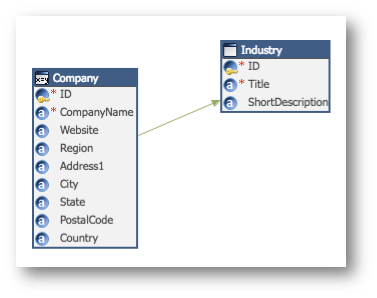
- Return to the MainDiagram and click Show data types in the button bar to display the data types next to attribute names.
- Review your entity and check that all the required attributes have been added, as shown below.
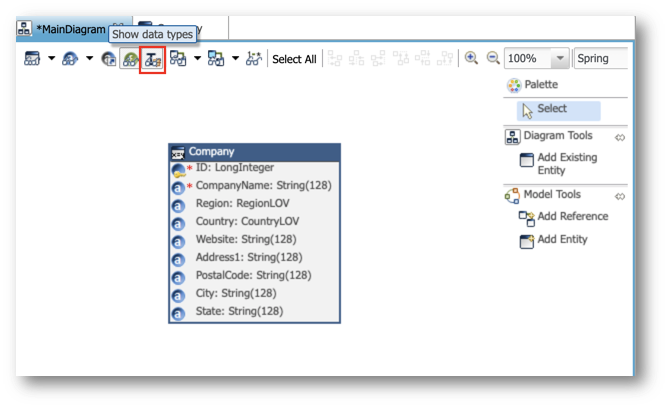
- Save your work.
Assign an icon to the entity
It is a best practice to assign icons to your entities. These icons serve as visual guides across your application, enhancing user navigation.
- From the MainDiagram, click on the Company entity.
- In the Properties view below the editor, identify the Icon property within the Name and Description tab, and then click Select Image.
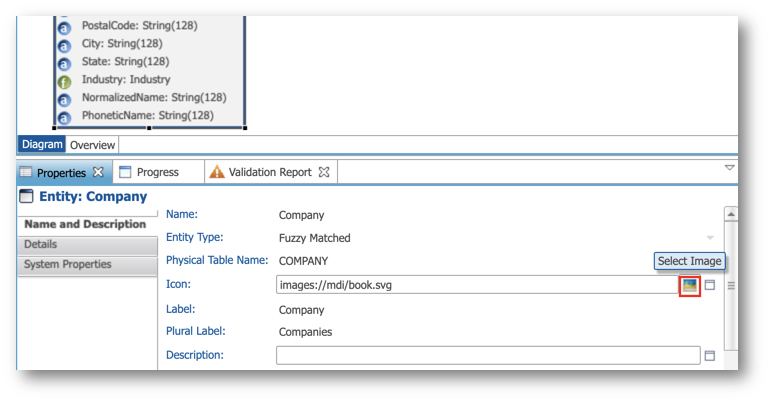
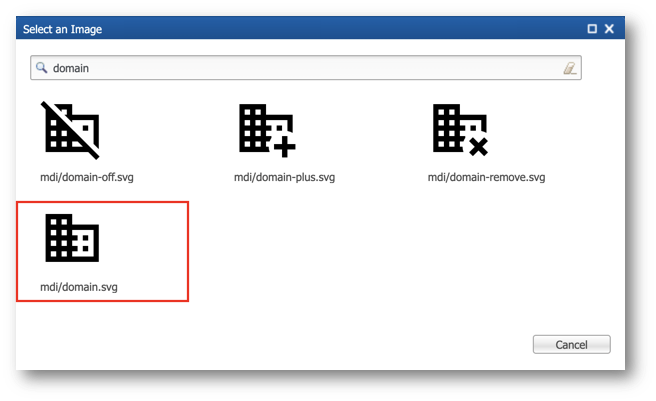
- Type
domainin the search bar and pressEnterto filter the images. - Select the
mdi/domain.svgimage.
- Save your work.
Congratulations!
You have successfully created the main entity.
To summarize:
- You have created a model and a diagram.
- You have created an entity and add attributes.
- You have added an icon for your entity.
Next, you will add a second entity and link it with the Company entity.
You are now ready to create the Industry entity, as described below:
Attribute | Datatype | Mandatory | Notes |
ID | String(20) | Yes | ID is set manually |
Title | String(128) | Yes | Name of the Industry |
ShortDescription | String(500) | No | Description of this industry in paragraph form |
Industries in this model are reference data used to classify companies. Here you will use the top level of the NAICS industry classification standard.
Next, you will:
- Create a basic entity and add its attributes.
- Add a reference to describe the one-to-many relationship between a company and an industry.
Create the Industry entity
To create the Industry entity, follow the same process as for the Company entity:
- Add the entity to the diagram with the following values and click Next:
- Name:
Industry - Entity Type: Basic
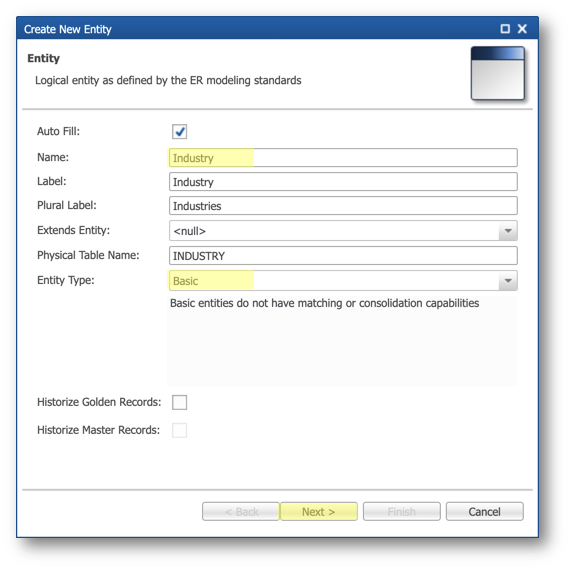
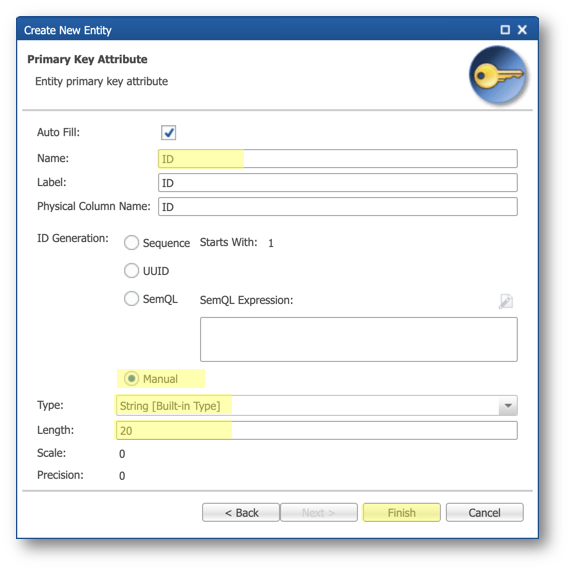
- Configure the entity's primary key attribute on the next page:
- Name:
ID - ID Generation: Manual
- Type: String [Built-in Type]
- Length:
20
- Add the Title and ShortDescription attributes as you did previously for the Company entity.
Attribute | Mandatory | Datatype | Description |
Title | Yes | String(128) | Name of the Industry |
ShortDescription | No | String(500) | Description of this industry in paragraph form |
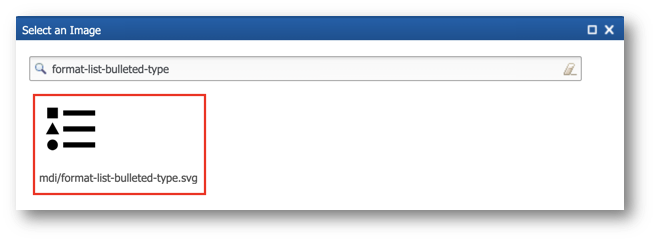
Assign an icon
Proceed the same way you did for Company to assign an icon for the Industry entity:
- From the MainDiagram, click on the Industry entity.
- In the Properties view, identify the Icon property within the Name and Description tab, and click Select Image.
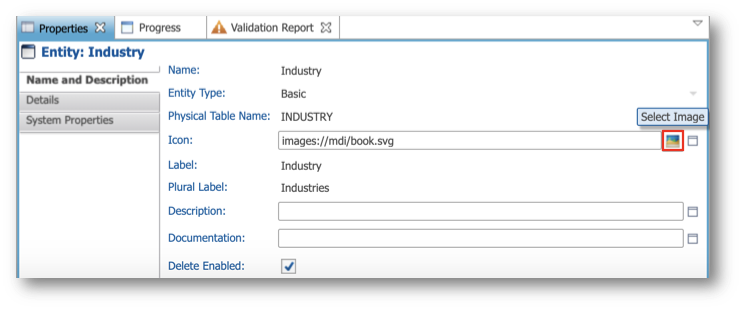
- Type
format-list-bulleted-typein the search bar to find and selectmdi/format-list-bulleted-type.svg.
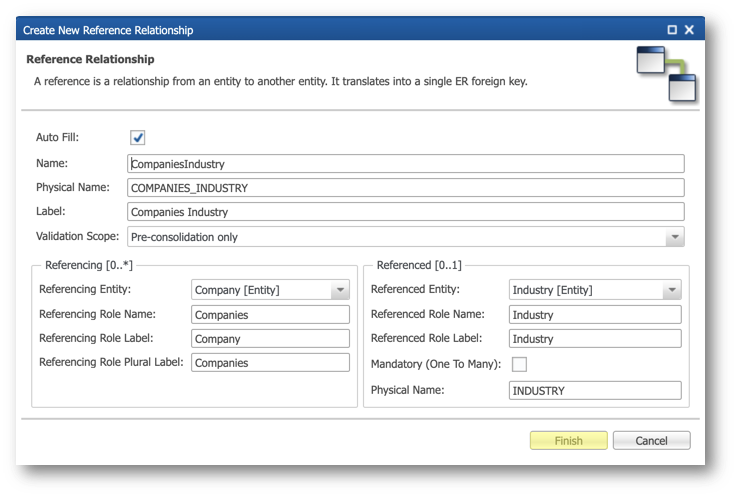
Create the Company-Industry reference
From the Main Diagram, create the reference relationship named CompaniesIndustry, from Company to Industry:
- Click Add Reference in the Palette.
- Click on the Company entity and drag the line to the Industry entity.
- Leave all values unmodified in the Create New Reference Relationship dialog, and then click Finish.
Congratulations!
You have successfully added another entity to your model and created a reference relationship.
To summarize:
- You have created a basic entity and added attributes.
- You have added an icon for the entity.
- You have created relationships between entities.
Next, you will configure record matching and survivorship.
In this section, you will configure the match and survivorship rules that will apply to your application.
Learning outcomes
- Understanding the basics of matching.
- Creating a matcher that defines the merge thresholds.
- Creating your first match rule.
- Defining the survivorship rules.
Matching data in Semarchy xDM
In Semarchy xDM, matching is performed on master records coming from source systems. It is a fundamental step of the certification process that aims at consolidating these master records into unique golden records.
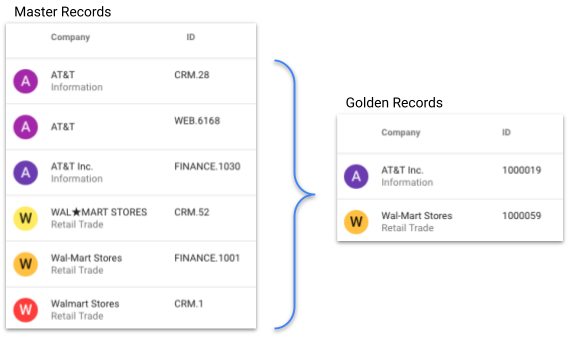
In the case of fuzzy-matching entities (such as the Company entity you created previously), master and golden records use different identifiers:
- Master records are referred to by their IDs in source systems.
- Golden records use IDs generated as defined in your entity.
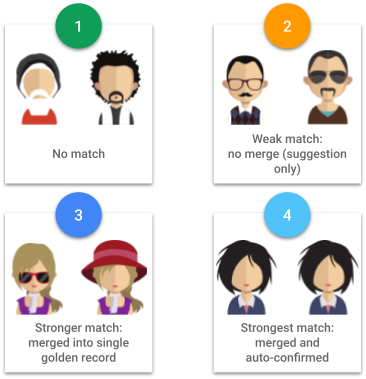
Match rules define how incoming source records match together. You have full control of the rule details and the thresholds defining when matched records should merge and when merged records should be confirmed.
Once master records have been matched, survivorship rules define how their attributes will consolidate into the resulting golden record.
Create a match rule
It is now time to create your first match rule.
- In the Model Design view of the Application Builder, go to Entities > Company > Matcher.
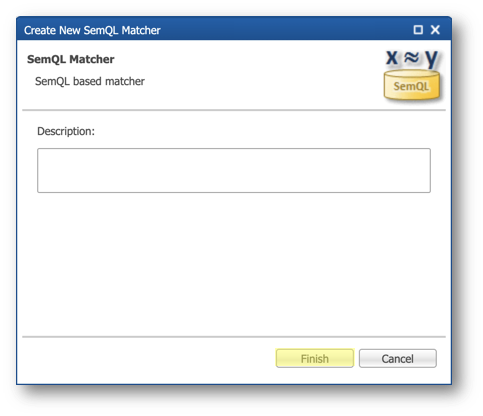
- Right-click on Matcher and select Define SemQL Matcher.
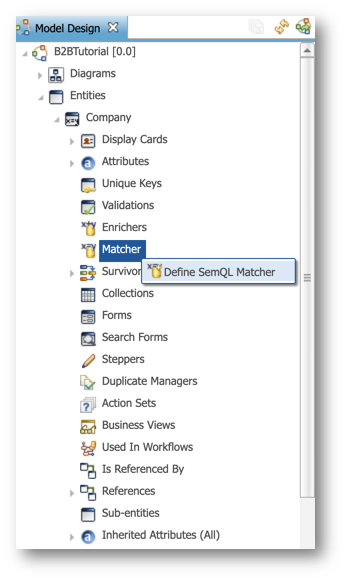
- The description is optional. Click Finish.
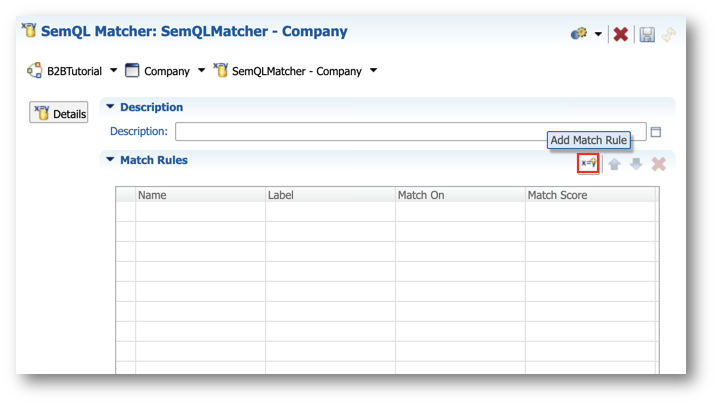
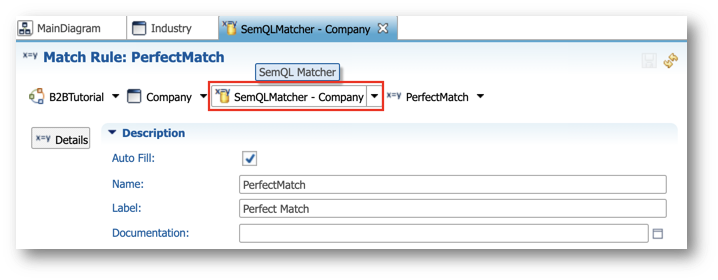
- On the SemQL Matcher editor, click Add Match Rule.
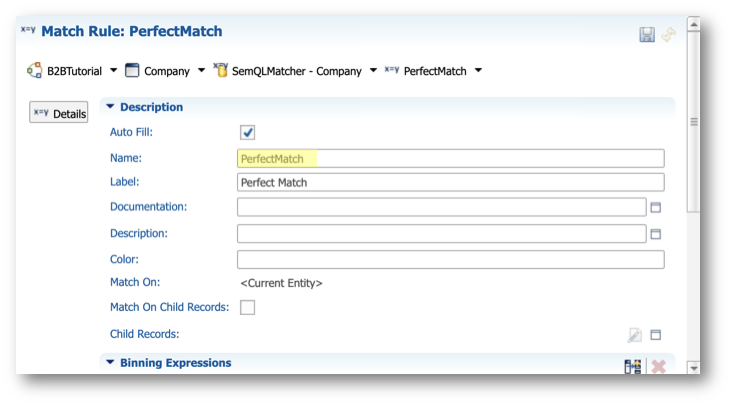
- In the Name field, enter
PerfectMatch.
- Scroll down the editor and identify the Match Condition field. Click Edit Expression.
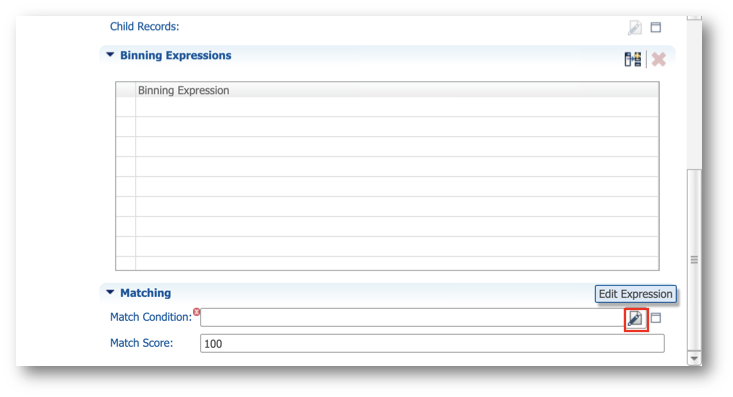
- Copy and paste the following SemQL Condition in the SemQL editor, and then click OK.
Record1.CompanyName = Record2.CompanyName
AND Record1.Address1 = Record2.Address1
AND Record1.PostalCode = Record2.PostalCode
AND Record1.Country = Record2.Country
- Click on SemQLMatcher - Company in the breadcrumb above the MatchRule editor to return to the SemQL Matcher editor.
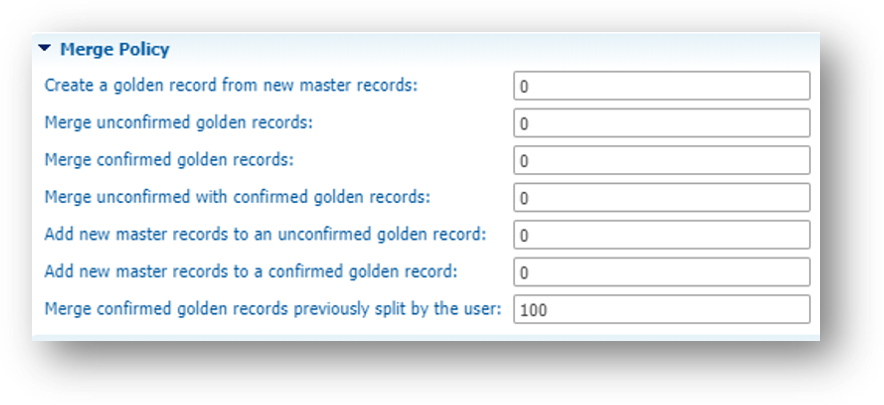
- Scroll down to the Merge Policy section of the editor. Keep the default value for all thresholds. With this configuration, all matches will merge.
- Save your work.
Later, we will introduce nuances to handle fuzzy matches and match suggestions.
Add publishers
Publishers are applications that provide source data to the hub. They are commonly used in survivorship rules, but can also be used in match rules, enrichers, and in other locations in your model.
In this section, you will define four publishers: one for each source system that will submit data to xDM.
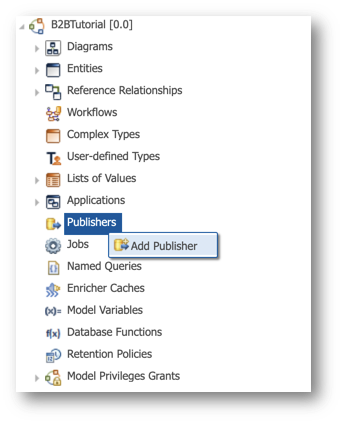
- Right-click on Publishers in the Model Design view and select Add Publisher.
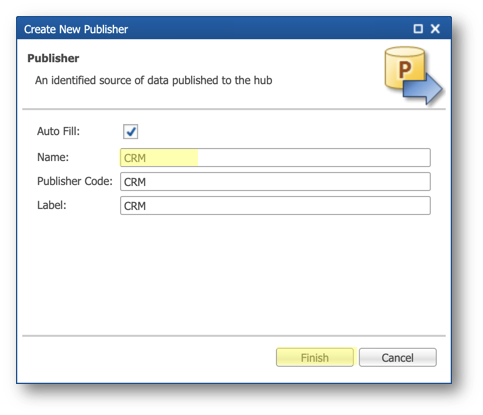
- In the Name field, enter
CRM. - Keep the Publisher Code and Label fields unmodified, and then click Finish.
- Repeat the previous steps to create three other publishers:
- ERP
- FINANCE
- WEB
- Save your work.
Configure a survivorship rule
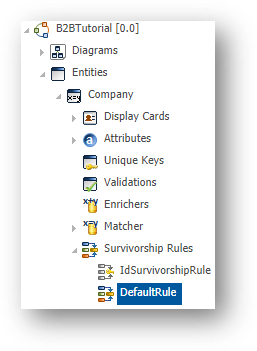
It is time to set up your first survivorship rule. A default rule was created automatically with the entity. You will edit this rule to define the level of trust you place in each of your publishers.
- To configure the default survivorship rule, go to Entities > Company > Survivorship Rules in the Model Design view and double-click DefaultRule.
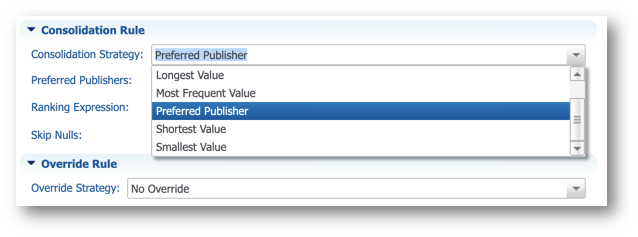
- Scroll down to the Consolidation Rule section.
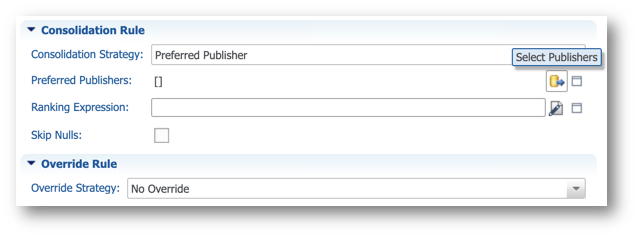
- Set Consolidation Strategy to Preferred Publisher to select and order your publishers manually.
- Click the Select Publishers button next to the Preferred Publishers property.
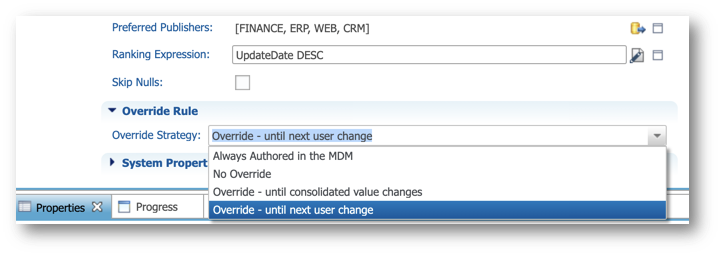
- Add publishers in the following order: FINANCE, ERP, WEB, CRM.
You can use the Move Up or Move Down buttons to reorder the publishers.
- Click Finish.
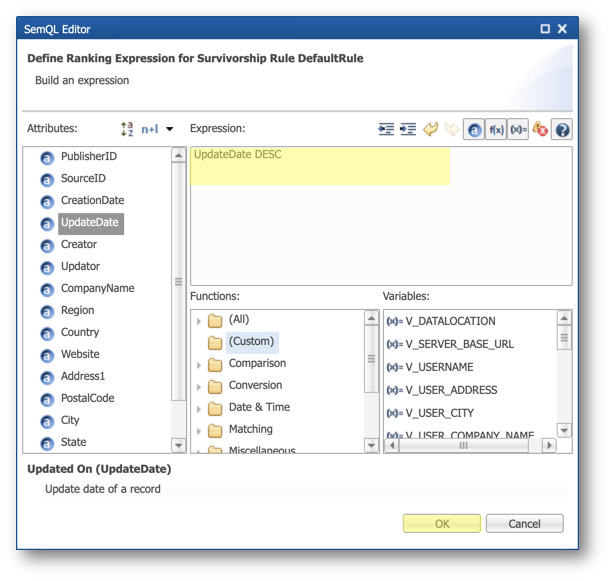
- Click the Edit Expression button next to the Ranking Expression property.
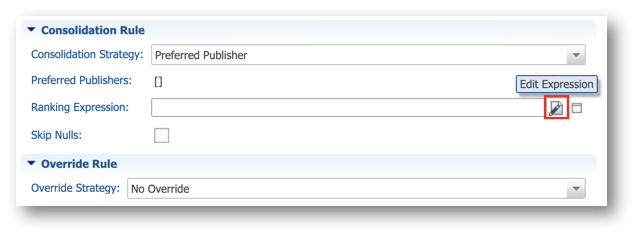
- Enter the following SemQL expression to consolidate the value from the most recent record in case of a tie, and then click OK.
UpdateDate DESC
- Finally, set the Override Strategy property to Override - until next user change. With this configuration, changes by the data stewards are allowed and take precedence over the source systems:
- Save your work.
Congratulations!
You have successfully configured matching and survivorship rules.
To summarize:
- You have created simple matching rules.
- You have declared publishers.
- You have configured simple survivorship rules.
Next, you will start to define the user experience for your application. You will learn how to add forms, collections, and more.
Semarchy xDM uses Material Design as the visual language for defining a business user interface. The user interface uses several application components that you will define later in this tutorial. These include display cards, forms, collections, steppers, search forms, action sets, business views, application actions, and more.
Learning outcomes
- Discovering the different application components you can define in xDM.
- Generating default application components.
- Editing the generated items.
Application components
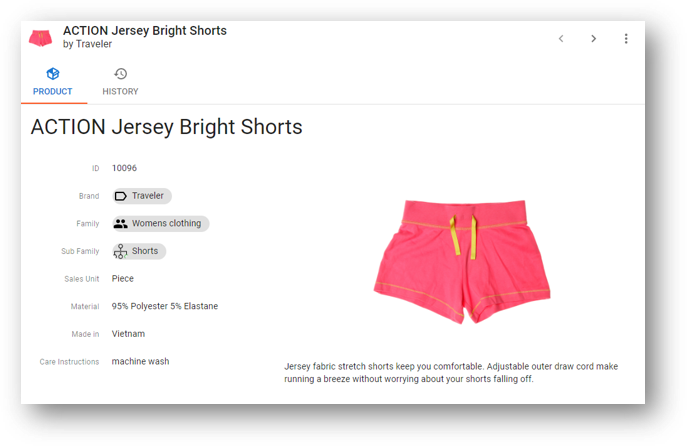
MDM applications in Semarchy xDM rely on several components that you can directly generate and configure in the Application Builder. The following examples are taken from the Product Retail Demo application.
- Display cards provide a compact and visual representation of a record.

- Collections configure how multiple records are displayed in a table, list, or grid.

- Forms define how one record is displayed in a form to browse or author data.
- Steppers determine the guided data authoring experience.
- Action sets are data actions available for one or multiple records.
- Business views tie all of the above together to form a consumable view.
- The navigation drawer allows navigating to business views.
Focus on display cards
Display cards define a visual representation of a record in a nicely formatted way. They can be used in collections or in fields to offer a compact view of this entity.
When generating application components, you will be prompted to define how you want your records to be displayed in display cards. You will define SemQL expressions that will translate into formatted text for your primary text and secondary text.
Here is how display cards will be configured for the Company and Industry entities:
- Company display card:

- Industry display card:

Generate components
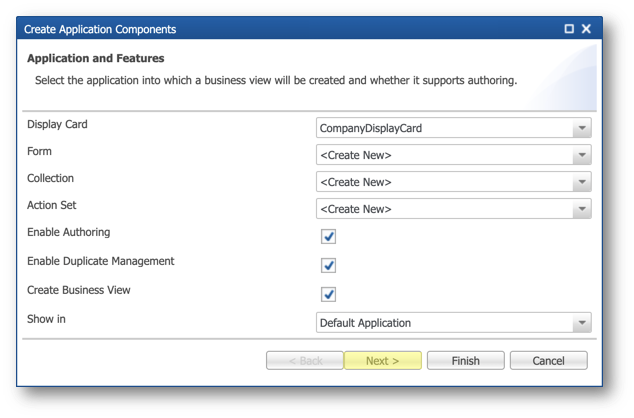
You will now use the Generate Application Components wizard to automatically generate most of the components you will need to enable user interaction with your data.
- In the Model Design view of the Application Builder, right-click on the Company entity under Entities and select Create Application Components.
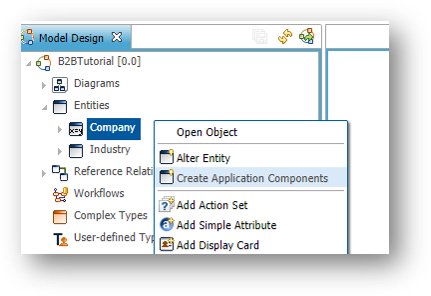
- Keep all default settings and press Next.
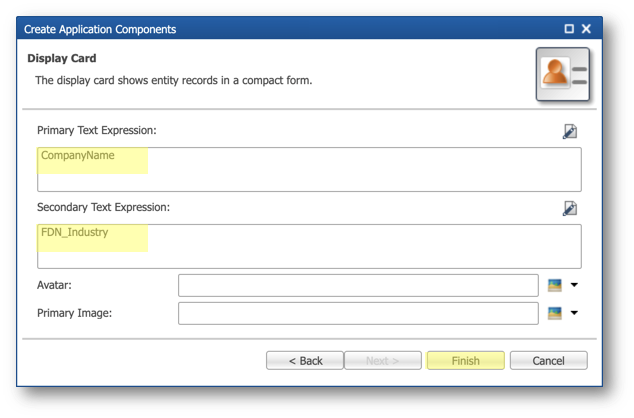
- On the next page, observe that a default Primary Text Expression has been set:
SEM_TO_CHAR2(ID).
This expression returns the ID converted to a string.
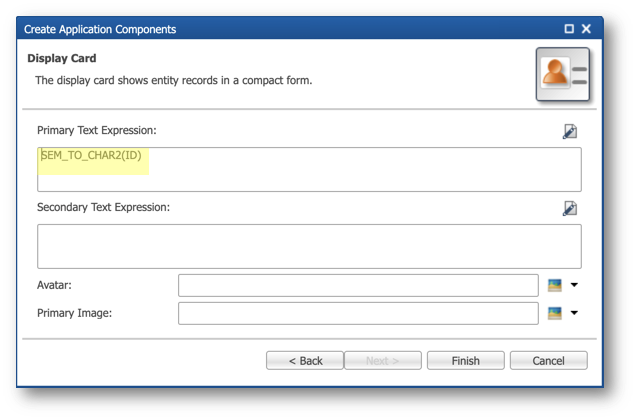
- Set the Primary Text Expression.
- Click the Edit Expression button in the upper-right corner of the text area
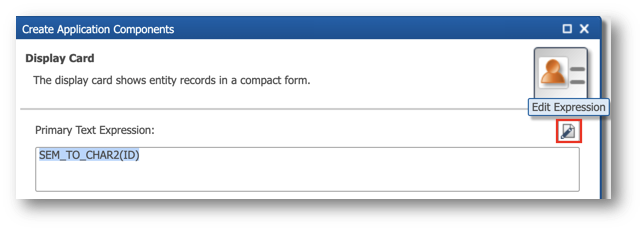
- Remove the default expression.
- Double-click the CompanyName attribute in the list of attributes on the left to add it to the expression.
- Press OK.
- Set the Secondary Text Expression: follow the same procedure as for the Primary Text Expression and select the FDN_Industry attribute, or paste
FDN_Industryinto the text area. - Click Finish.
- Repeat the instructions from step 1 for the Industry entity, using the following expressions for the display card:
- Primary Text Expression:
Title - Secondary Text Expression:
ID
- Save your work.
Explore the generated items
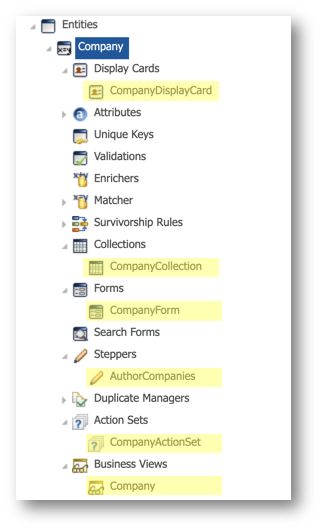
The wizard has generated all the required objects for the Company entity:
- Display card
- Collection
- Form
- Stepper
- Action set
- Business view
- Navigation drawer
- Expand the Company entity to see all generated components.
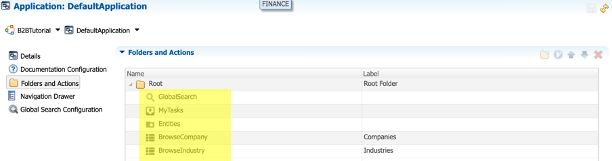
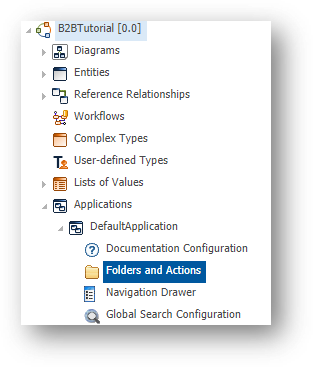
- Scroll down in the Model Design view and go to Applications > DefaultApplication.
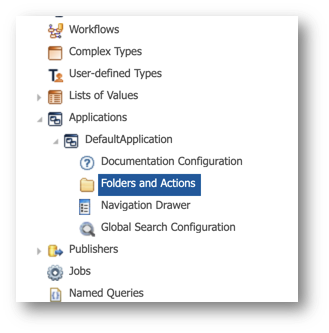
- Double-click on Folders and Actions and observe that a default list of menu items was initialized, including a BrowseCompany action.
Improve your application
In this section, you will improve your application before deploying it. You will:
- Enable the import of master records instead of golden records.
- Enable easy browsing of master records as well as golden records.
- Configure the Global Search feature.
- Set icons and labels for your application and its entities.
Enable master data import
You are now going to configure the import action for the Company entity so that it supports importing master records instead of golden records, which is the default setting.
- Navigate to Entities > Company > Actions Sets and double-click on CompanyActionSet to open the editor for the generated action set.
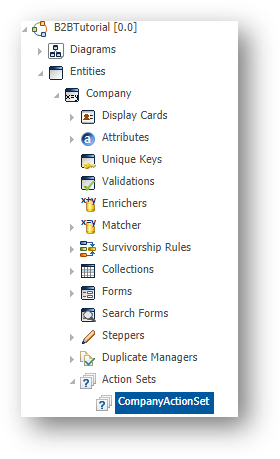
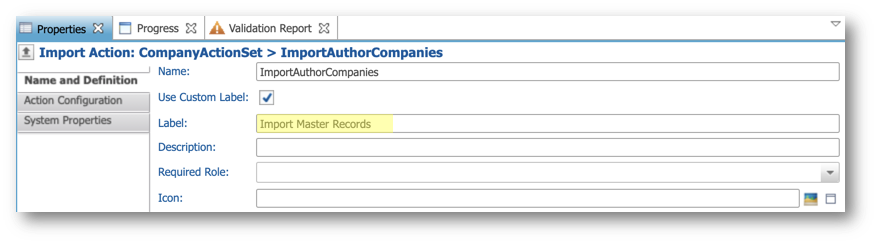
- Select the ImportAuthorCompanies action in the Actions list. This opens the Properties inspector window below the editor.

- In the Name and Definition tab of the Properties view, set the Label property for this action to
Import Master Records.
- Select the Action Configuration tab, and then set Imported Record Type to Master Records.
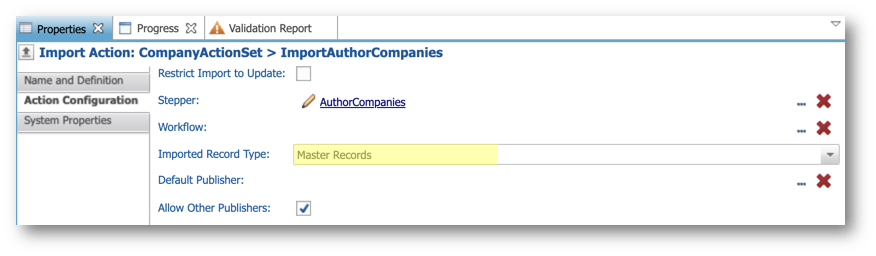
- Save the action set.
Customize golden data browsing
By default, an action was generated to browse golden records of the Company entity. You will customize the label and color of this action, and add a similar action for the master records.
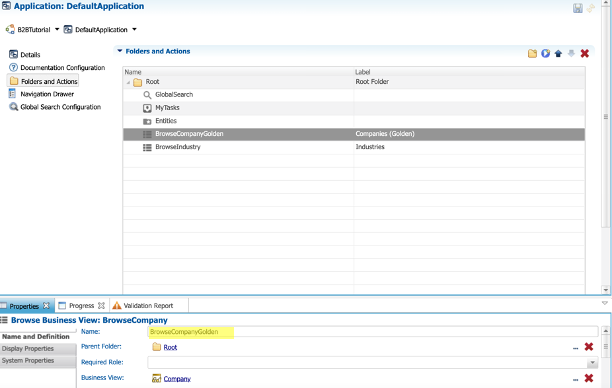
- Navigate to Applications > DefaultApplication in the Model Design view and double-click on Folders and Actions.
- Select the BrowseCompany action.
- In the Name and Definition tab of the Properties view, set the Name of the action to
BrowseCompanyGolden.
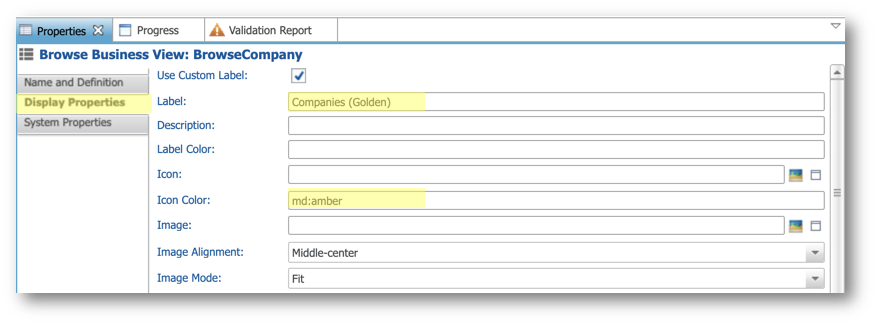
- Select the Display Properties tab and then set the following properties:
- Label:
Companies (Golden) - Icon Color:
md:amber
Enable master data browsing
To allow users to browse master records, you need to create a new action:
- In the Folders and Actions editor, click Add Action.
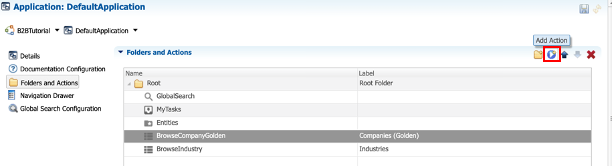
- Name your new action
BrowseCompanyMaster, and then click Next.
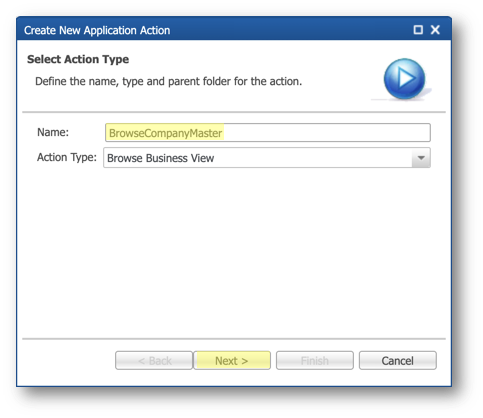
- Configure the business view to browse as follows:
- Business View: Company [Business View]
- View Type: Master Data
- Click Next.
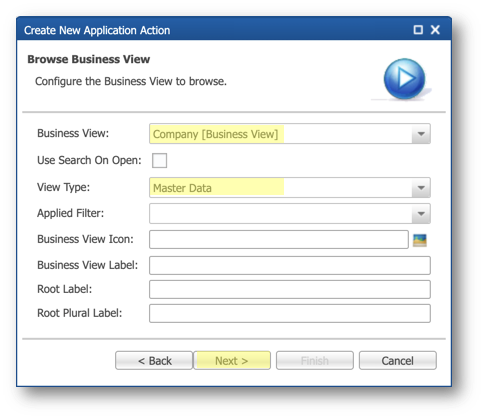
- Configure the display properties as follows:
- Select Use Custom Label
- Label:
Companies (Master)

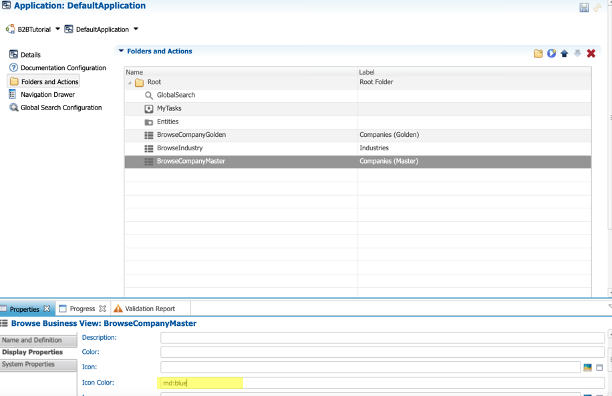
- Click on the new BrowseCompanyMaster action and set the Icon Color property to
md:bluein the Display Properties tab of the Properties view.
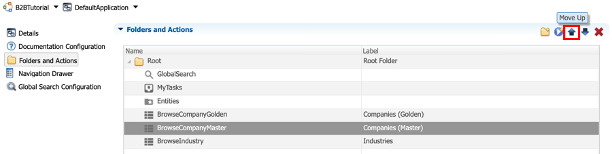
- To customize the order of the actions in your menu, select the BrowseCompanyMaster action, and then click Move Up to move it above BrowseIndustry.
Configure the Global Search feature
The Global Search Configuration feature defines which business views are searched from the Global Search page, and how they are searched.
You will now configure the Global Search feature for both Company and Industry entities.
- Click on Global Search Configuration.
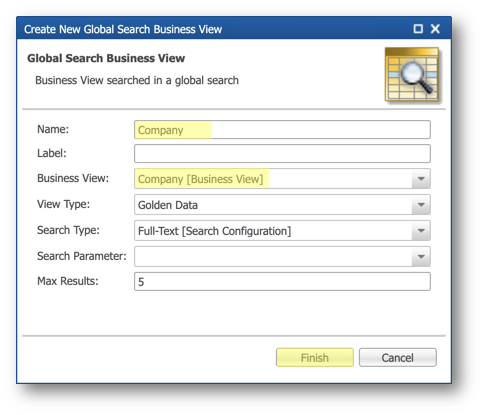
- In the Global Search Configuration editor, click Add Business View to Search above the Searched Business Views list.

- Enter the following values, and then click OK:
- Name:
Company - Business View: Company [Business View]
- Repeat the two previous steps to add Industry to the Global Search, using the following values:
- Name:
Industry - Business View: Industry [Business View]
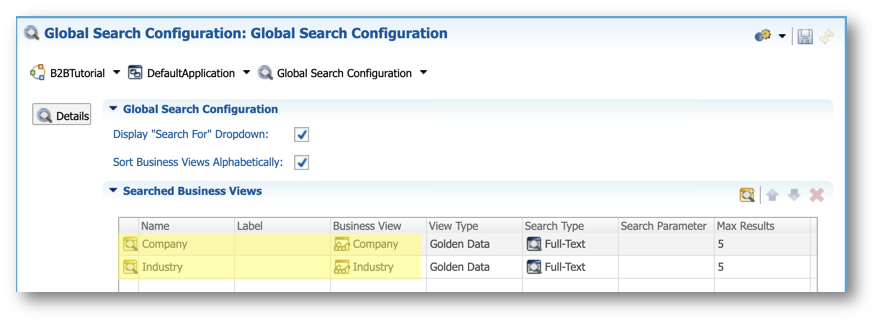
- Save your work.
Brand your application
Now you will set some application properties to make things clear for your data stewards.
- Double-click Applications > DefaultApplication in the Model Design view.
- Configure the B2B Tutorial application by setting the following properties:
- Name:
B2BTutorial - Label:
B2B Tutorial - Title:
B2B Tutorial - Avatar:
images://mdi/domain.svg(copy and paste the value, or click on the Select Image button and search fordomainto find that image) - Sort Method: Position (this option allows manual ordering of the navigation items)
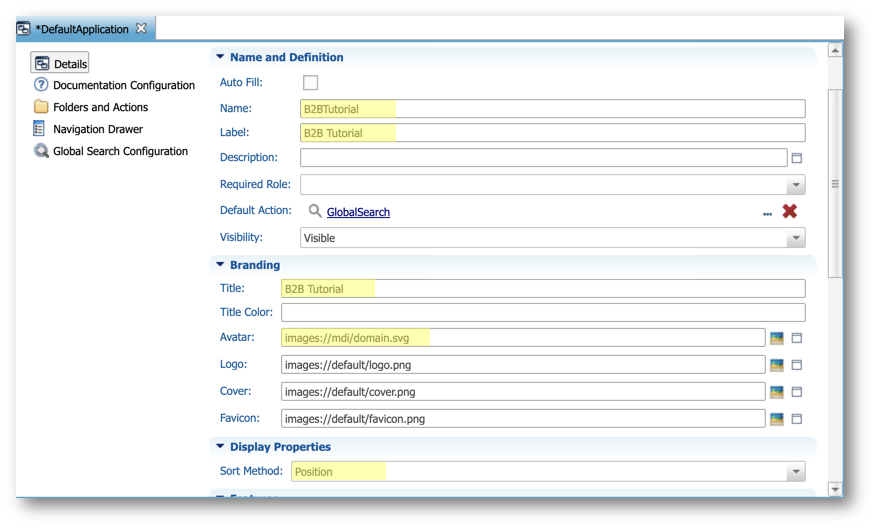
- Save your model.
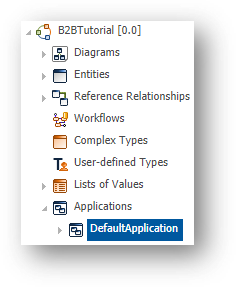
- In the Model Design view, right-click on the root node B2BTutorial [0.0] and select Validate.
No error or warning should be reported.
Congratulations!
You have successfully configured your first application.
To summarize:
- You have generated application components.
- You have configured entities' display cards.
- You have branded your application.
- You have configured the Global Search feature.
- You have validated your model.
Next, you will learn how to deploy this application and access it for the first time.
Semarchy xDM allows you to deploy your model to a data location. It will create all the physical tables and columns in a relational database (PostgreSQL, Oracle, or SQL Server), and generate the user interface of your application.
Learning outcomes
- Creating a datasource.
- Creating a data location.
- Deploying the model to this data location.
- Connecting to the application.
Create a datasource
Before creating a data location and deploying your model, you must create a platform datasource to connect to the SEMARCHY_EMP_TUTORIAL database schema that was created in the Quick Install tutorials.
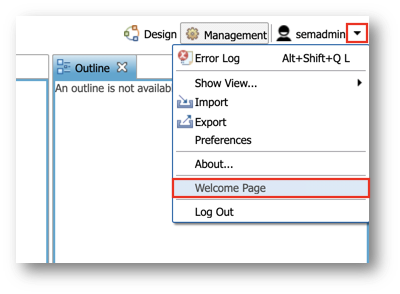
- In the Application Builder toolbar, expand the user menu, and then select Welcome page.
- Select Configuration.
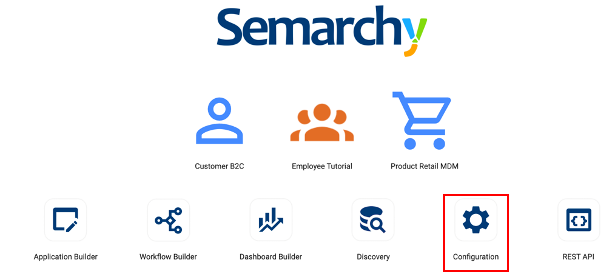
- Scroll down to the Connections section and click Datasources.
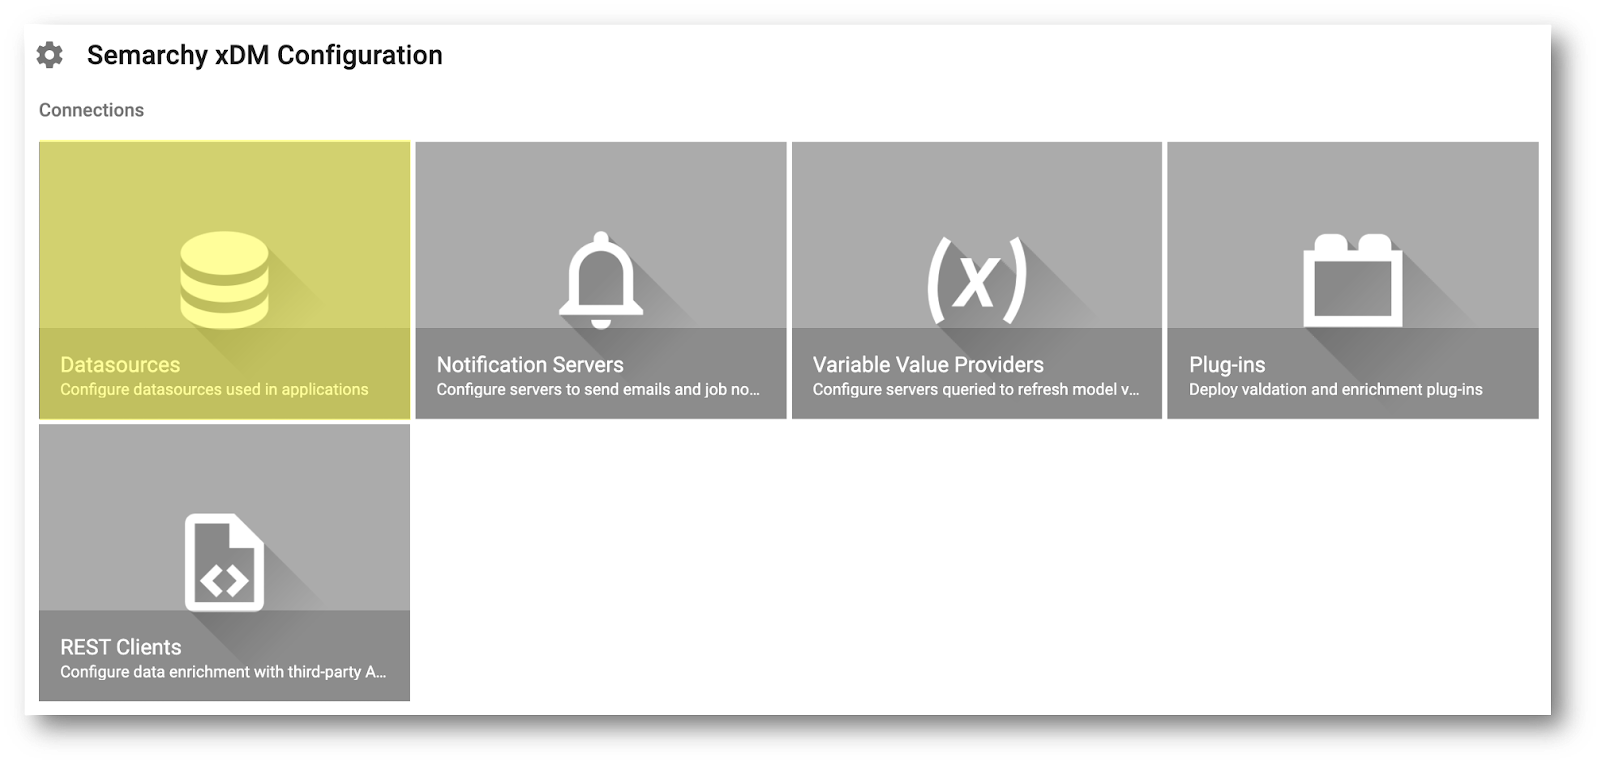
- Click the Add datasource floating action button.

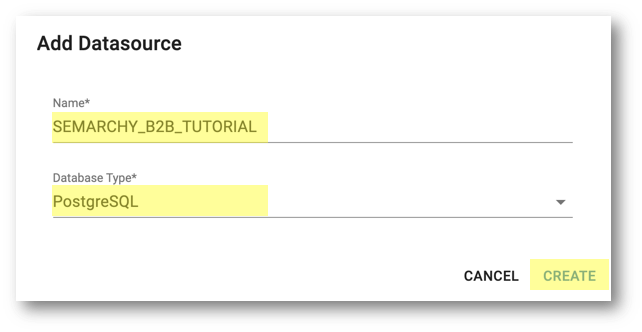
- Enter the following values:
- Name:
SEMARCHY_B2B_TUTORIAL - Database Type: select the value that corresponds to your database.
- Click Create.
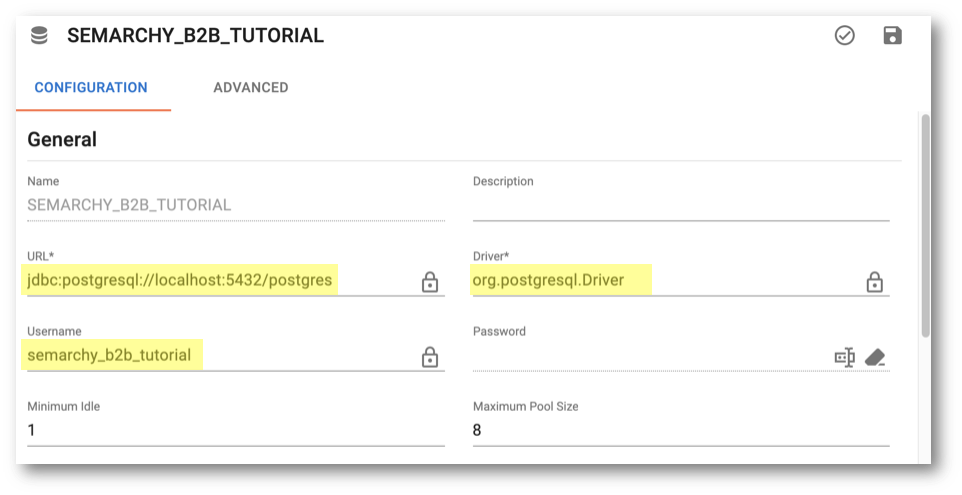
- Enter the following connection parameters in the editor:
- The URL field is populated with a default value. Check that the default host, port and database name in the connection URL are correct.
- Driver: keep the default value.
- Username:
semarchy_b2b_tutorial
- Enter the password of the database schema:
- Click the Edit Secret button next to the Password field.
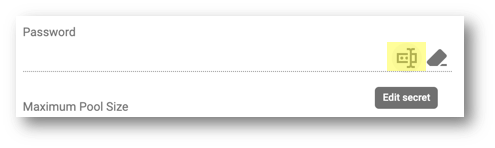
- Keep the current value of the Secure with field (or select another encryption method if you have configured any), enter
semarchy_b2b_tutorialin the Value of "Password" field, and then click OK.

- Click Test this Datasource in the button bar above the editor.

- A "Datasource test successful" message should be displayed. Click OK.
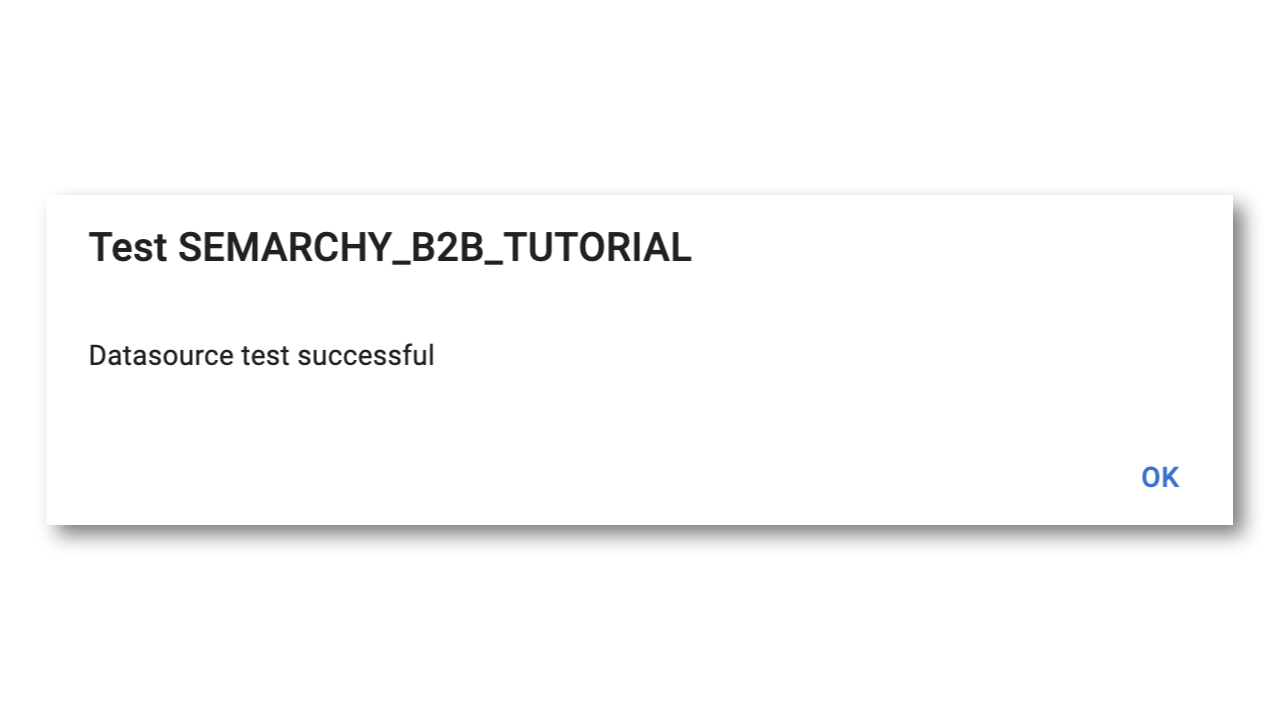
If another message is displayed, identify the error and fix the connection parameters.
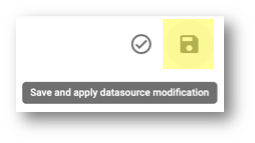
- Click the Save and apply datasource modification button on the datasource editor.
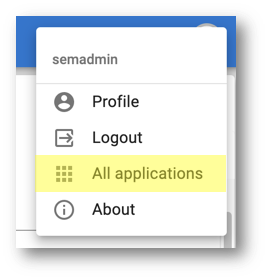
- Open the user menu on the top-right corner and then select All applications to go back to the Welcome page.
Create the data location and deploy the application
In this section, you will create the B2BTutorial data location and deploy your model to this data location.
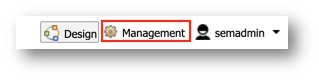
- Click the Management button in the Application Builder bar to access the Management perspective.
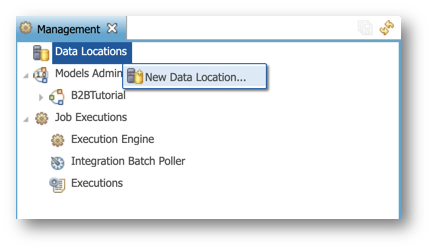
- Right-click on Data Locations and select New Data Location.
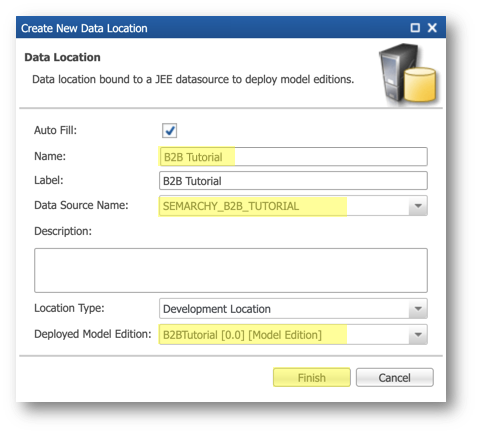
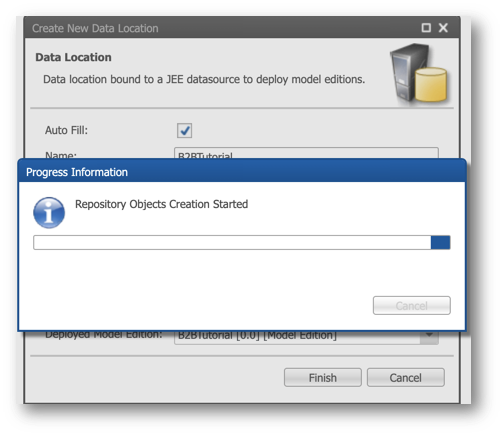
- Enter the following values, and then click Finish:
- Name:
B2BTutorial - Data Source Name: select SEMARCHY_B2B_TUTORIAL
- Deployed Model Edition: select B2BTutorial [0.0] [Model Edition]
- Wait until deployment completes.
Connect to the application
In this section, you will connect to the application that you just deployed.
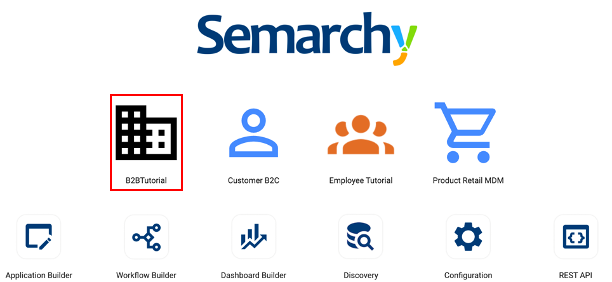
- In the Application Builder toolbar, expand the user menu, and then select Welcome page.

- From the Welcome page, click the B2B Tutorial application icon.
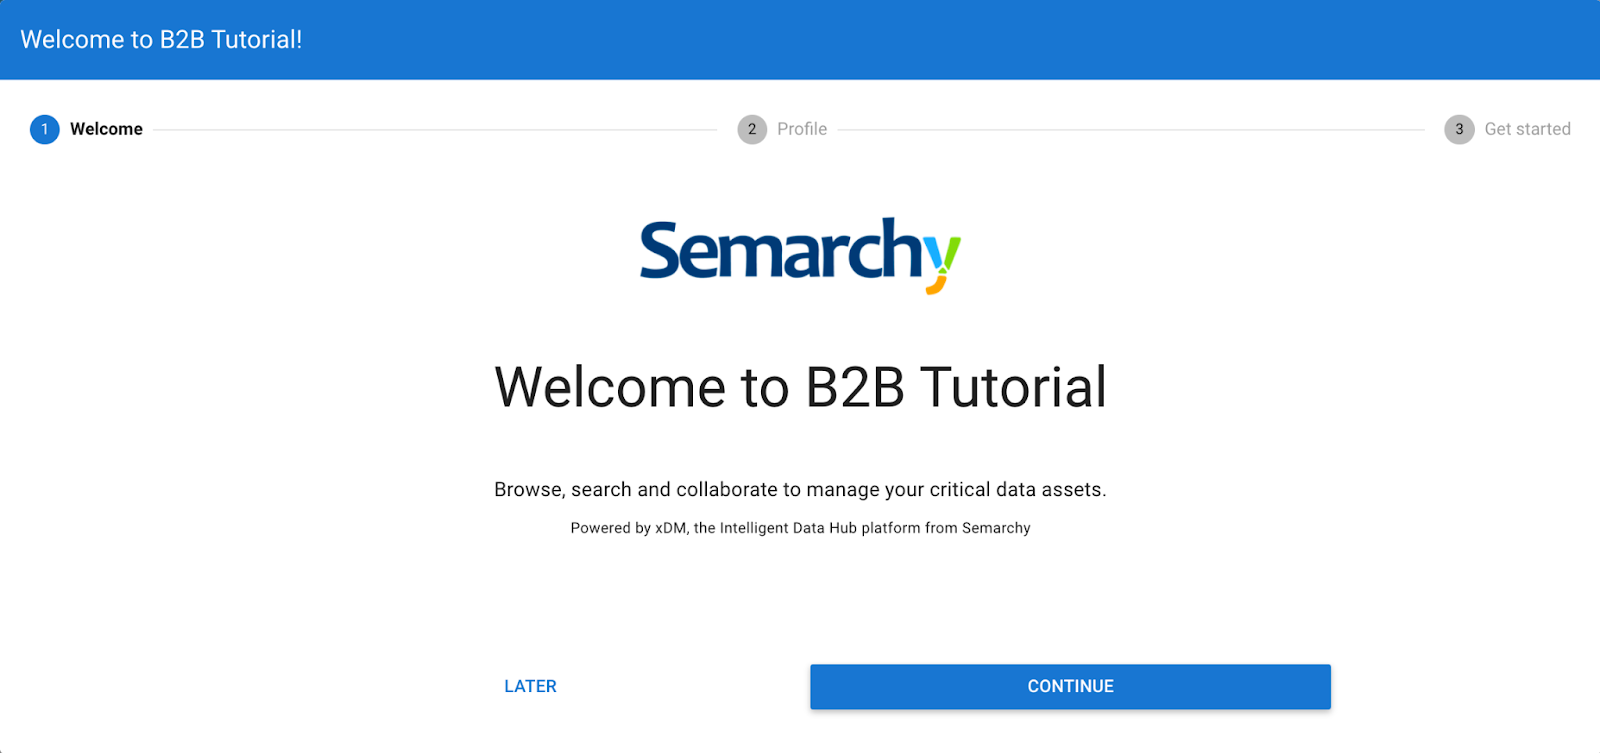
- If you have not yet completed the profile for the semadmin user in a previous tutorial, the following pop-up appears. Click Continue.
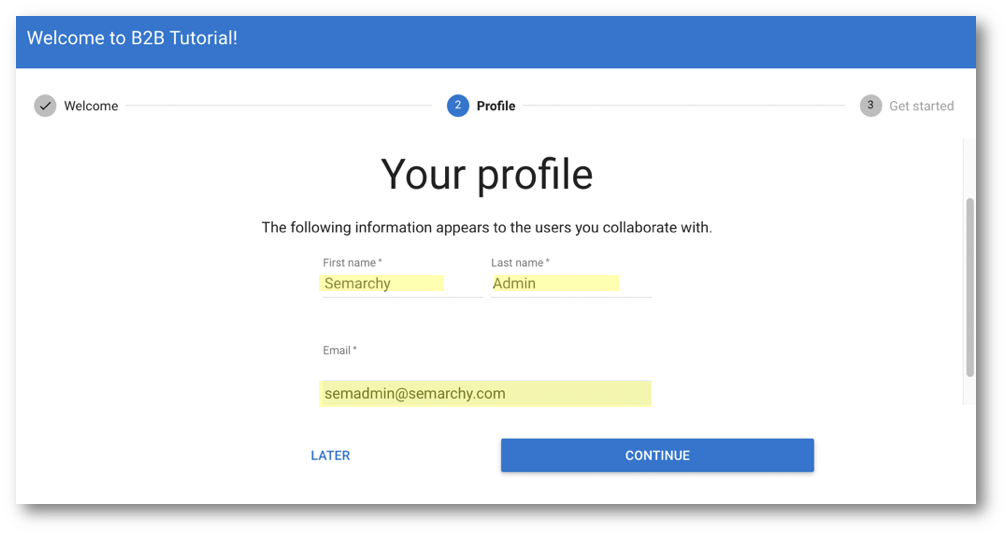
- Enter the following information for semadmin:
- First name:
Semarchy - Last name:
Admin - Email:
semadmin@semarchy.com
- Click Continue.
- On the next screen, click Get started.
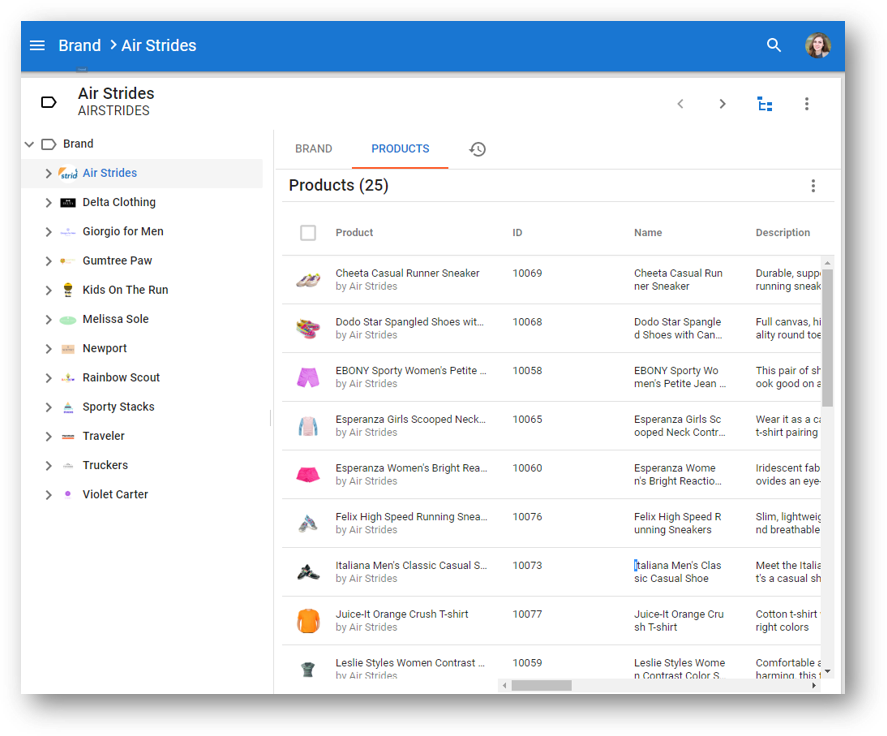
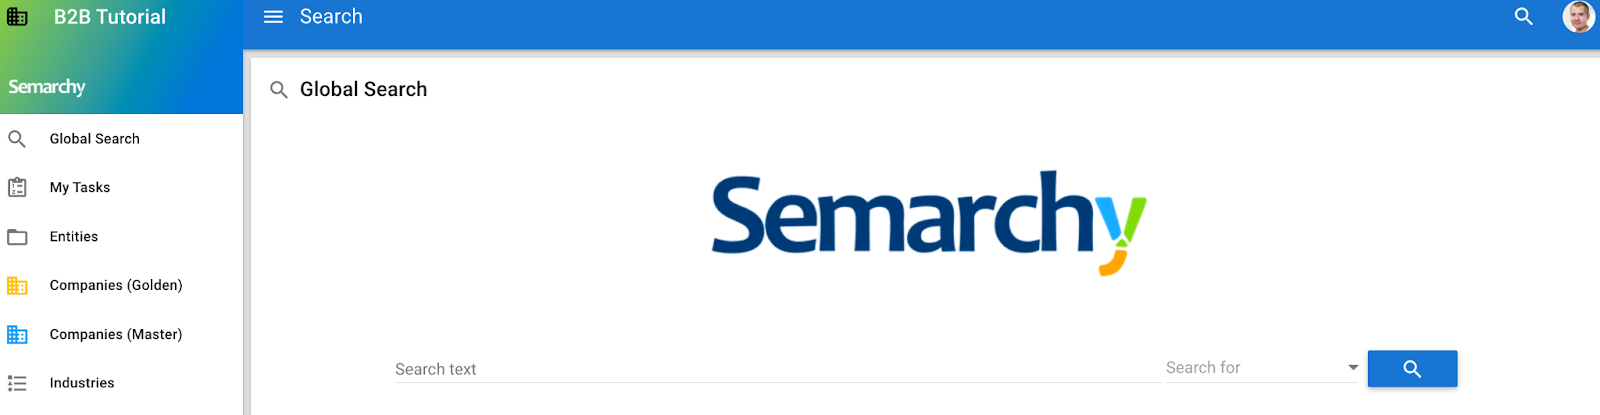
- Discover the user interface which was built for your application:
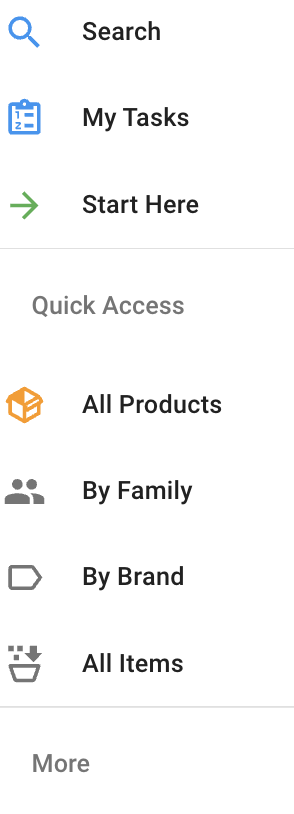
- The Navigation Drawer contains the actions that you configured in the Folders and Actions.
- The Global Search form is displayed by default.
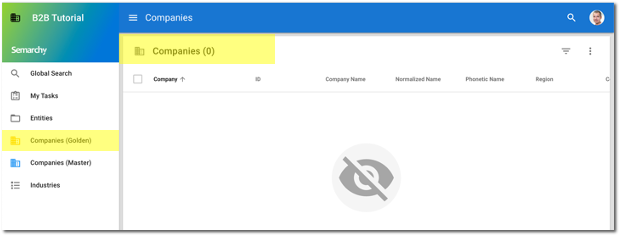
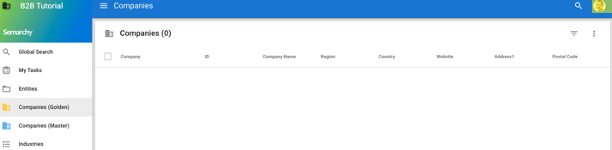
- Click Companies (Golden) in the navigation drawer. Your application does not include any customers yet. You will fix that soon.
Congratulations!
You have successfully deployed and tested your first application.
To summarize:
- You have deployed a model into a data location.
- You have connected to the generated application.
Next, you will learn how to use this application to start loading data and browsing the results.
Now that you have deployed your model and application, it is time to load data.
While we use spreadsheets here, in a data consolidation hub, integration occurs via REST APIs or SQL. You will have the opportunity to explore realistic data integration in subsequent tutorials.
Semarchy xDM generates code for importing data from spreadsheets, match and merge records, and perform value survivorship.
Additional insights on application usage are available in the Customer B2C demo tutorial that illustrates a fully functional customer data application.
User profile
As a first-time user, you should update your profile information and preferences.
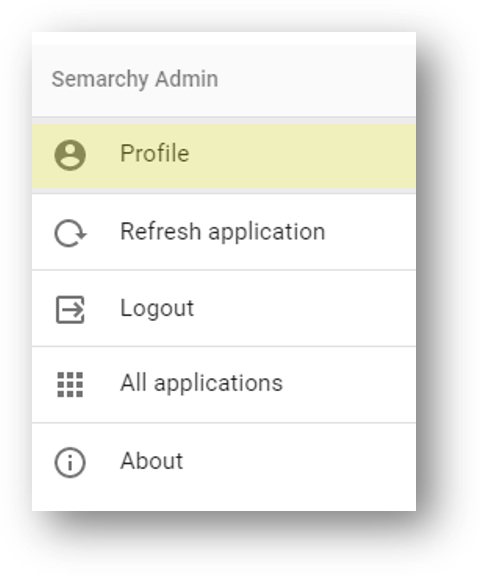
- In the B2B Tutorial application, open the user menu on the upper-right corner, and select Profile from the menu.
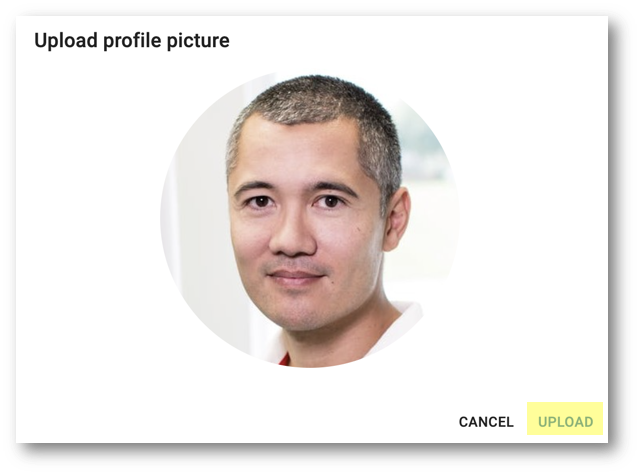
- Basic information about yourself is already set. Move your mouse over the default profile picture and click on the Change profile picture button.

- Select on your hard drive the
semadmin.jpgpicture which is available under thedata-consolidation/picturesfolder of the tutorial resources you downloaded previously. - Click Upload.
- (Optional) Customize your user preferences like date format, language, etc. (Settings tab) and your login or role (Advanced tab)
- Click Save.
Import industries
In this section, you will import Industry reference data values from an excel spreadsheet.
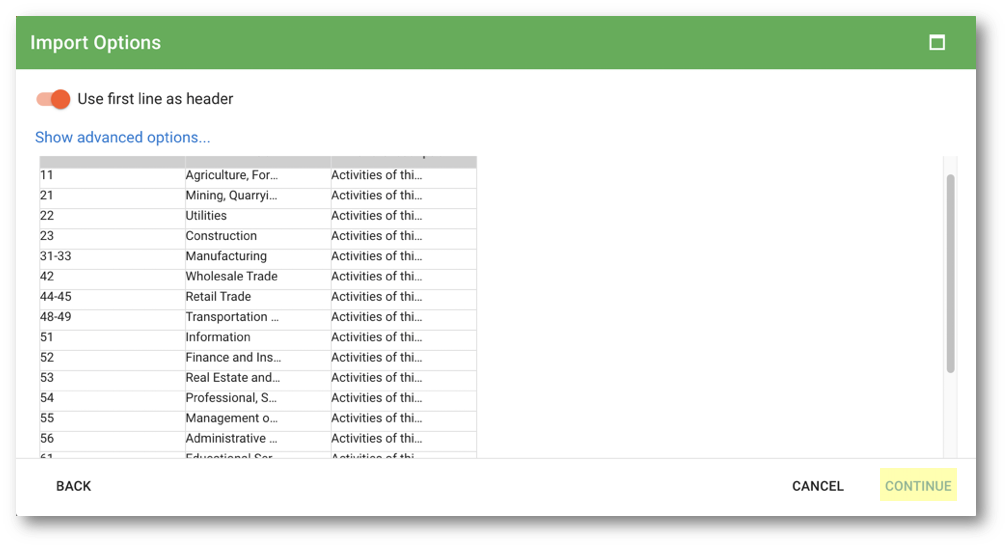
- In the B2B Tutorial application, click on Industries in the navigation drawer, and then select Import from the actions menu.

- Select the
data-consolidation\datasets\industries-data.xlsxfile from the tutorials resources that you downloaded. - Review the import contents and then click Continue.
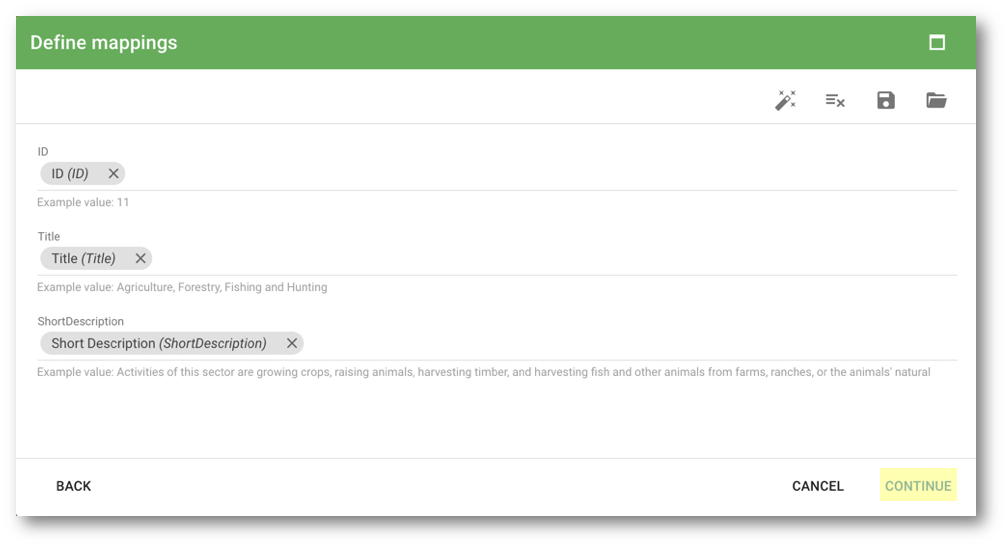
- On the Define mappings screen, keep the default mappings and click Continue.
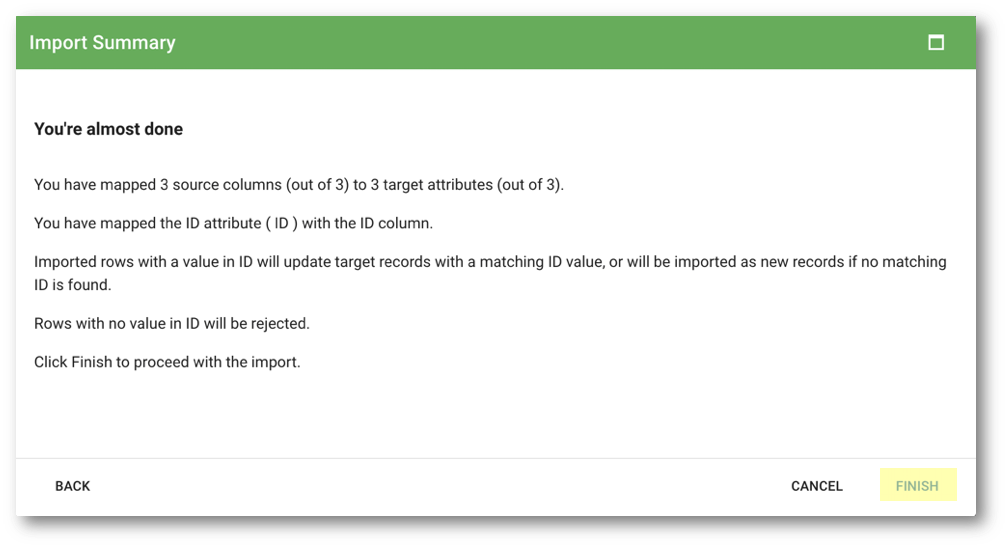
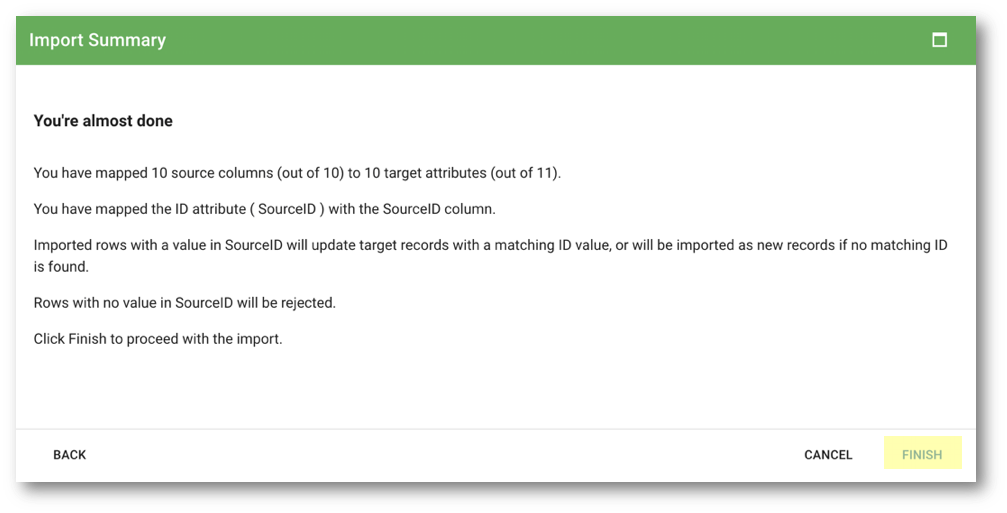
- Review the import summary and then click Finish to import the data.
- Review the imported data and click Finish. This submits the data to the certification process so that all users will have access to it.
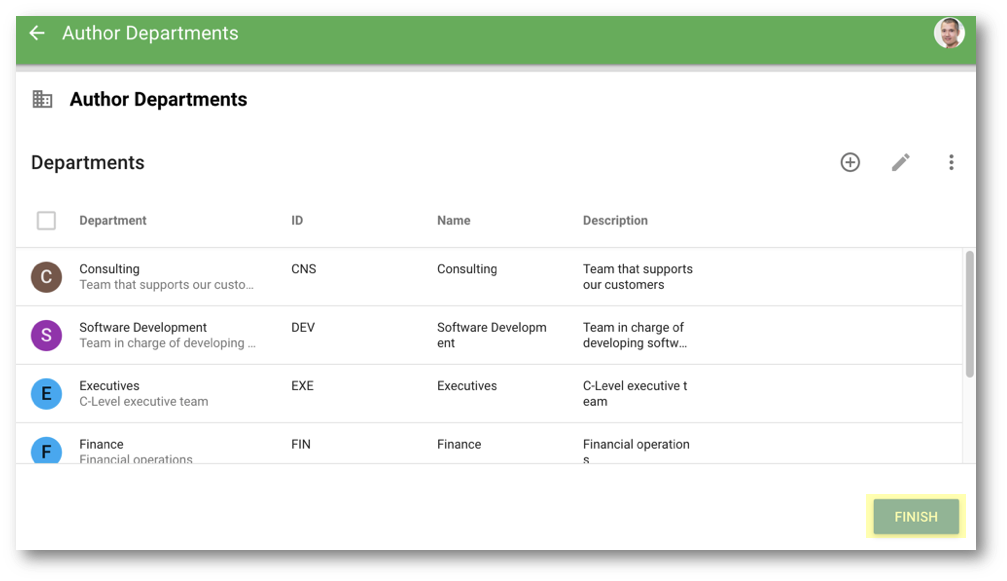
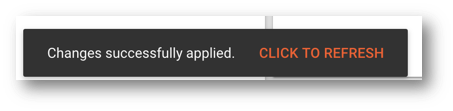
Wait until the toaster in the bottom-left corner of the screen indicates "Changes successfully applied," and then click on Click to refresh to see the imported data.
Import companies
Repeat the previous steps to import companies.
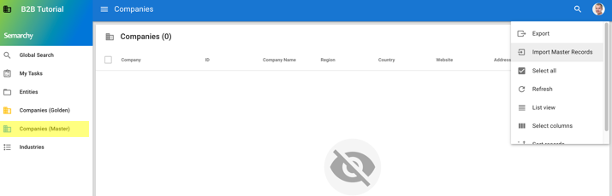
- Click on Companies (Master) in the navigation drawer and select Import Master Records from the actions menu.
- Select the
data-consolidation\datasets\companies-data.xlsxfile from the tutorials resources you downloaded. - Review the import contents and then click Continue.
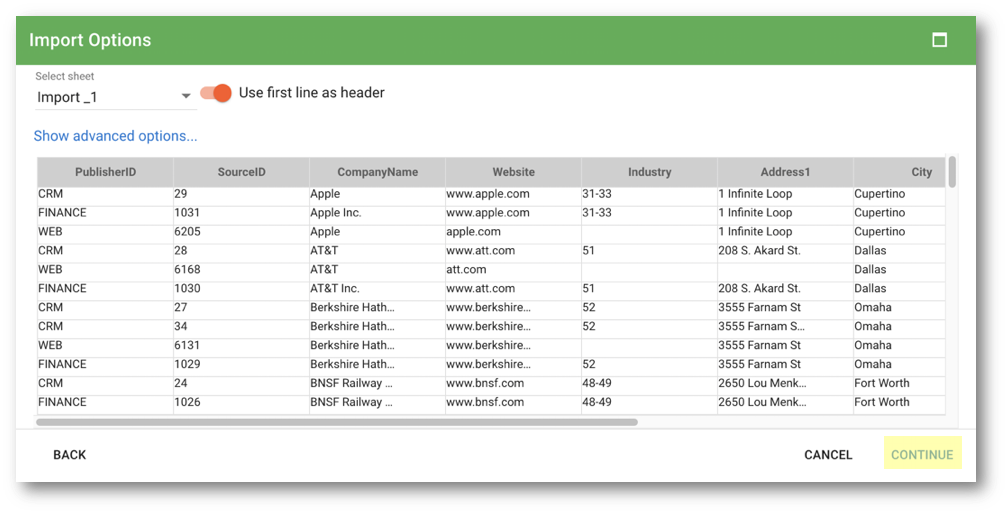
- Click Continue on the next screen to confirm the mapping.
- Click Finish on the Import Summary page.
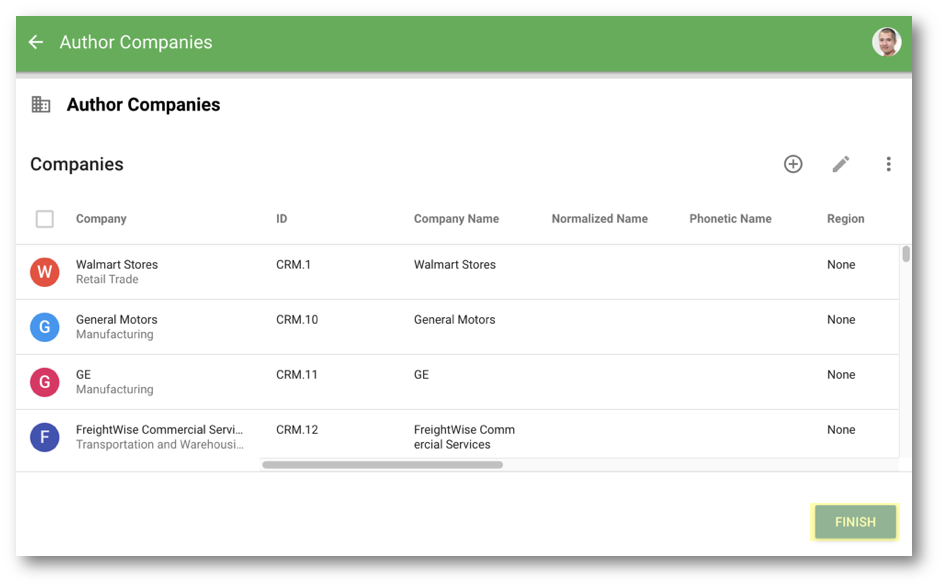
- Review the imported data and then click Finish.
- When the toaster indicates "Changes successfully applied," click on Click to refresh to see the imported master data.
Note that 95 master records have been imported.
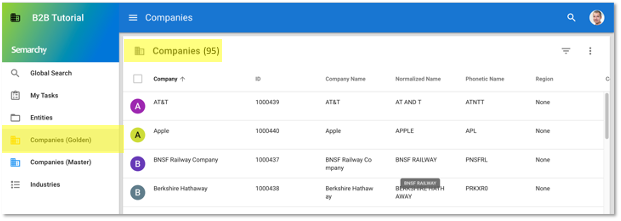
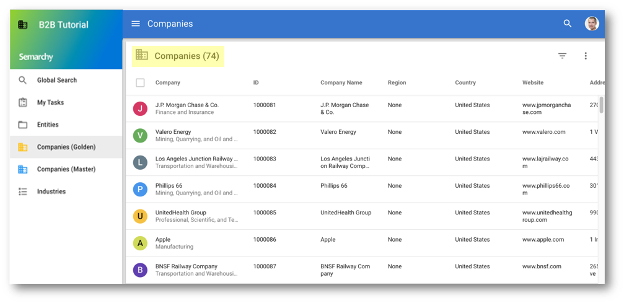
- Click on Companies (Golden) in the navigation drawer to see the golden data created from the master records. Observe that 74 golden records were created (compared to the 95 master records), which means that some records matched and merged. In the next tutorial unit, you will refine the match rules.
Use the Global Search feature
The Global Search feature allows you to search for records across multiple entities. In this tutorial, we configured the Global Search to search both industry and company data.
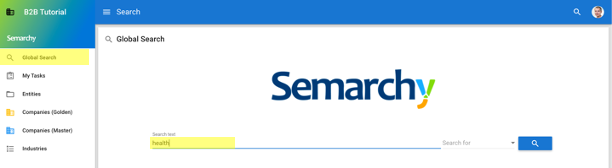
- Click on Global Search in the navigation drawer to access the feature.
- Type
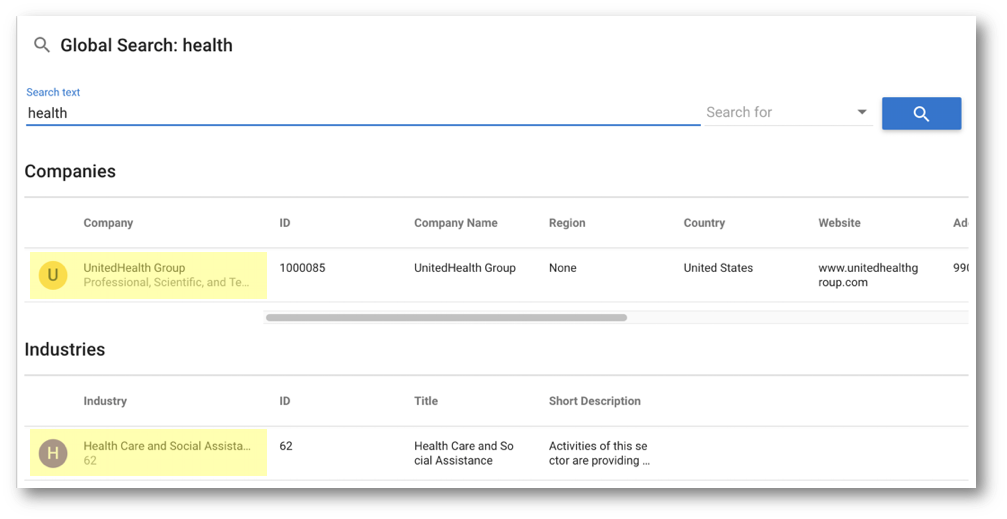
healthin the Search text field and click the Search button.
- The application finds companies and industries which use the word health in their names.
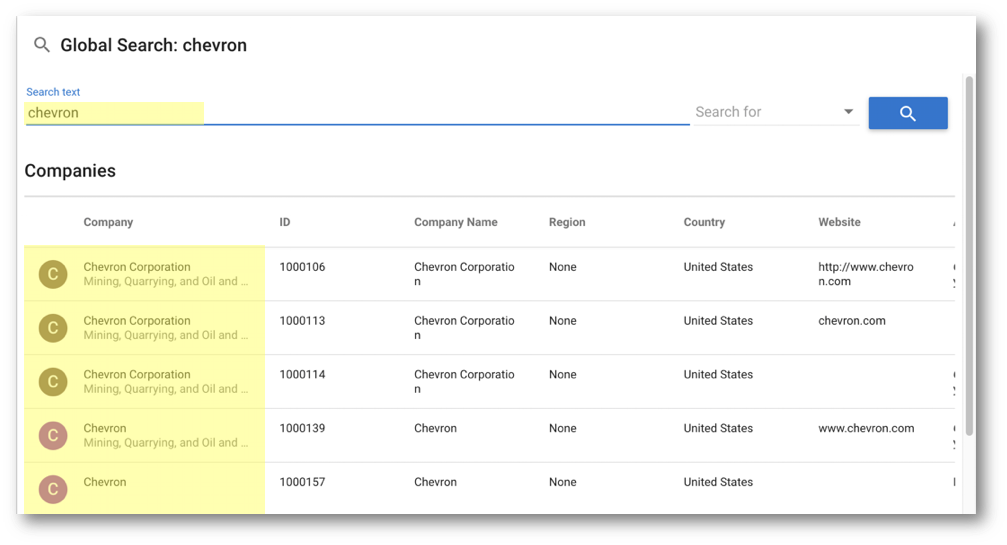
- Search for
chevron. Currently, xDM finds many Chevron records because the source records fail to match with your PerfectMatch rule. You will improve this soon!
Congratulations!
You have successfully used the application, loaded, and searched data.
Great job! You have built your first data consolidation application.
Learning recap
- You created a model with entities, attributes, relationships, and match rules.
- You configured default actions and added new actions to build your user experience.
- You deployed your model and application to a data location.
- You used your application to import, search, and browse data.
Next steps
In the next unit of the Data Consolidation tutorial track, Standardize, match, and merge, you will learn how to write custom match rules for your specific data requirements.
Thank you for completing this tutorial.