| This is documentation for Semarchy xDM 2024.1, which is no longer actively maintained. For more information, see our Global Support and Maintenance Policy. |
Start and end events
This page explains the concept of start and end events in a workflow definition.
|
Data-driven workflows, available in Semarchy xDM 2023.1 and later, are subject to specific licensing requirements; please confirm your eligibility to use such new functionality by consulting your license agreement or by contacting your Semarchy account representative prior to use. All customers can still use the workflow feature available in previous versions (now known as legacy workflows). For more information, see Workflows (legacy). |
Start and end events represent the starting and ending points of the workflow. All workflow definitions must have at least one start and one end event.
| Depending on the use case, a data-driven workflow can have as many start and end events as necessary. For example, the same workflow can be configured to start at a different step depending on the initiator’s role, or it can be designed to start either from scratch (e.g., for a creation task) or from a selection of existing data (e.g., for an editing task). Likewise, the same workflow can be configured to complete when various end events occur (e.g., once records are submitted for publication to the hub, when an edit is rejected, or when a task is discarded). |
Between the start and end events, a workflow also has some user tasks, automations, and control flows, linked together by transitions.
Add a start event
To add a start event in a workflow definition:
-
In the workflow editor, click the
 Create Step button.
The Add Step dialog appears. -
From the Type drop-down list, select Start Event.
-
In the Name field, enter a name for the step.
-
Click Create.
The start step graphical element is added to the workspace:
-
Select the step.
The side panel sweeps in from the right. -
In the side panel, set the start event properties.
Start event properties
Start event properties allow you to define how the workflow should start and progress.
General properties
The general properties allow you to set a display name for the step, define the required user roles for initiating the workflow, and set a priority for the workflow.
| Property | Required | Description |
|---|---|---|
Label |
Optional |
Label to be displayed in the diagram. |
Initiator Required Role |
Optional |
User role that can initiate the workflow. Selecting <None> allows all user roles to initiate the workflow. |
Default Priority |
Required |
Default priority of the workflow. Possible values are:
By default, this field is set to Normal. |
Startup context properties
The Startup Context properties allow you to define how the workflow is used to author records.
| Property | Required | Description |
|---|---|---|
Context Type |
Required |
Determines how the workflow is to be used to author records. Possible values are:
|
Authored Entity |
Required |
Only available if Context Type is set to Start From Selection. Entity on which the workflow is based. |
Condition on Selection |
Optional |
Only applies if Context Type is set to Start From Selection. SemQL condition applying to the selected records for the start action to be enabled.
Click the For more information on all available attributes, see Workflow attributes. |
Record Type |
Optional |
Only available if Context Type is set to Start From Selection. The type of records from which the workflow can be triggered. Possible values are:
|
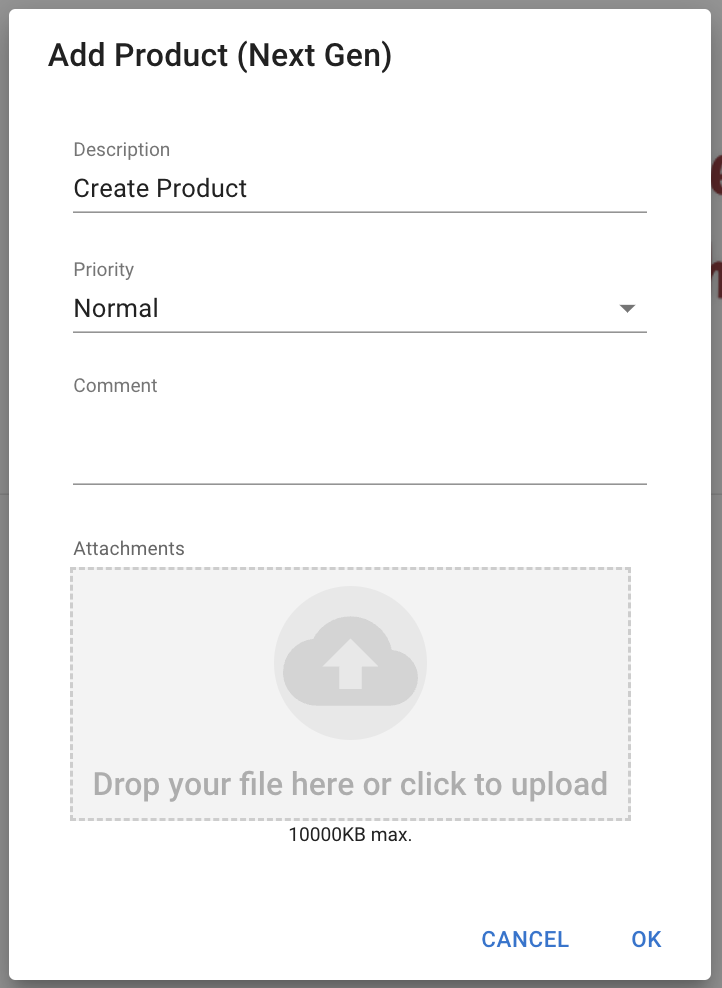
Startup parameter properties
The Startup Parameter properties allow you to select the parameters that are displayed to users in a dialog before the workflow begins.
| Property | Description |
|---|---|
Enable Description |
Allows business users to add a description for the workflow instance. |
Enable Comment |
Allows business users to write a comment. |
Mandatory Comment |
If the Enable Comment option is selected, makes entering a comment mandatory. |
Enable Priority |
Allows business users to select a priority for the workflow. |
Enable Due Date |
Allows business users to specify a due date for completing the workflow. |
Mandatory Due Date |
If the Enable Due Date option is selected, makes specifying a due date mandatory. |
Enable Next Task Assignee Selection |
Allows business users to specify the next user in the workflow. |
Mandatory Next Task Assignee Selection |
If the Enable Next Assignee Selection option is selected, makes specifying the next task assignee mandatory. |
Enable Attachments |
Allows business users to add attachments in the workflow. |
Mandatory Attachment |
If the Enable Attachments option is selected, makes adding attachments mandatory. |
Show the Wait |
Displays a dialog informing the user that the workflow is being created. This dialog is visible until the user hides it, a user task is initiated, or the workflow is complete. |
Add an end event
To add an end event in a workflow definition:
-
In the blank workspace, click the
Create Step button.
The Add Step dialog appears. -
From the Type drop-down list, select End Event.
-
In the Name field, enter a name for the step.
-
Click Create.
The end event graphical element is added to the workspace: