Workflow definition
This page explains how to create a workflow definition and set its properties.
|
Data-driven workflows, available in Semarchy xDM 2023.1 and later, are subject to specific licensing requirements; please confirm your eligibility to use such new functionality by consulting your license agreement or by contacting your Semarchy account representative prior to use. All customers can still use the workflow feature available in previous versions (now known as legacy workflows). For more information, see Workflows (legacy). |
The first step in designing a workflow involves creating a workflow definition for a specific model. In a workflow definition, you need to:
-
Define the data scope by selecting the entities on which you wish to create the workflow definition.
-
Specify the attachment properties.
-
(Optional) Define a workflow metadata retention policy.
Create a workflow definition
To create a workflow definition:
-
On the welcome page, click Workflow Builder.
-
In the Model Editions section, select the model for which you wish to create a workflow definition.
-
In the bottom right-hand corner, click the
 Create item button.
The Add a Workflow Definition dialog appears. -
Enter a name for the workflow definition.
A workflow name can only contain letters, digits, or underscores (_). It must start with a letter, and consist of at least 2 and at most 128 characters. -
Click Create.
The custom editor displays a blank workspace. -
Click anywhere in the blank workspace.
The side panel sweeps in from the right.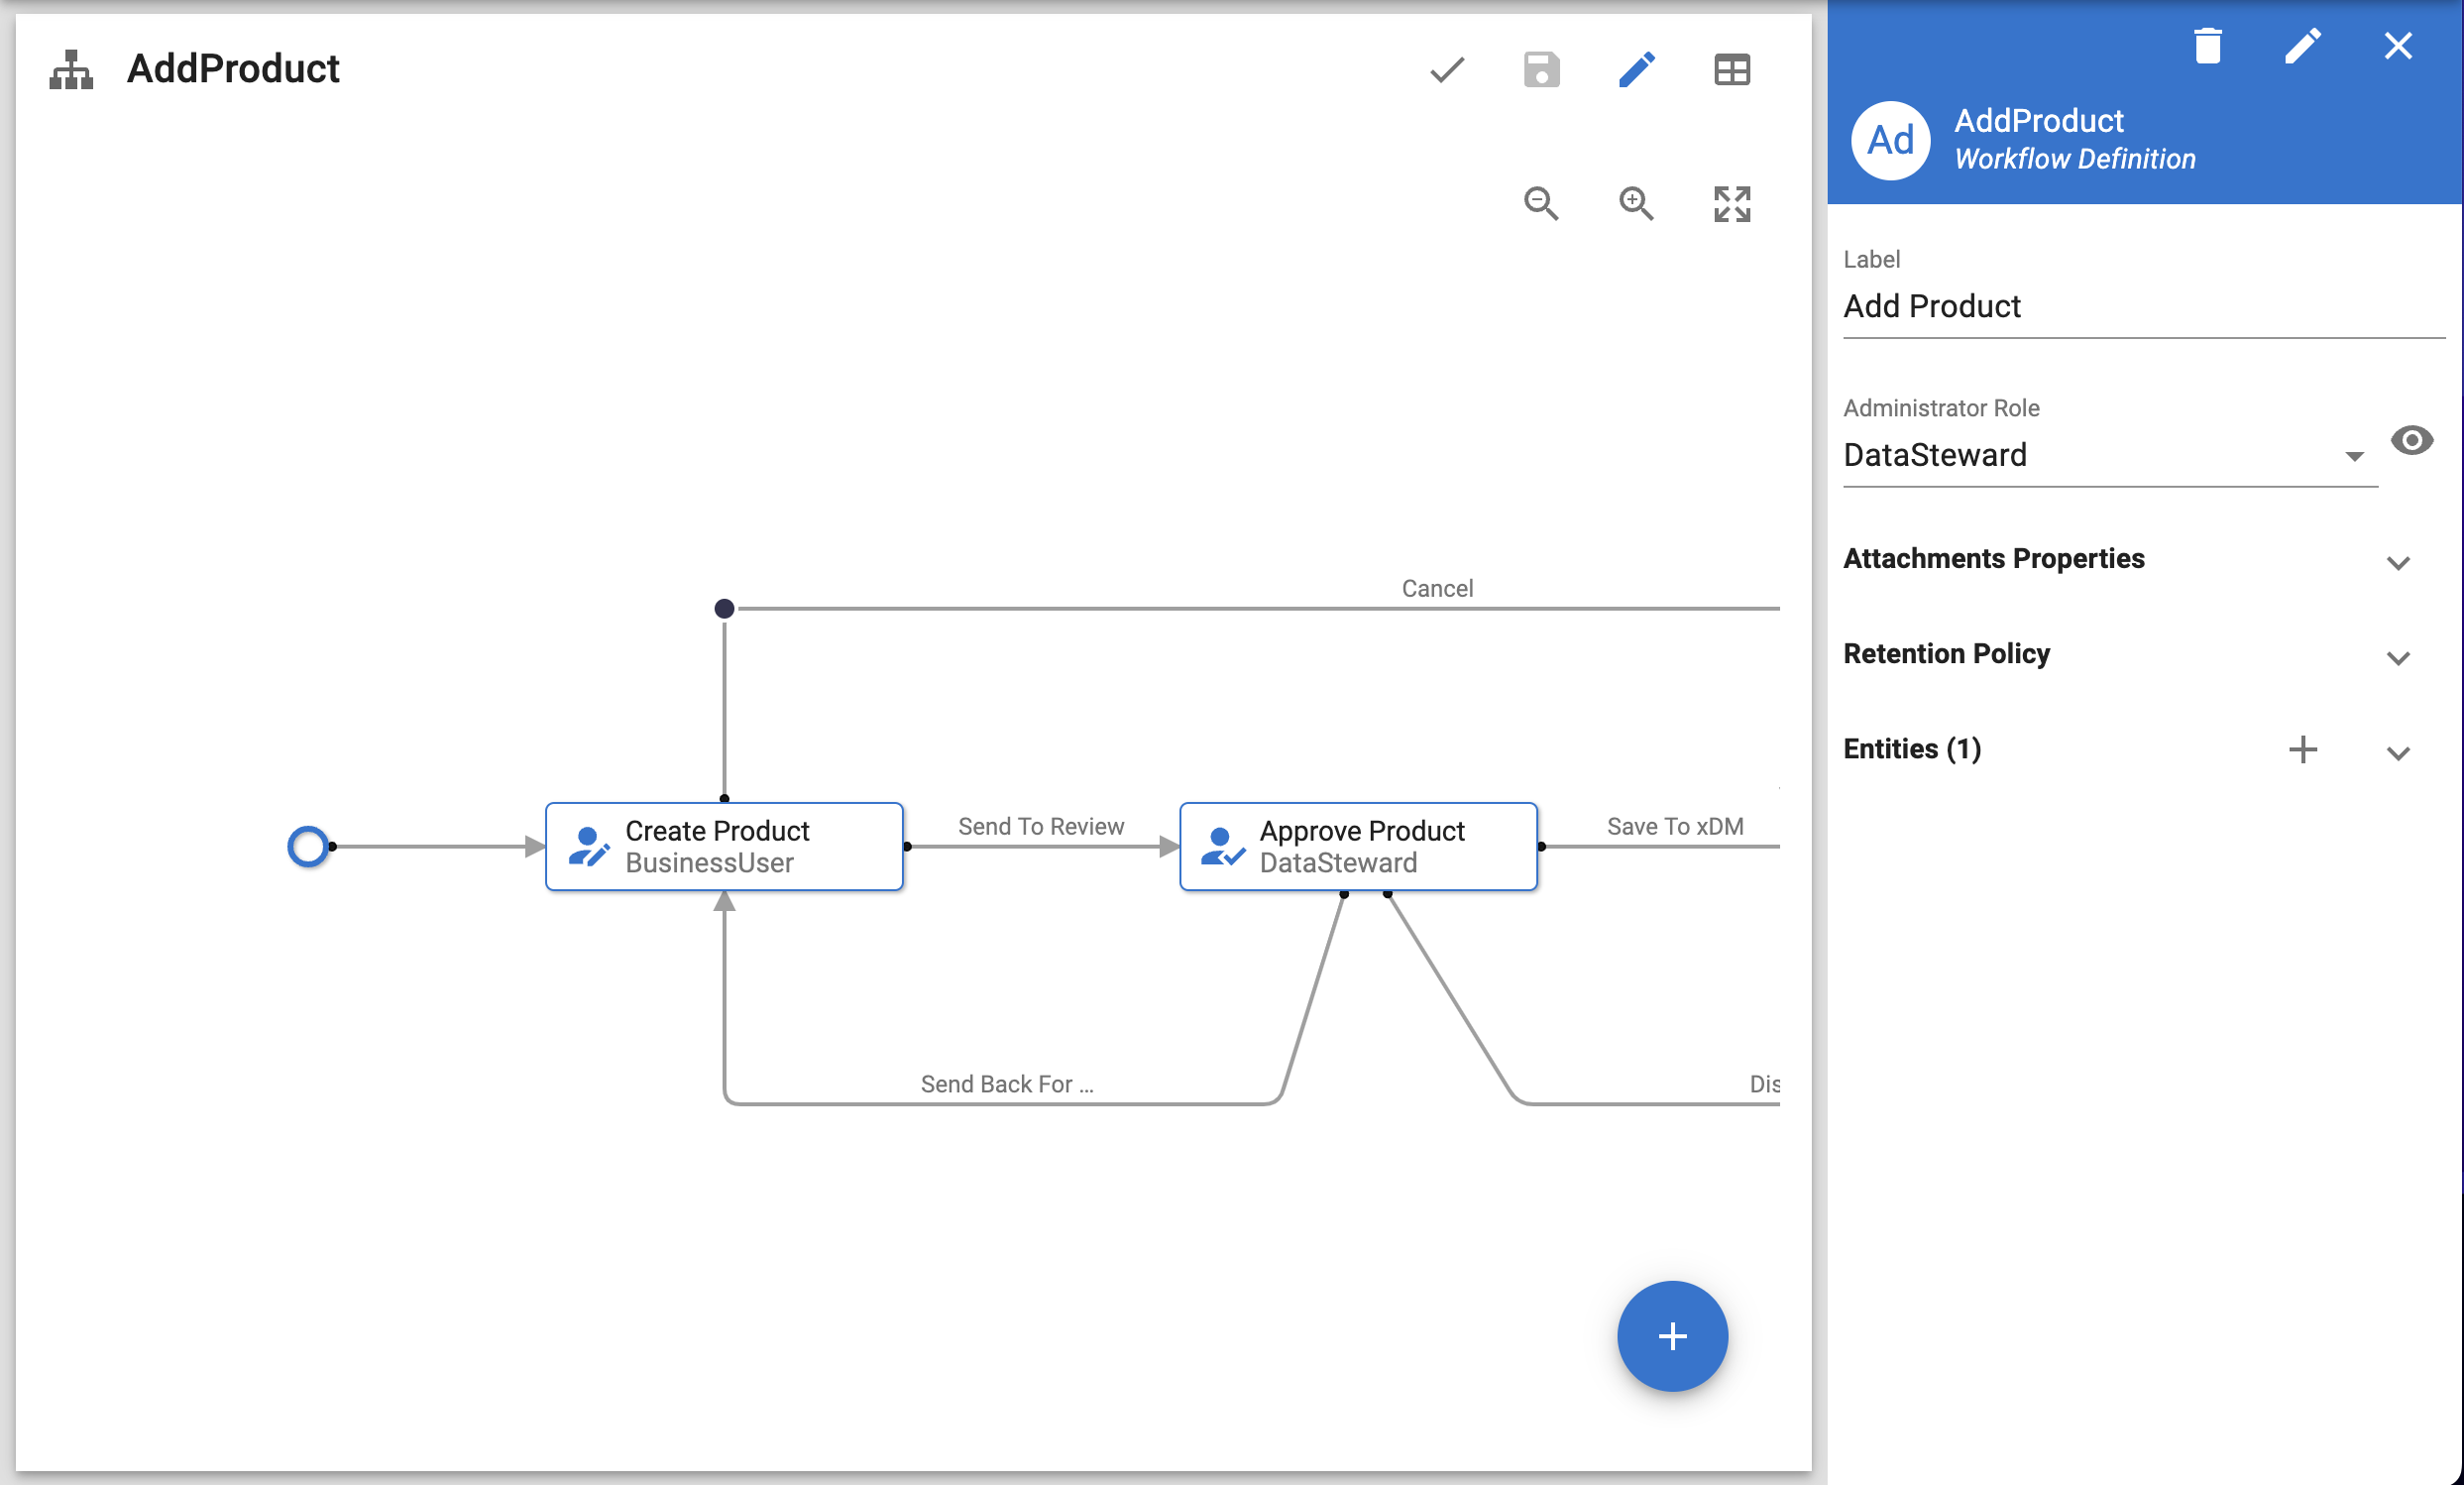
-
(Optional) Set the Administrator Role required to administer instances of this workflow definition.
-
Set the attachement properties and declare the entities to include in the workflow.
-
(Optional) Configure the workflow data retention policy if you wish to override the default one (set to
forever). -
(Optional) Configure email notifications to alert the workflow administrator when the workflow reaches its due date.
Attachment properties
The Attachment Properties section allows you to specify the properties of the attachments that business users can add in a workflow instance at all steps.
| Property | Required | Description | ||
|---|---|---|---|---|
Attachment Max File Size |
Yes |
Maximum size of an attachment in KB. Only enter a numerical value in this field.
|
||
Attachment Max File Count |
Yes |
Maximum number of attachments that can be uploaded in the workflow. Only enter a numerical value in this field. By default, this number is set to 5. |
||
Attachment Mime Types |
No |
Formats in which business users can upload attachments. The formats should be specified as MIME types and separated by commas. By default, all mime types are allowed. This is indicated by an asterisk ( Attachments allowed in PDF, XML, and CSV formats
application/pdf,application/xml,text/csv
|
Retention policy
When running a workflow, metadata from the workflow instances and their related stepper and branch instances, obsolete work items, attachments, and datasets may be stored in the data location schema where the model is deployed. To keep a reasonable volume of information and prevent database overload, workflow designers can configure a retention policy that governs the purge schedule of a specific workflow definition.
In the Retention Policy section, select an option in the Retention Type field to configure the retention policy that you wish to apply to your workflow definition. The available options are:
-
Forever (default): workflow metadata are retained indefinitely.
-
No Retention: select this option if you do not wish this workflow’s metadata to be retained.
-
Period: select this option to specify a retention duration for this workflow’s metadata. If you select this option:
-
Enter a number in the Duration field.
-
Select a time unit (days, hours, months, weeks, or years) in the Time Unit field.
-
| The retention policy of a workflow definition and its related data purge schedule apply exclusively to workflow metadata (such as workflow instance and step information) and to the datasets stored by each workflow step. Source records stored and processed by Submit Data automation steps are not included in the workflow purge and are handled by the data purging process. |
| For more information about how to schedule the workflow purge, see Workflow metadata purge. |
Notifications
The Notifications section enables you to configure email reminders either at the workflow-definition level, or at the user-task level.
To configure notifications for a workflow definition:
-
Navigate to the Notifications section.
-
Select the Notify admin on workflow due date checkbox if you want the workflow administrator to be notified when the workflow instance reaches its due date.
Entities
All entities and child entities manipulated in a workflow must be declared in the Entities section. You need to add at least one entity in the workflow definition.
To add an entity:
-
Click the
 Create button next to the Entities section header.
 -
Select an entity from the model.
-
Click Create.
-
Set the entity’s properties.
-
Add the Child Entities that are manipulated in the workflow. To add a child entity:
-
Click the
Create button next to the Child Entities section header. -
Select the role of the child entity in the reference relationship that links it to its parent entity in the model.
-
Click Create.
-
| Property | Required | Description | ||
|---|---|---|---|---|
Cardinality |
Yes |
Determines how many records can be authored in instances of this workflow definition. Possible values are:
|
||
SemQL Alias |
No |
Name used to refer to the entity in SemQL expressions. |
||
Display Card |
No |
Display card used to represent records in My Tasks in the application and in email notifications. If the display card is set to <None>, then the entity’s default display card is used. |
||
Child Entities |
No |
Child entities of the current entity, if any.
|
Copy a workflow definition
To create a copy of an existing workflow definition:
-
Access the Workflow Definitions page of the Workflow Builder.
-
In the list of workflow definitions, select the checkbox next to the name of the workflow definition you want to copy, open the action menu, and then select
 Copy.
Copy. -
The Add a Workflow Definition dialog appears.
-
Enter a name for the workflow definition and click Create.
-
The selected workflow definition is copied with the name provided and the workflow definition editor opens automatically.
| This feature is useful to create different versions of a workflow definition. To perform non-cosmetic changes (such as adding or removing steps) on a workflow definition that has running instances, it is usually recommended to copy the definition, keep it unmodified, and make changes to the new definition. |