| This is documentation for Semarchy xDM 5.3 or earlier, which is no longer supported. For more information, see our Global Support and Maintenance Policy. |
Deploy a Semarchy xDM instance in Azure
This page provides step-by-step instructions to deploy an xDM instance in Azure using the Solution Template Offer.
To create an Semarchy instance from the solution template:
-
In your browser, open the Semarchy xDM Azure Marketplace Solution.
-
Select GET IT NOW
-
Review the software plan details and then click Continue.
-
Select Create to configure the Semarchy instance in the Azure portal.
-
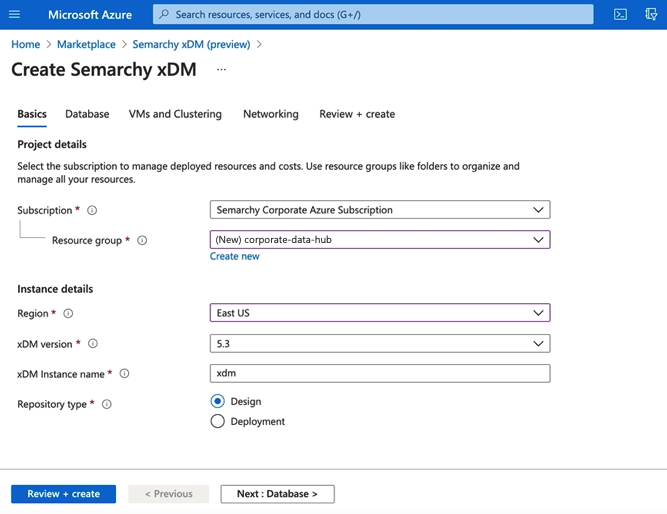
In the Basics tab, specify the following values:
-
Subscription: Select the Azure subscription into which you want to install Semarchy xDM.
-
Resource group: Select Create new and then enter a name for the resource group that serves as a logical container for the collection of resources that make up your instance. You can also select an existing resource group. If you do so, make sure that it is empty. Note that you cannot deploy two instances in the same resource group.
-
Location: Select the location for your instance.
-
Semarchy version: Select the version of Semarchy xDM that you want to install. Note that only the minor versions are indicated. The latest patch for this minor version is automatically installed.
-
Semarchy instance name: Enter a name for your instance. This name is used as a prefix in the names of the resources created for the instance. For example xdm.
-
-
Click Next: Database > to proceed to the database settings.
-
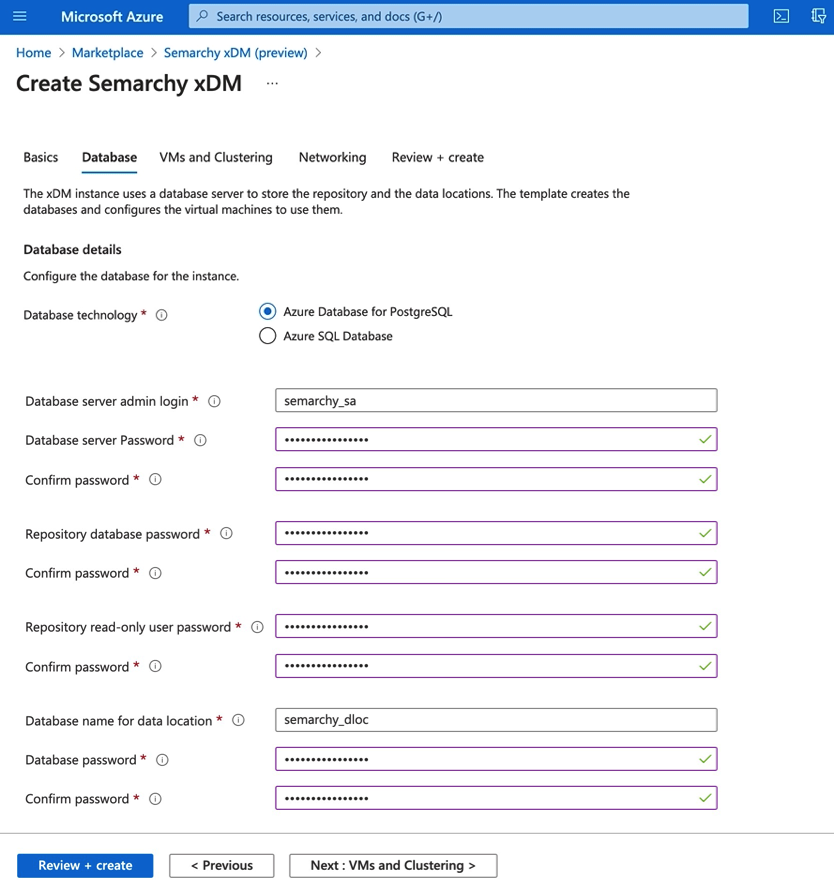
In the Database tab, specify the following values in the Database details section:
-
Database technology: Select the database technology used for the repository and data locations.
-
Database server admin login: Enter the login of the administrator of the database server.
-
Database server password: Enter the password for the database server administrator.
If you select the Azure SQL Database technology, make sure that the passwords in the database settings tab follow all the password complexity guidelines for this technology. Password fields in the template enforce the length and character guidelines, but do not check Azure SQL Database specific constraints such as not having a password containing or looking similar to the database name.
Semarchy xDM requires a default database for the repository. A database, with the associated login, is automatically created in the database server for the repository. A datasource is also automatically configured in the application server to connect this database.
Another database is similarly created to host the first data location, and you can optionally create additional databases. -
Repository database password: The template automatically creates the repository database/schema, with a user named
SEMARCHY_REPOSITORY. Enter the password for the repository user. -
Repository read-only password: The template automatically creates a user named
SEMARCHY_REPOSITORY_ROwith limited access to the repository (see Startup configuration reference). Enter the password for this user. -
Database name for data location: Enter the name of the first data location. This value is used for the name of the database created to host the data location, for the user created for this database, as well as for the name of the datasource configured in the application server to connect this database.
-
Database password: Enter the password for the data location database user.
-
-
To optionally create additional databases, in the Additional databases section:
-
Select Add a staging database if you want to add a staging database and configure a datasource for this database. Enter the Database name for staging as well as the password for the database user.
-
Select Add another data location if you want to add another database for another data location and configure a datasource for this database. Enter the Database name for data location as well as the password for the database user.

-
-
Click Next: VMs and Clustering > to proceed to the settings of the virtual machine and scale set.
-
In the VMs and Clustering tab, configure the active node in the Virtual machine details:
-
Size: Select the appropriate sizing option for the Semarchy active node virtual machines.
-
Admin account: Enter the instance administrator user name. This administrator is set as:
-
the active node’s virtual machine administrator.
-
the scale set virtual machines administrator.
-
the first administrator user in Semarchy xDM.
-
-
Password: Password of the instance administrator.
Store the Admin Account and Password in a safe place, you will need them to connect and to administer the instance. 
-
-
Configure the scale set for high availability in the Scale set configuration section:
-
Size: Select the appropriate sizing option for your Semarchy passive nodes virtual machines.
-
Min VMs: Define the minimum scale set capacity allowed as the cluster size.
-
Max VMs: Define the maximum scale set capacity allowed as the cluster size.
Leave the Min/Max VMs value to zero to disable the scale set. You will be able to configure these values later.
-
-
Click Next: Networking > to proceed to the network settings.
-
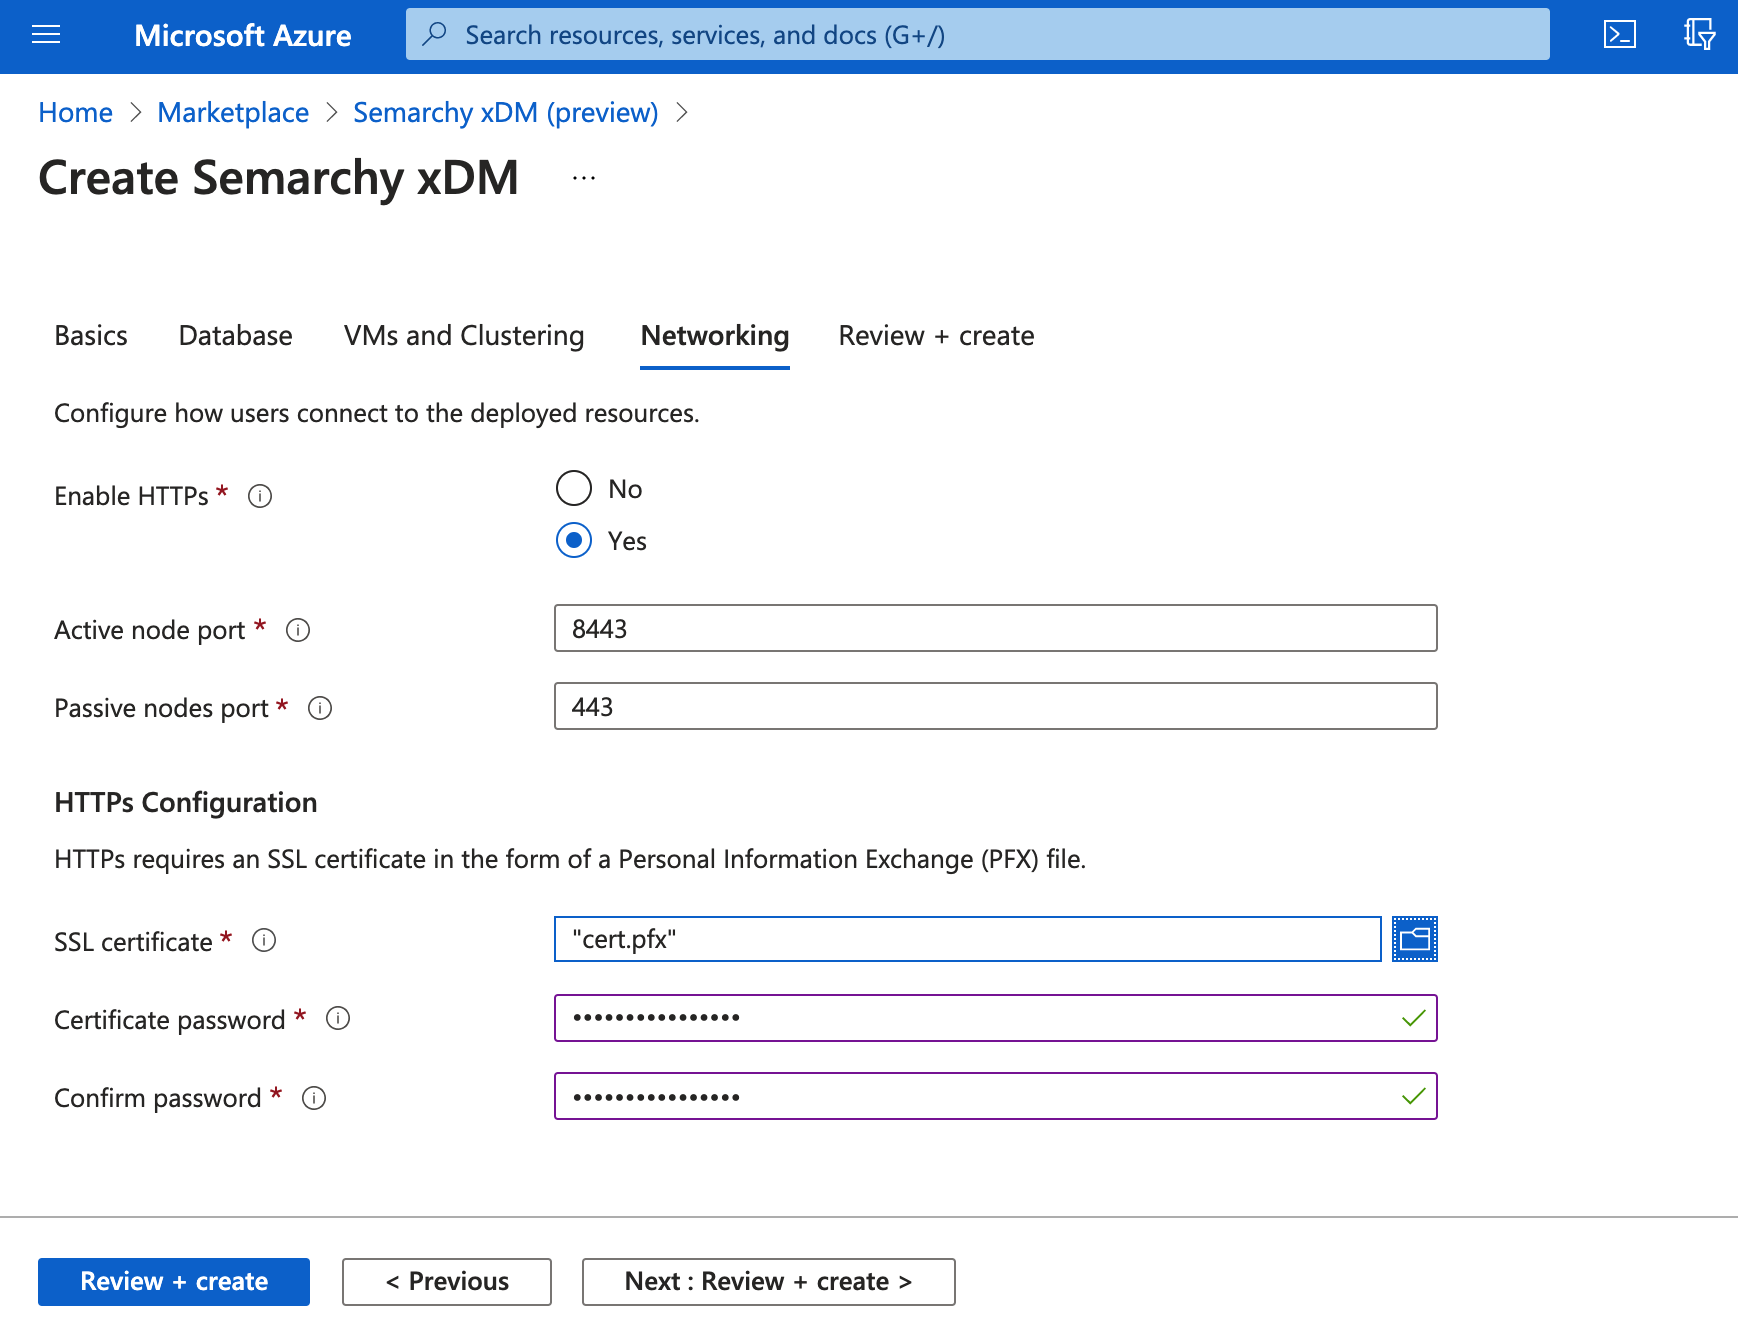
In the Networking tab, if you want to enable HTTP, select Yes for Enable HTTPs, and then specify the following values:
-
Upload the SSL certificate for the application gateway. This certificate is in the Personal Information Exchange (PFX) file format.
-
Enter the Certificate password for the application gateway certificate you uploaded.
-
-
Optionally modify the Active node port. You can connect your instance on this HTTP port to access the Semarchy active node.
-
Optionally modify the Passive nodes port. You can connect your instance on this HTTP port to access the Semarchy passive nodes in the scale set.
-
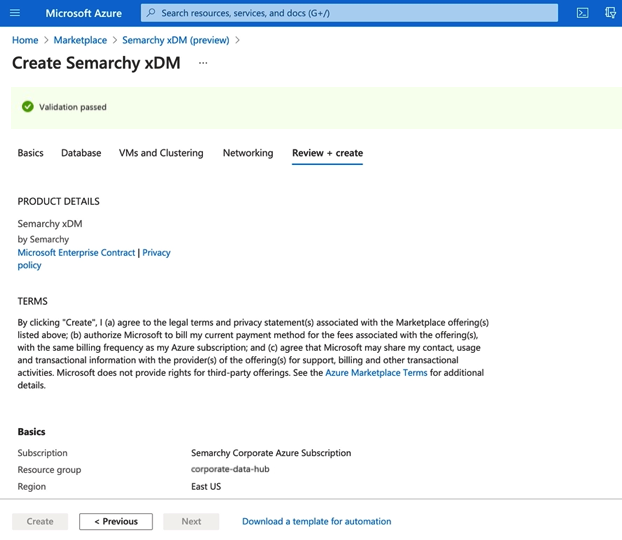
Select Review + Create to proceed to the configuration validation.
-
When the Review + create step appears, the information entered is validated. Once you see the Validation passed message (at the top of the tab), select Create.
-
The deployment starts. When the deployment is ready, a notification appears in the Azure portal.
|
The template outputs contain useful information. For example:
|