| This is documentation for Semarchy xDI 5.3 or earlier, which is no longer supported. For more information, see our Global Support and Maintenance Policy. |
Getting Started with Email Server
This article describes how to send and read emails.
Create the Email Server Metadata
To send and read emails, you need to create the email server metadata with an outgoing server and an incoming account.
To create the email server metadata:
-
Right-click the project folder, then select New > Metadata.
-
In the New Metadata window, select mail and click Next.
-
Name the data model and click Next.
-
Select the installed Email Server module and click Finish.
The metadata is created. -
Open the server node you just created and in the Standard finger tab of the properties, enter a name for the server.
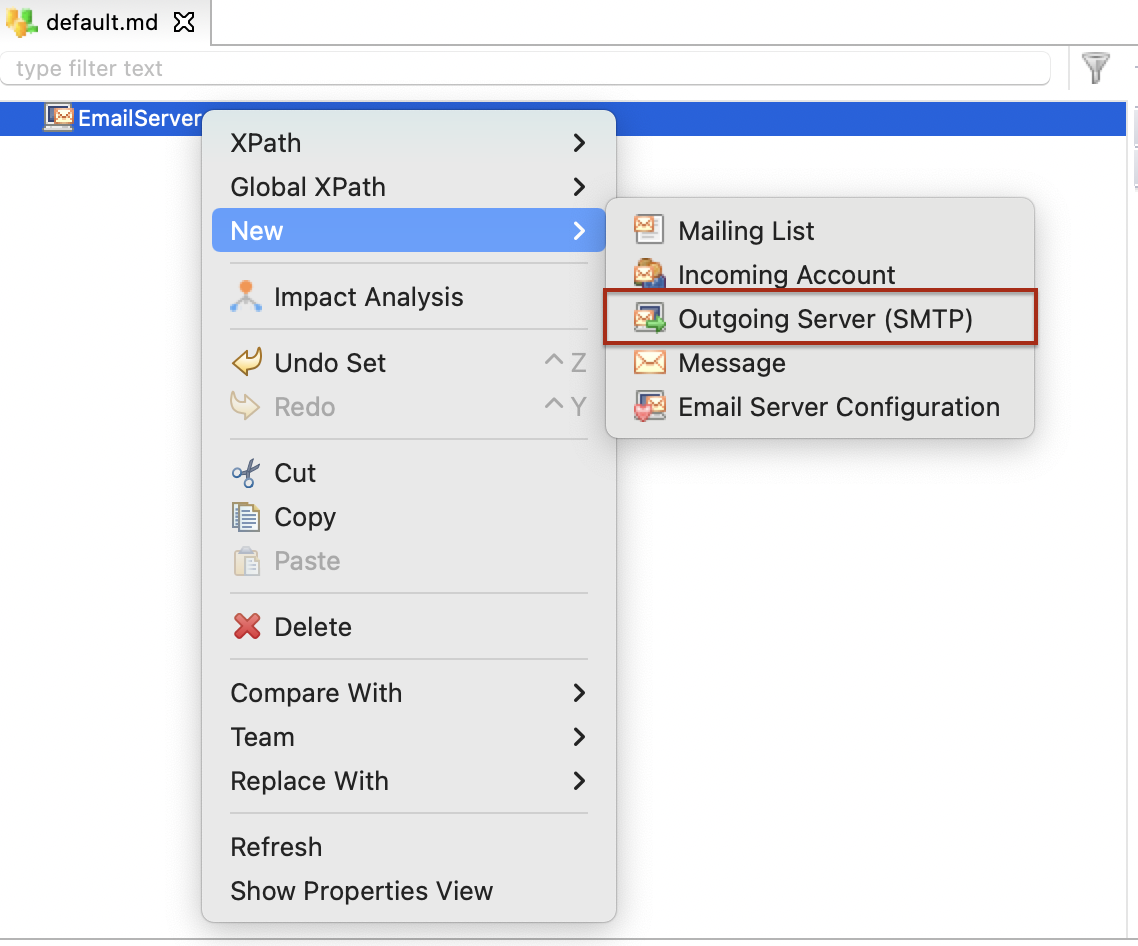
Create an Outgoing Server
An outgoing server is used to configure the settings used to send emails. The Send Email action uses these settings when sending emails.
To create an outgoing server:
-
Right-click the server node and from the contextual menu click New > Outgoing Server (SMTP).
-
Select the outgoing server you just created and set its properties.
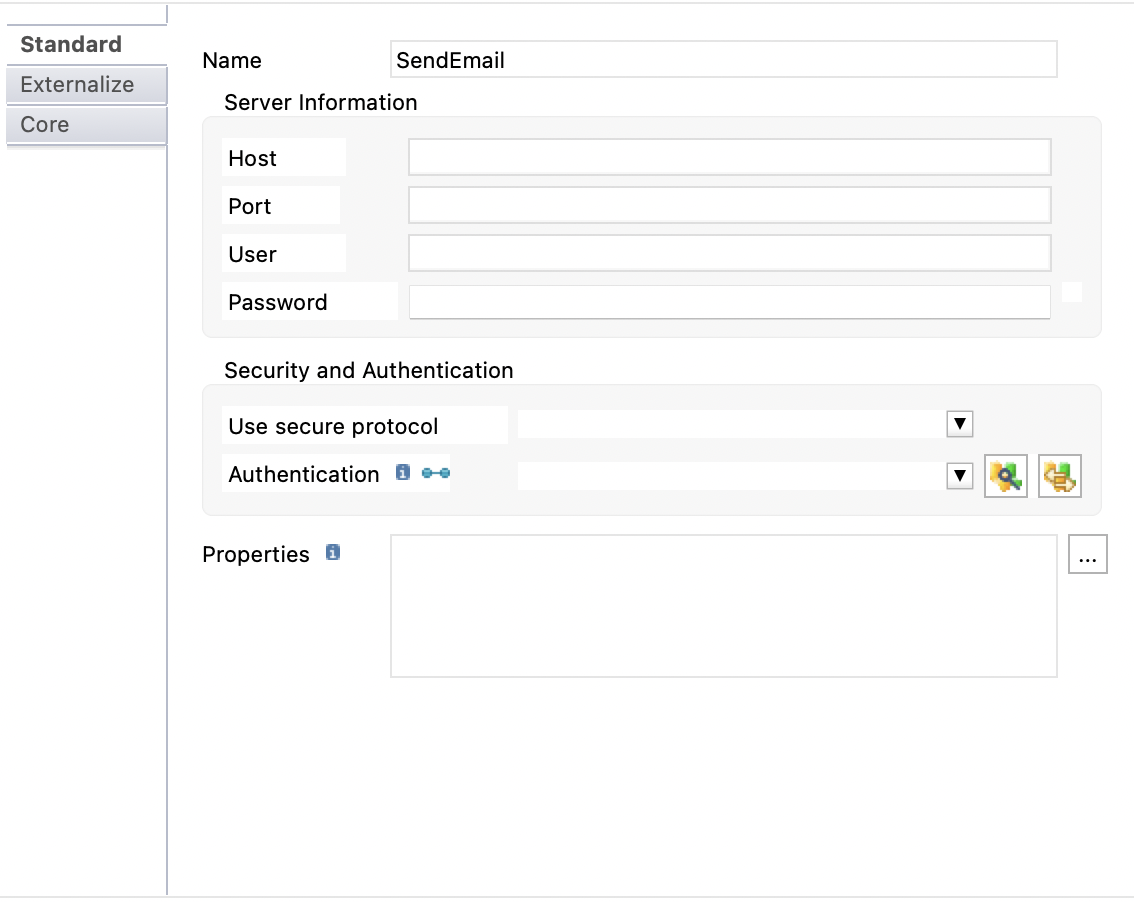
Property Description Name
Name given to the outgoing server.
Host
Email server’s host address.
For example, outlook.office.365.com.
Port
Port on which the email server is exposed.
For example, 587.
User
Email address of the account.
You do not need to use the user and password if you are using OAuth2 as the authentication method. Password
Password of the account.
You do not need to use the user and password if you are using OAuth2 as the authentication method. Use secure protocol
The secure protocol to use. Possible values are:
-
TLS
-
SSL
Authentication
Security metadata used to connect to the server. You can select or drag and drop an OAuth2 security node from an HTTP Security metadata.
This is required if you are using Microsoft Outlook’s modern authentication (OAuth2). Properties
Additional properties that may be required for some server configurations.
If you are using Microsoft Outlook’s modern authentication (OAuth2), you need to add the following property as a key-value pair:
-
Key: mail.smtp.auth.mechanisms
-
Value: XOAUTH2
-
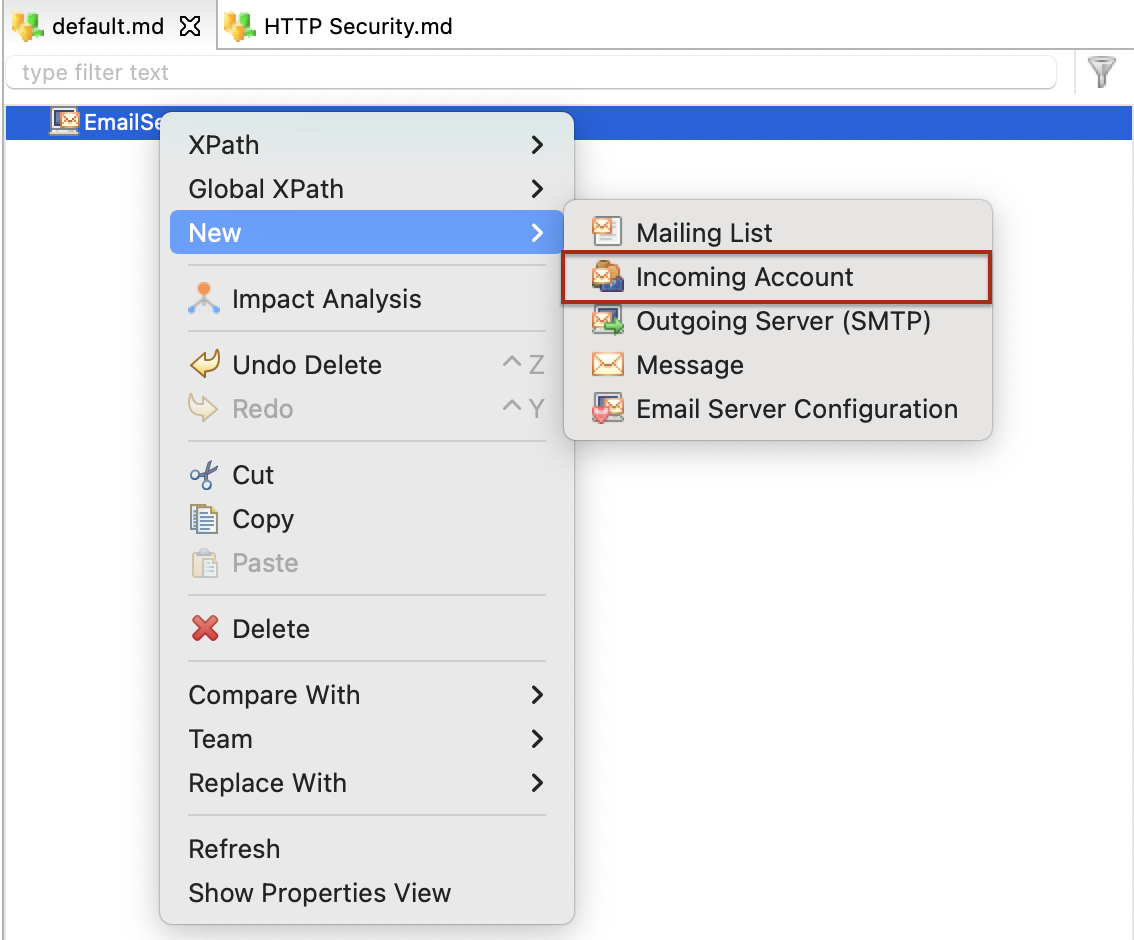
Create an Incoming Account
An incoming account is used to configure the settings used to read emails. The Read Emails action uses these settings when reading emails.
To create an incoming account:
-
Right-click the server node and from the contextual menu click New > Incoming Account.
-
Select the incoming account node you just created and set its properties.
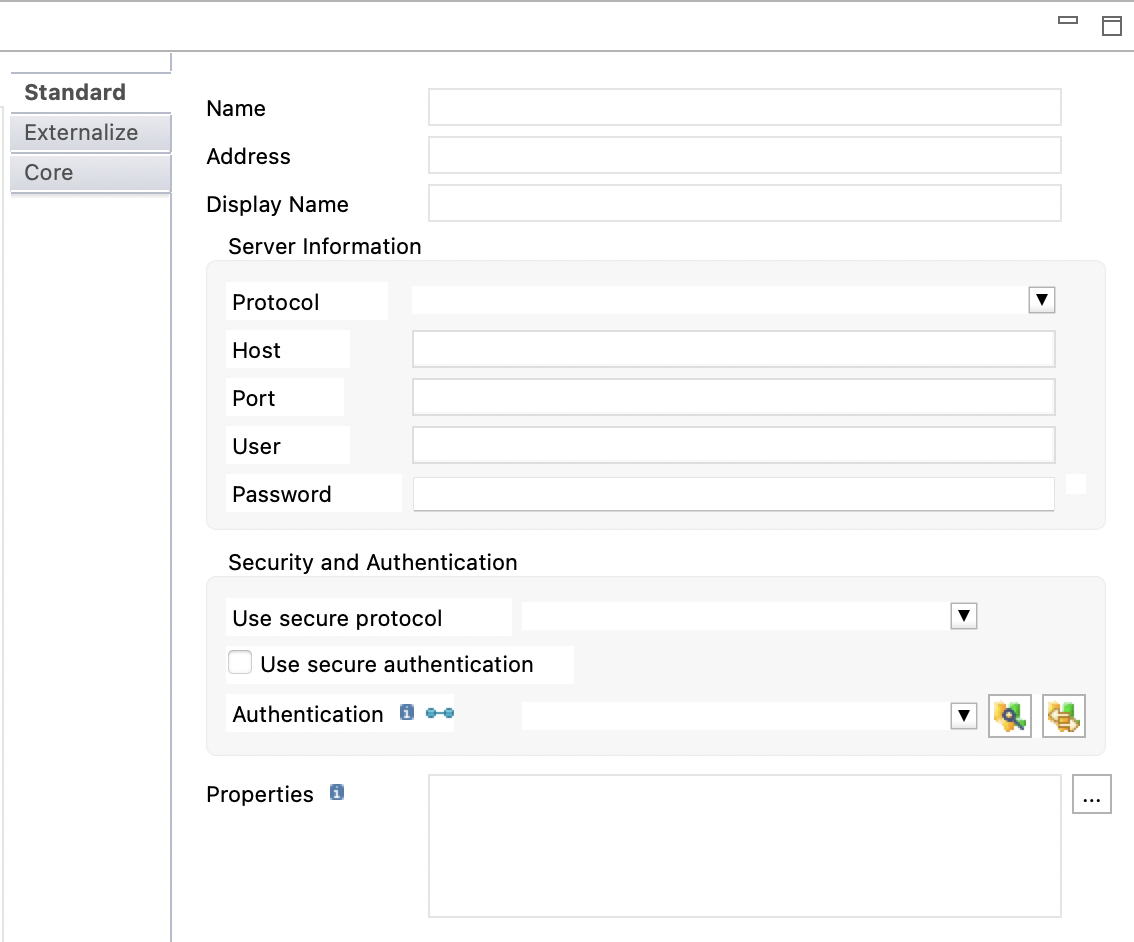
Property Description Name
Name given to the incoming account
Address
Address of the incoming account.
Display Name
Display name of the incoming account.
Protocol
The protocol used by the incoming account’s email server. Possible values are:
-
imap
-
pop3
Host
Incoming account’s email server host address.
For example, outlook.office.365.com.
Port
Port on which the email server is exposed.
User
Email address of the account.
You do not need to use the user and password if you are using OAuth2 as the authentication method. Password
Password of the account.
You do not need to use the user and password if you are using OAuth2 as the authentication method. User secure protocol
The secure protocol to use. Possible values are:
-
TLS
-
SSL
Use secure authentication
Allows using secure authentication method instead of user and password.
Authentication
You can select or drag and drop an OAuth2 security node from an HTTP Security metadata.
This is required if you are using Microsoft Outlook’s modern authentication (OAuth2). Properties
Additional properties that may be required for some server configurations.
If you are using Microsoft Outlook’s modern authentication (OAuth2), you need to add properties as key-value pairs depending on the protocol. See the two tables below presenting the necessary properties, depending on the used protocol. Table 1. IMAP Protocol properties required with Microsoft Outlook’s modern authentication Key Value mail.imap.sasl.mechanisms
XOAUTH2
mail.imap.auth.xoauth2.disable
false
mail.imap.auth.login.disable
true
mail.imap.auth.plain.disable
true
Table 2. POP3 Protocol properties required with Microsoft Outlook’s modern authentication Key Value mail.pop3.sasl.mechanisms
XOAUTH2
mail.pop3.auth.xoauth2.disable
false
mail.pop3.auth.login.disable
true
mail.pop3.auth.plain.disable
true
mail.pop3.auth.xoauth2.two.line.authentication.format
true
-
Use Metadata in Processes
Process for Sending Emails
To create a process for sending emails:
-
Right-click the project folder and from the contextual menu click New > Process.
-
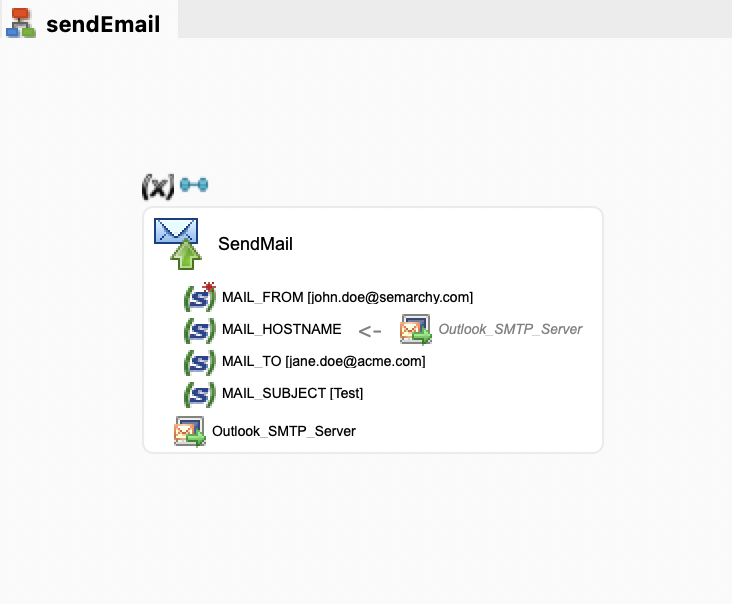
From the actions palette, from the Internet & Network folder, drag and drop the Send Email action in the process.
-
From the email server, drag and drop the outgoing server node on the Send Email action.
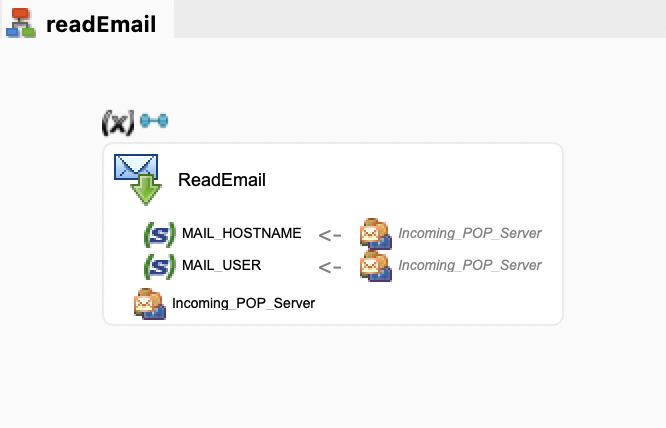
Process for Reading Emails
To create a process for reading emails:
-
Right-click the project folder and from the contextual menu click New > Process.
-
From the actions palette, from the Internet & Network folder, drag and drop the Read Email action in the process.
-
From the email server, drag and drop the incoming account node on the Read Email action.