Getting started with Azure Blob Storage
Follow this guide to get started with Azure Blob Storage.
Create metadata
Create a metadata object:
-
Select the Microsoft Azure Storage metadata type from the list, and click Next.
-
Set the metadata object name and location, and click Next.
-
Select or create a module for Microsoft Azure Storage, and click Finish.
The new metadata object opens with a default Microsoft Azure Storage root node.
Configure your metadata
In the metadata object, select the Microsoft Azure Storage root node to open its properties.
Set the connection properties. The following properties are available:
| Property | Description | Example |
|---|---|---|
Name |
Your own label for this Blob Storage object. |
Microsoft Azure Blob Storage |
Storage Endpoint Url |
Endpoint of the storage you want to access, as a URL. You can retrieve it from the Azure portal. |
|
Storage Shared Access Signature |
A shared access signature (SAS) used to authenticate requests to Azure Storage resources. Generate a shared access signature from the Azure portal. The signature is a text string that starts with |
|
Storage Access Key |
A storage access key used to authenticate requests to Azure Storage resources that do not support SAS. View or manage your keys from the Azure portal. |
|
AzCopy Command Path |
Full path to the azcopy utility on the computer running the integration flow. |
|
Module |
Choice of which module to use for this metadata object. |
Microsoft Azure Storage |
To define a container in the metadata, open the metadata root node context menu, and select New > Container. Give it the name of the container as it should exist in Azure.
Perform storage operations
To perform operations in Azure Blob Storage, follow these steps:
-
Create or open a process.
-
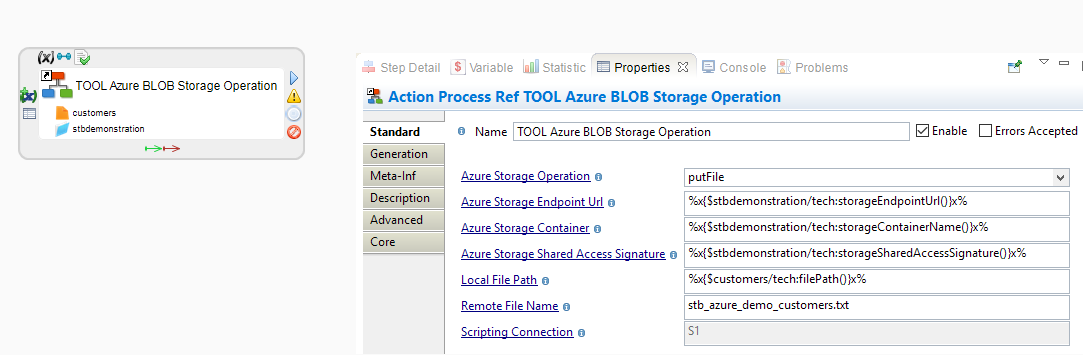
From the Process Palette, add the process action TOOL Azure Storage Operation.
-
Drag and drop one of the following elements onto the action field labeled
<AZURE_STORAGE>:-
The Azure Storage metadata root node
-
A container subnode
-
-
Select the action to open its properties, and configure its parameters.
-
Connect the tool to activate it in the integration flow.
To see the full parameter list, see the tool documentation.
Sample project
The Microsoft Azure component is distributed with sample projects that contain various examples and files. Use these projects to better understand how the component works, and to get a head start on implementing it in your projects.
Refer to Install components in Semarchy xDI Designer to learn about importing sample projects.