Getting started with Proxy metadata in xDI Designer
Follow this guide to get started with Proxy metadata.
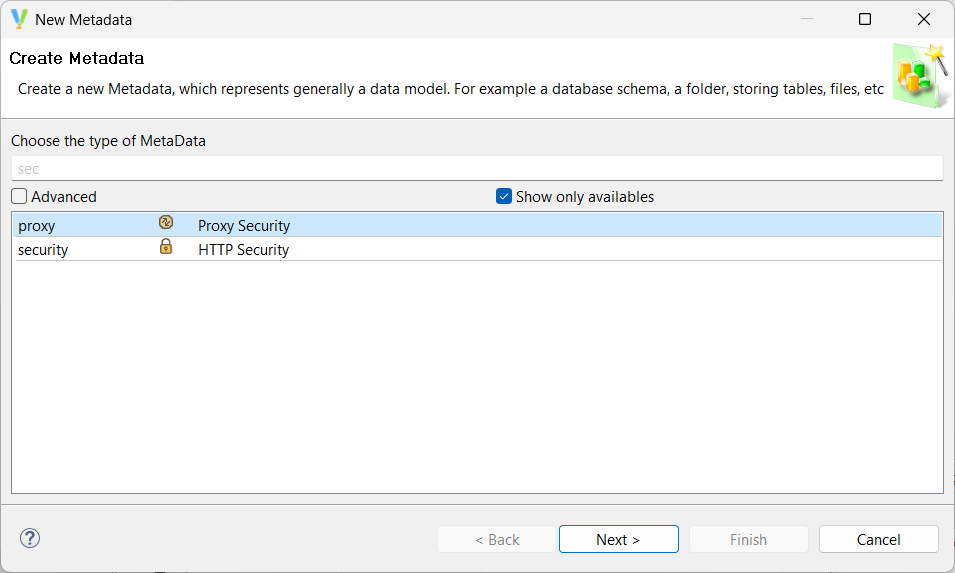
Create the metadata
Open the Create Metadata wizard. Choose the Proxy type, and give your metadata a meaningful name.
After the wizard closes, the Proxy metadata opens in a separate tab, and is ready for you to add entries.
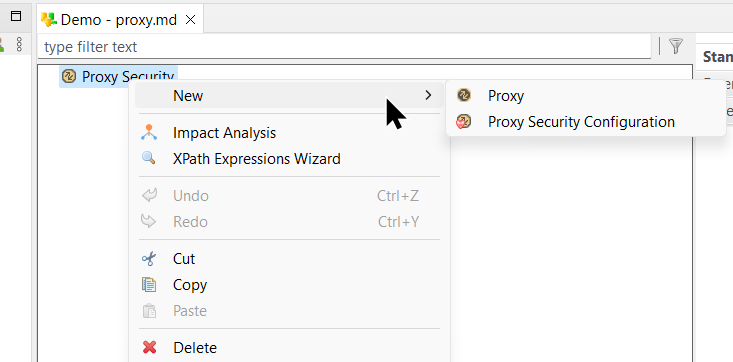
Define a proxy entry
Right-click the top-level metadata node and select New > Proxy.
 .
.
The properties window opens. Fill out the following fields based on your proxy configuration:
| Property | Description |
|---|---|
Name |
User-defined label to help reference the entry later. |
Host |
Hostname or IP address of the proxy. |
Port |
Internet port to access the proxy. |
Username |
HTTP username for the proxy. |
Password |
HTTP password for the proxy. |

After filling out all the fields, save the Proxy metadata object to make it ready for use.