| This is documentation for Semarchy xDI 2023.1, which is no longer supported. For more information, see our Global Support and Maintenance Policy. |
Getting started with HTTP Security
Follow this guide to get started with HTTP Security metadata, its supported authentication types, and their respective wizards.
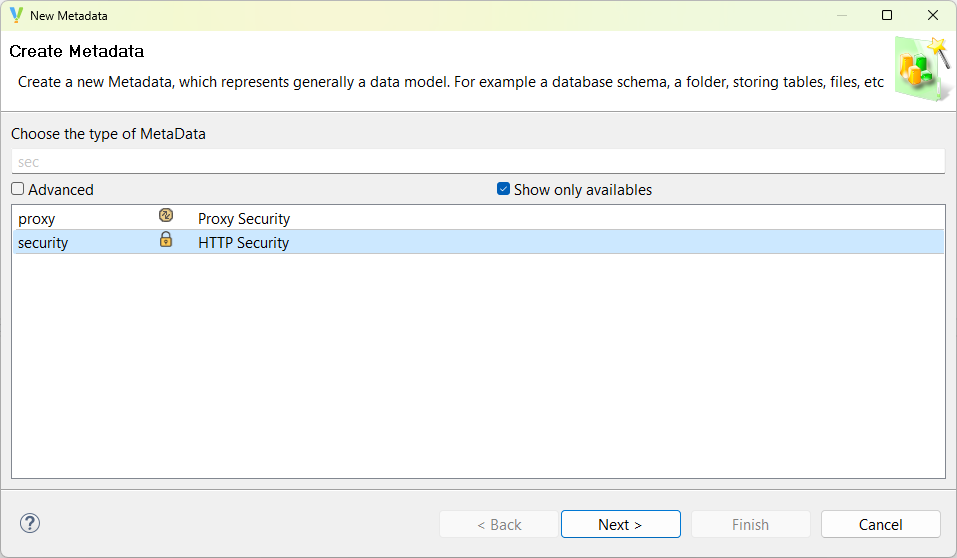
Create the metadata
Open the Create Metadata wizard. Choose the HTTP Security type, and give your new metadata a meaningful name.
After the wizard closes, the HTTP Security metadata opens in a new tab, and is ready for you to add security entries.
Define authentication methods
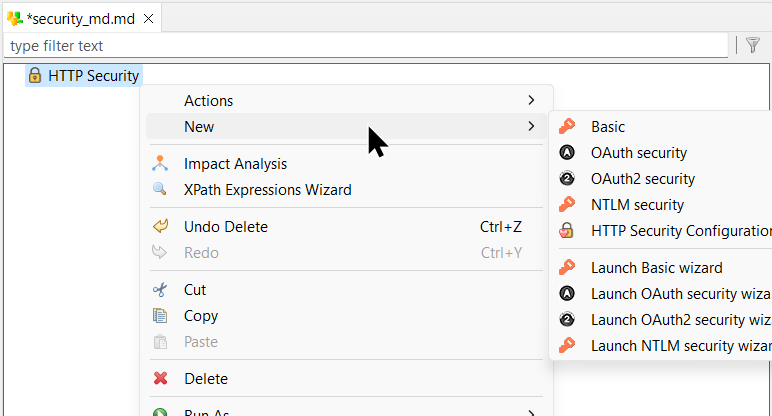
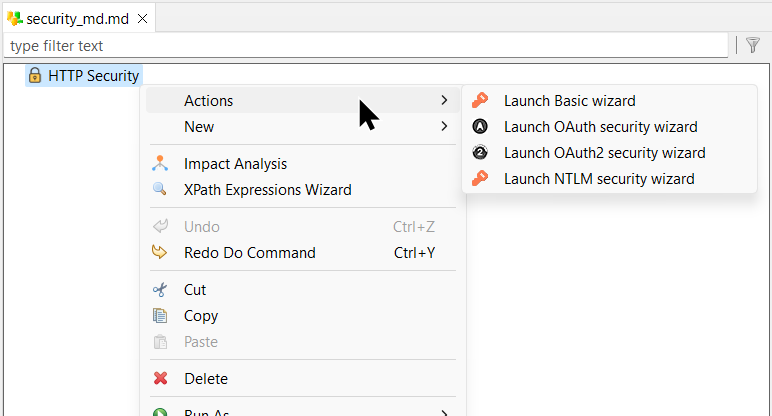
You can add security entries the following ways:
-
Right-click the top-level metadata node and create a bare entry from the New submenu.
 .
. -
Right-click the top-level metadata node, or right-click an existing security entry, and choose a wizard from the Actions or New submenus to be guided through configuration.
 .
.
Basic authentication
The Basic wizard has three fields to fill out:
-
Name field, for your own text label.
-
Username field, for the HTTP username.
-
Password field, for the HTTP password.
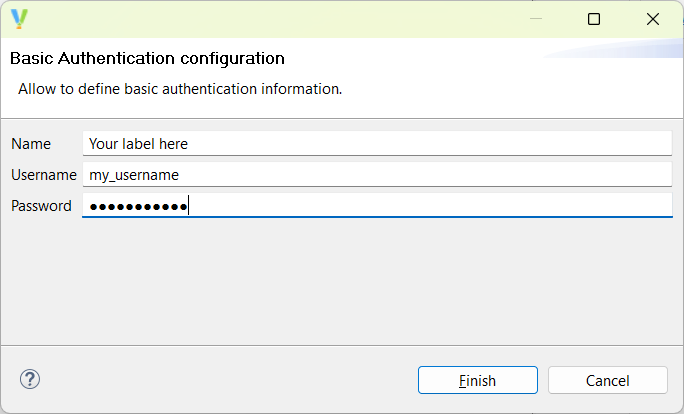
The Username field is the only mandatory field for the wizard.
NTLM authentication
The NTLM security wizard has four fields to fill out:
-
Name field, for your own text label.
-
Username field, for the NTLM username.
-
Password field, for the NTLM password.
-
Domain field to authenticate against the user against a Windows domain.
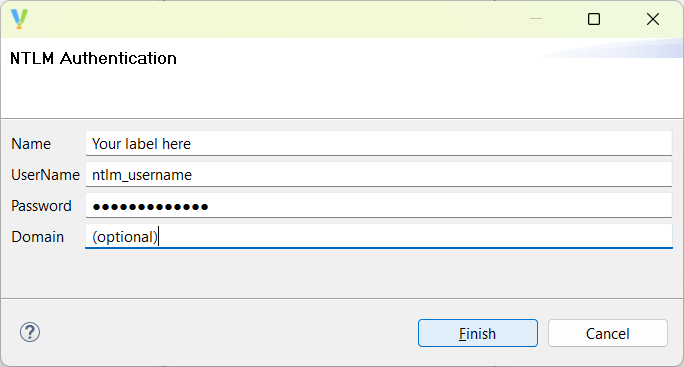
Username and Password fields are mandatory, as NTLM authentication requires both at a minimum.
OAuth1
OAuth1 authentication needs a token and a token secret to work properly. You can use the OAuth1 security wizard to have Designer retrieve them for you.
In the wizard, first fill out the Consumer Key and Consumer Secret generated by the service provider.
Then fill out the fields needed for token generation:
-
Signature Method: Choose between HMAC-SHA1 or PLAINTEXT signature methods.
-
Temporary Token URL: URL used to get temporary credentials from the server.
-
Authorization URL: URL of the authorization server.
-
Access Token URL: URL used to get the long-lived access token.
-
Callback URL (optional): URL to redirect to the application after a successful authentication request.
-
Token verifier (optional): A verification code tied to the request token.
You can also edit URL parameters and HTTP methods by clicking on Enable Advanced to open a new section in the wizard.
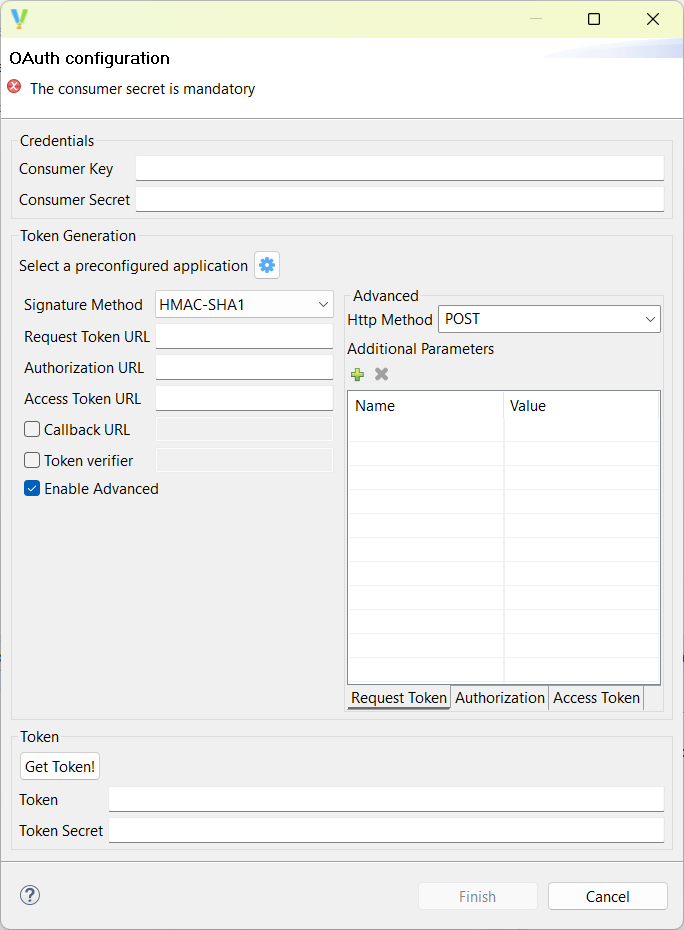
When the fields are filled out, click on Get Token! to retrieve the OAuth1 token and token secret. You can now click on Finish to exit the wizard.
The Name field is not shown in the OAuth1 wizard. The label must be set manually in the Metadata editor.
| The PLAINTEXT signature method should not be used over unencrypted HTTP connections. |
OAuth2
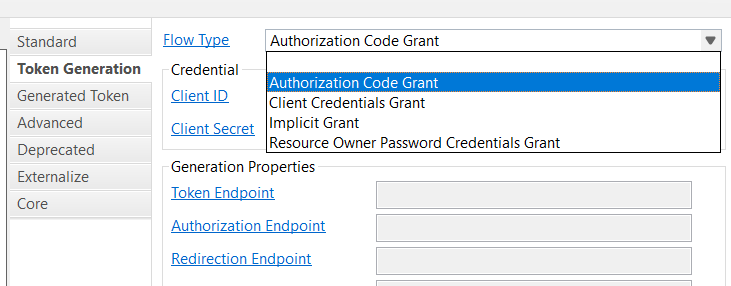
OAuth2 authentication in Semarchy xDI supports four authentication flows, each with their own wizard:
If you launch a wizard from the top-level node right-click menu, Designer will open a wizard for the Authorization code flow. To access the other wizards, create a new OAuth2 subnode, change its Flow Type in the Token Generation tab, and launch the wizard from the subnode right-click menu.
Common OAuth2 wizard options
In all four wizards, first fill out the Client ID and Client Secret for your application. The Name field is not shown in the OAuth2 wizards, and must be set manually in the Metadata editor.
All flows have an EndPoints preconfigurations dropdown with predefined URLs for service providers such as Google, LinkedIn, or Salesforce. You can also click on Advanced to open a section that lets you define OAuth2 scopes, authorization parameters, and additional HTTP Headers to send with your authorization request.
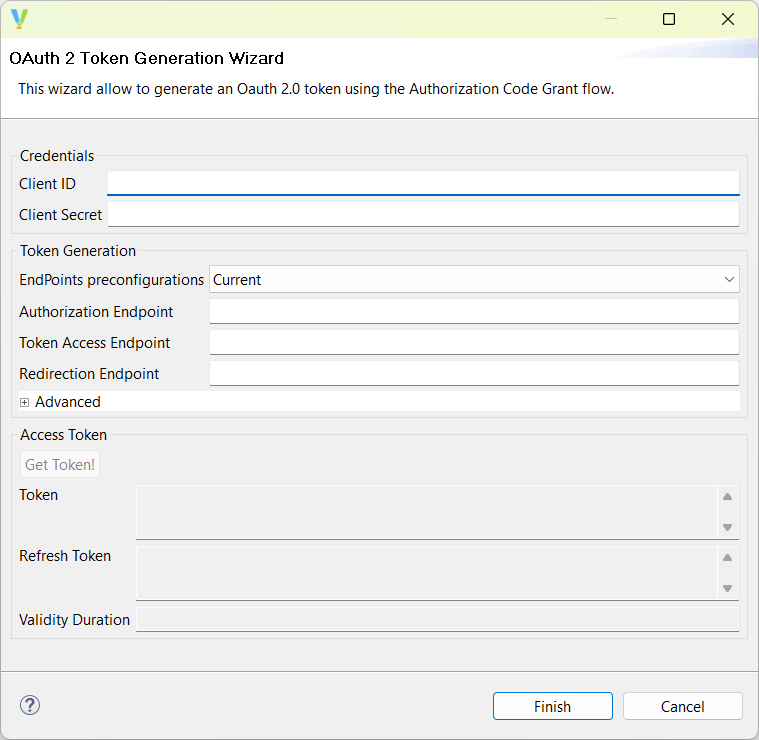
Authorization code flow
Fill out the URLs needed for token generation:
-
Authorization Endpoint
-
Token Access Endpoint
-
Redirection Endpoint
Edit the Advanced fields as needed.
When the fields are filled out, click on Get Token! to retrieve the OAuth2 tokens. If everything works, you can now Finish the wizard.
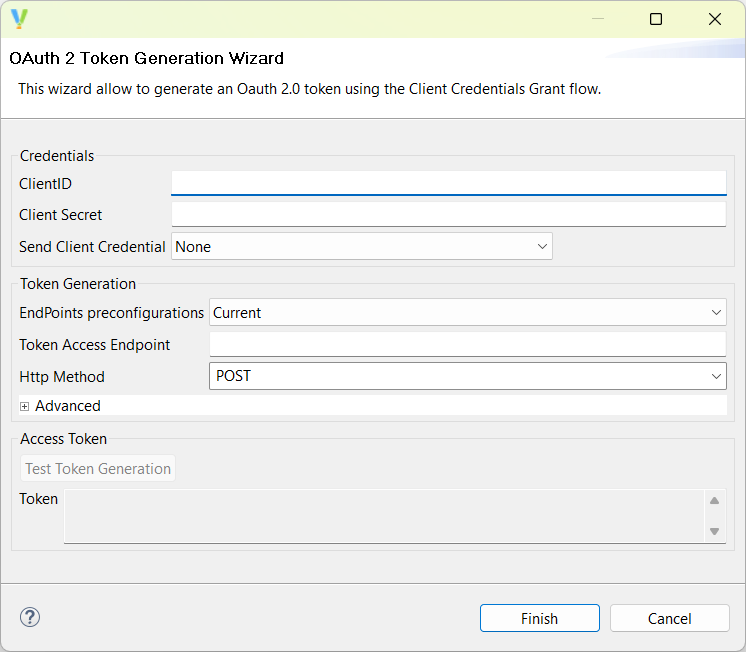
Client credentials flow
Fill out the Token Access Endpoint URL, and select the HTTP Method your flow uses.
If your target server needs the Client ID and Secret sent when generating a token, select the relevant option from the Send Client Credentials dropdown:
| Option | Description |
|---|---|
Send Client Id and Client Secret as Basic Auth header |
The ID and secret are sent as HTTP authentication headers. |
Send Client Id and Client Secret as parameters |
The ID and secret are sent as URL parameters when using HTTP GET, or in the request body when using HTTP POST. |
Send Client Id as parameter |
The ID is sent as a URL parameter when using HTTP GET, or in the request body when using HTTP POST. |
Edit the Advanced fields as needed.
When the fields are filled out, click on Test Token Generation to test token retrieval. If everything works, you can now Finish the wizard.
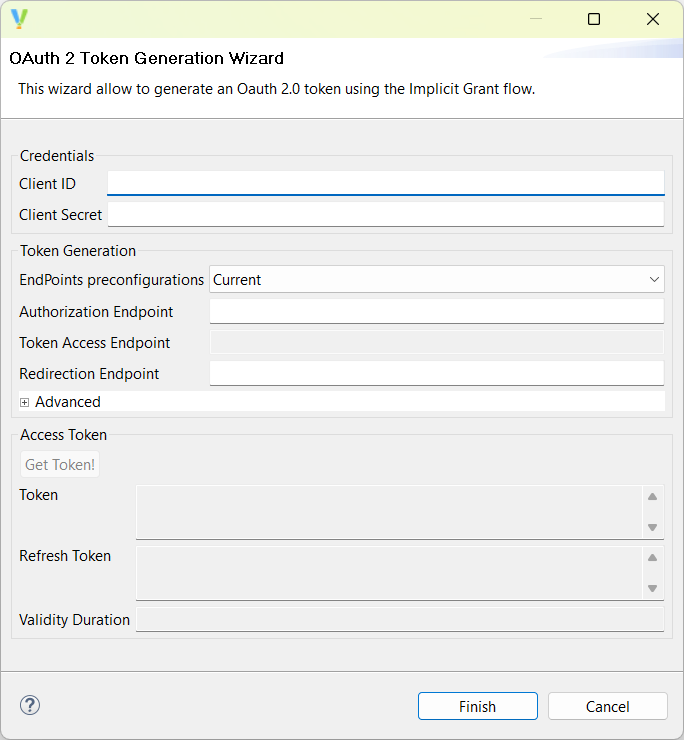
Implicit flow
Fill out the URLs needed for token generation:
-
Authorization Endpoint
-
Redirection Endpoint
Edit the Advanced fields as needed.
When the fields are filled out, click on Get Token! to retrieve the OAuth2 tokens. If everything works, you can now Finish the wizard.
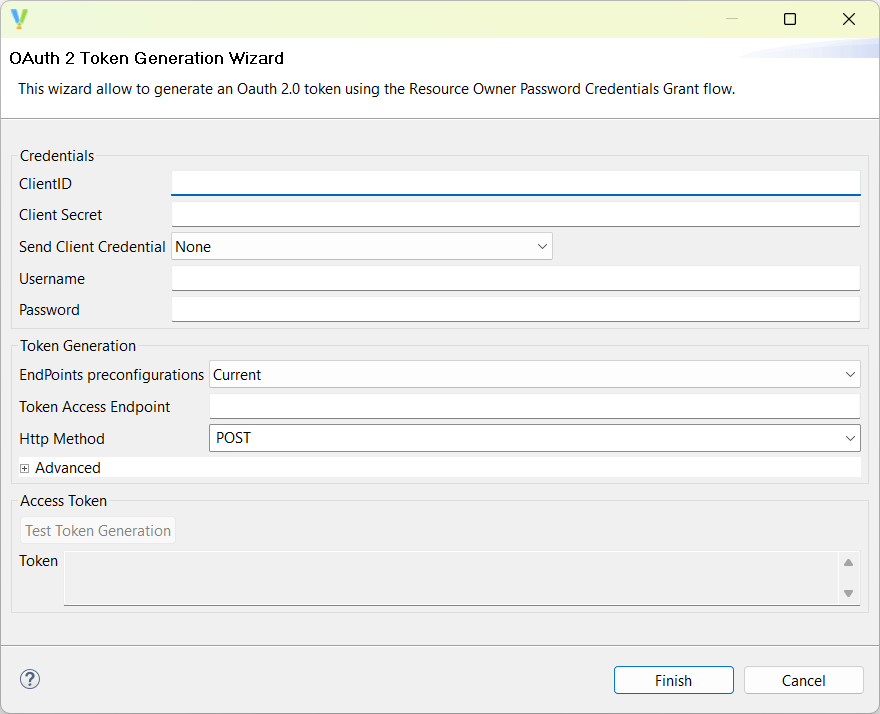
Resource owner password flow
First, fill out the resource owner Username and Password. Then fill out the Token Access Endpoint URL, and select the HTTP Method your flow uses.
If your target server needs the Client ID and Secret sent when generating a token, select the relevant option from the Send Client Credentials dropdown:
| Option | Description |
|---|---|
Send Client Id and Client Secret as Basic Auth header |
The ID and secret are sent as HTTP authentication headers. |
Send Client Id and Client Secret as parameters |
The ID and secret are sent as URL parameters when using HTTP GET, or in the request body when using HTTP POST. |
Send Client Id as parameter |
The ID is sent as a URL parameter when using HTTP GET, or in the request body when using HTTP POST. |
Edit the Advanced fields as needed.
When the fields are filled out, click on Test Token Generation to test token retrieval. If everything works, you can now Finish the wizard.