| This is documentation for Semarchy xDI 2024.1, which is no longer actively maintained. For more information, see our Global Support and Maintenance Policy. |
Change tracking in xDI Designer
When working on projects in Semarchy xDI Designer, you may want to see how resources such as metadata, mappings, and processes have changed over time. You can compare changes from inside Designer directly.
The basic comparison tool shows project file differences in a text-based form. Designer also comes with the Eclipse EMF Compare add-on, which enhances the comparison tool, and shows differences in a more user-friendly way. You can enable EMF Compare from a Project Explorer menu.
| Change tracking functionality in Designer is not meant to replace a source control strategy. You should use change comparisons alongside source control software such as Git. |
How-to
As you work on project resources, xDI Designer saves change sets, and displays them in the History view of the Designer window. By default, the current change revision is at the top of the list in bold text.
Right-click another revision to open a context menu with multiple options.
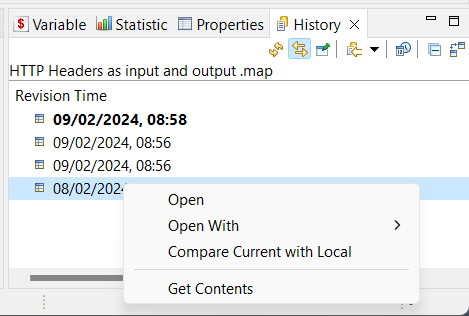
Click on Compare Current with Local to open a comparison window. The default comparison tool shows revisions in text form, as they exist on the filesystem.
To activate EMF Compare and enhance the comparison view, go to the top of the Project Explorer, and click on the overflow menu. Select Activate EMF Compare.
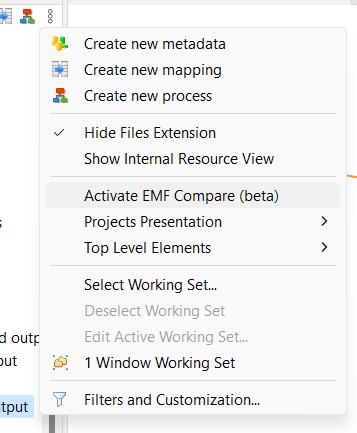
Activating EMF Compare adds an enhanced graphical interface to the next comparison windows you open.
Example
Setup
The example starts in a sample HTTP Rest project, with a sample mapping.
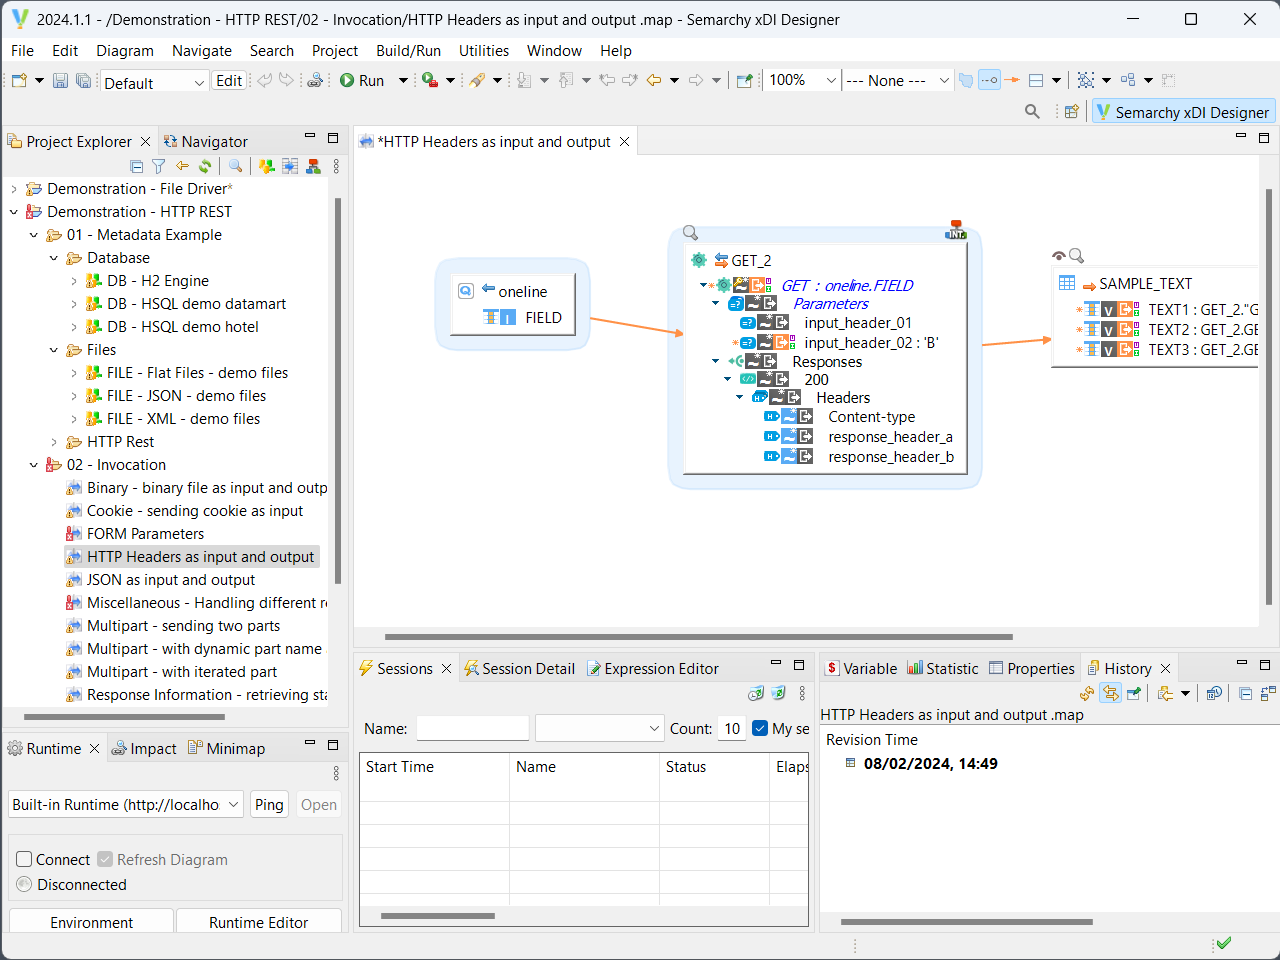
Make some changes: move datastores around, add a datastore, and map a field. Save after every change. Designer tracks every time you save the resource.
Basic comparisons
For a basic comparison with the current mapping, open the context menu on a change set that is not in bold.
Select Compare Current with Local, and the comparison window opens.
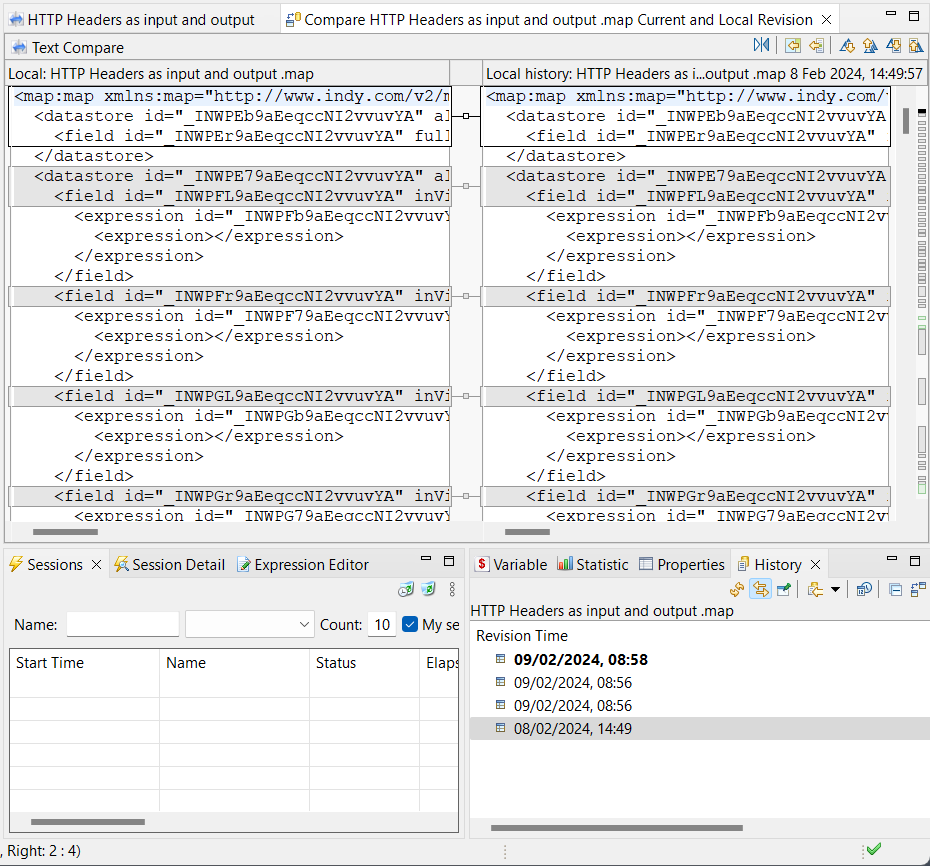
The comparison window shows the recent version on the left, and the older version on the right. It displays the resource as it exists on the filesystem, in plain text.
Comparisons with EMF Compare
Return to the mapping. From the Project Explorer, open the overflow menu and activate EMF Compare.

Go to the mapping, open the context menu on one of the change sets, and select Compare Current with Local. A graphical comparison window opens.
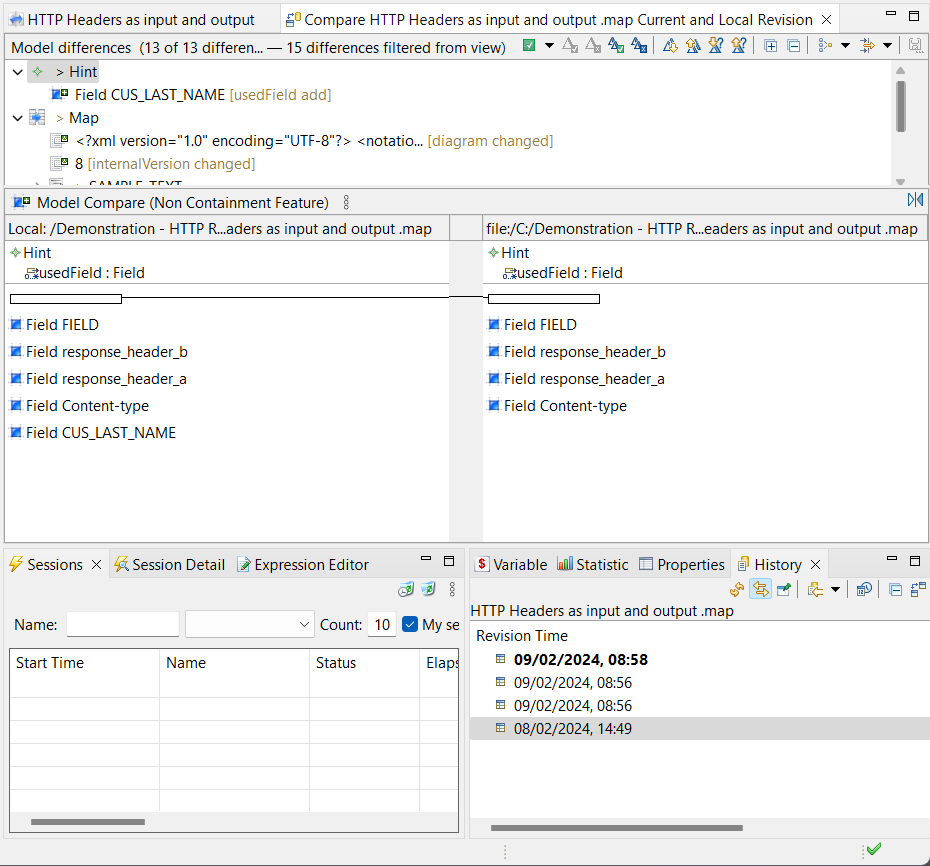
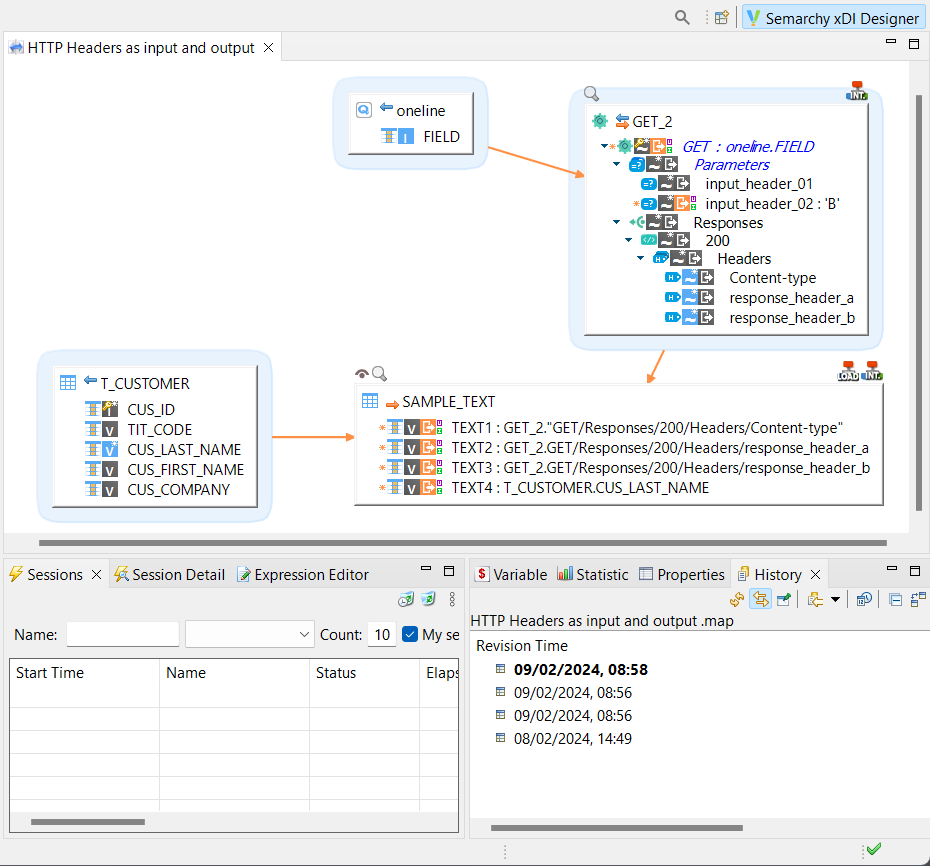
In the comparison window, you can select different resource nodes at the top, which shows side-by-side visual comparisons of that node. In this example, there was a change to a field with a value CUS_LAST_NAME.
You can also navigate to other nodes, and look at the mapping resources in more detail:
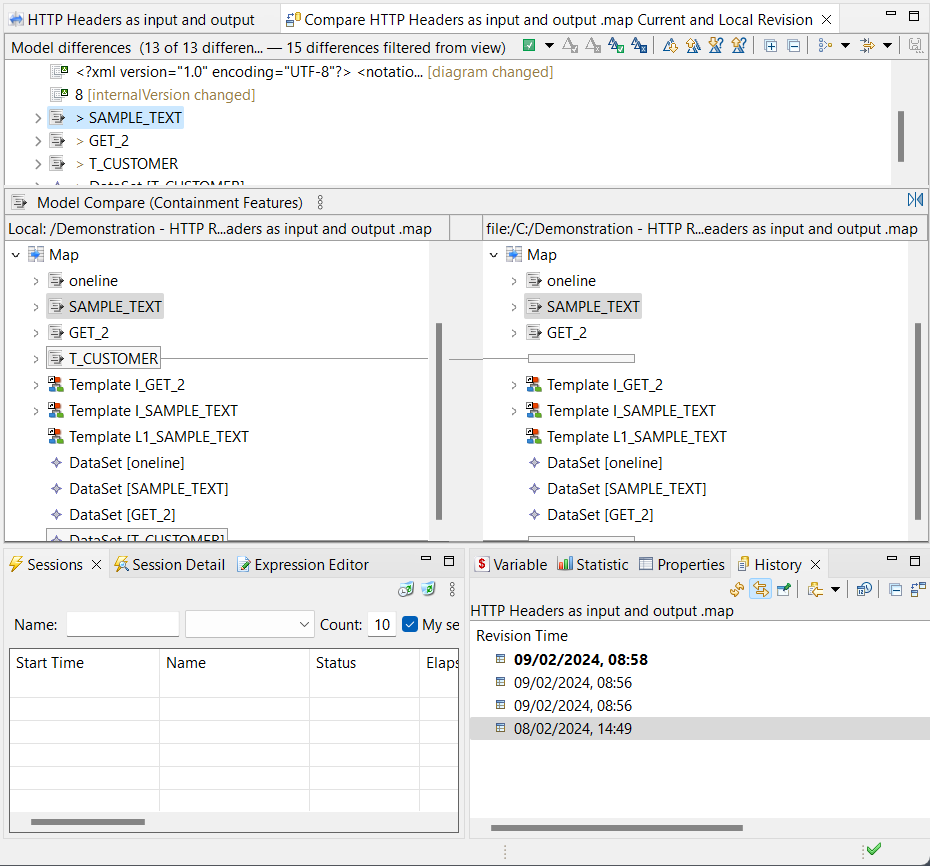
The view of mapping nodes shows that a T_CUSTOMER field changed in the mapping.